 Goru chikkududukaya kura(Another variation)
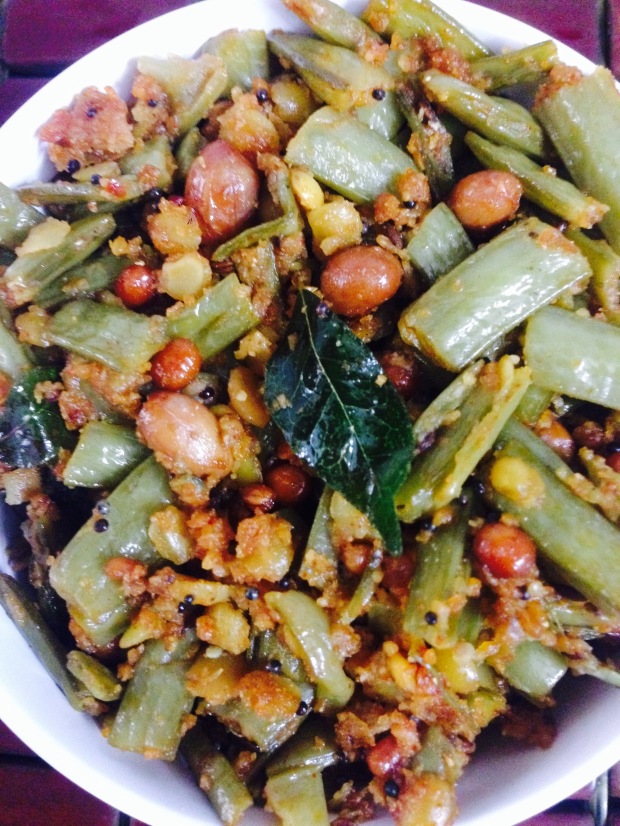
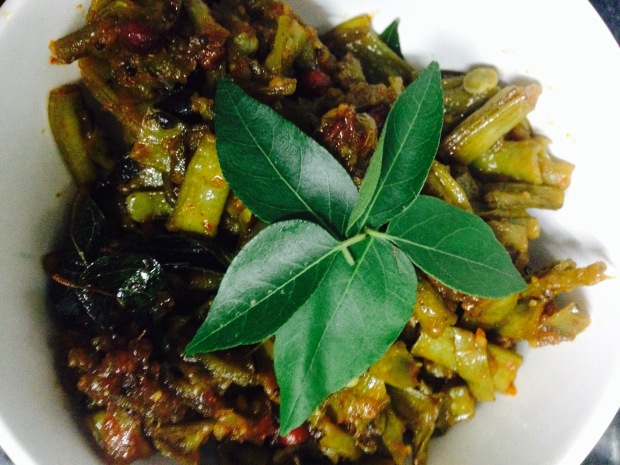
Cluster beans poriyal is very healthy and can prepare anytime. To prepare this recipe I’ve added fistful of red gram, copra powder and few peanuts. The poriyal is very tasty and serve with hot steamed rice or even with sambar rice/rasam rice. Here I present cluster beans poriyal which can be served on any busy day. Njoy Cooking,Serving n Savoring!
Ingredients:
Cluster beans: 250 gms
Red gram(Toor dal): 1 1/2 tbsp or one fistful
Peanuts: 1 tbsp
Dry Copra powder: 1 1/2 tsp
(Or grated fresh coconut)
Oil: 1 tbsp
Mustard: 1 tsp
Cumin: 1 tsp
Urad dal: 1 tsp
Chana dal: 1 tsp
Hing: A pinch
Turmeric: half tsp.
Curry powder: 2 tsp(Optional)
Red chilli powder: 1 tsp.
Method of preparation:
1. Rinse well cluster beans and chop or pluck them with hands into one inch pieces.
2. Take pressure cooker, keep the cluster beans onto a plate and spread the toor dal over them.
3. Steam them along with rice for 5/6 whistles.
4. Once the pressure settles down open the lid of the pressure cooker take the cluster beans plate outside. Toor dal cooked this way has nice crunchy texture.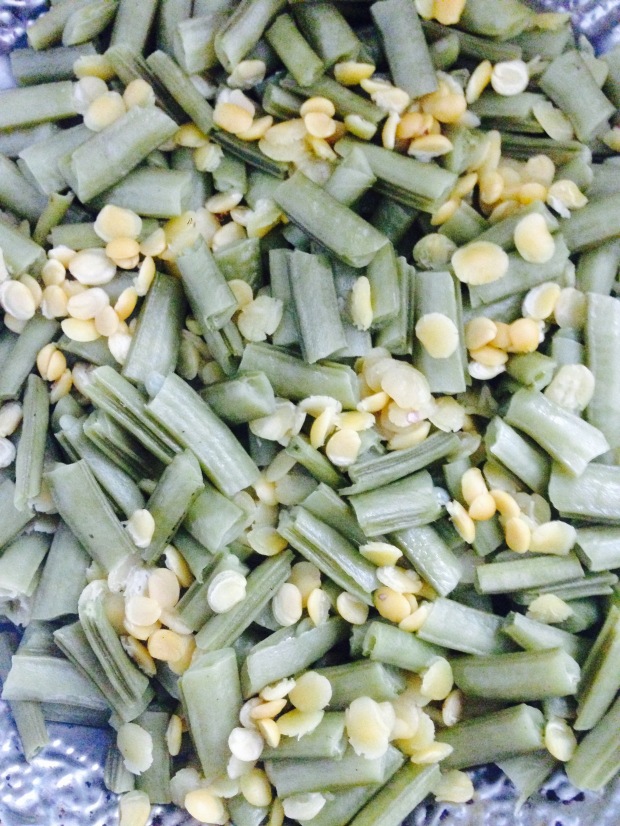
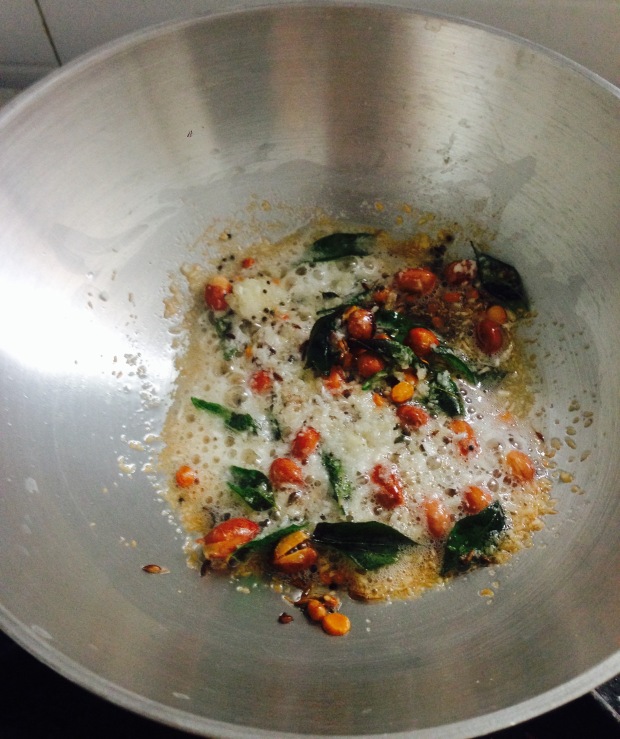
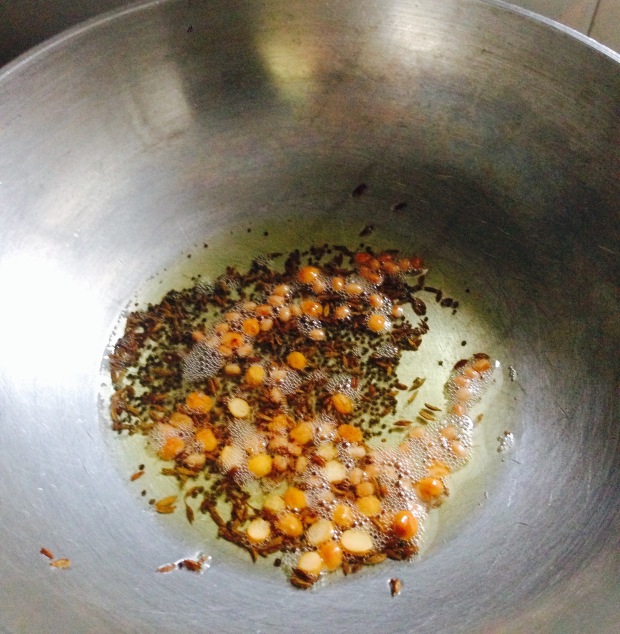
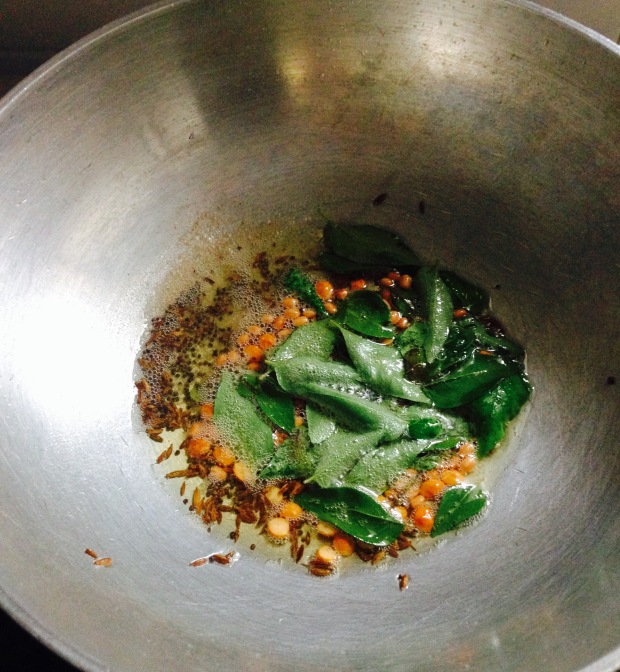
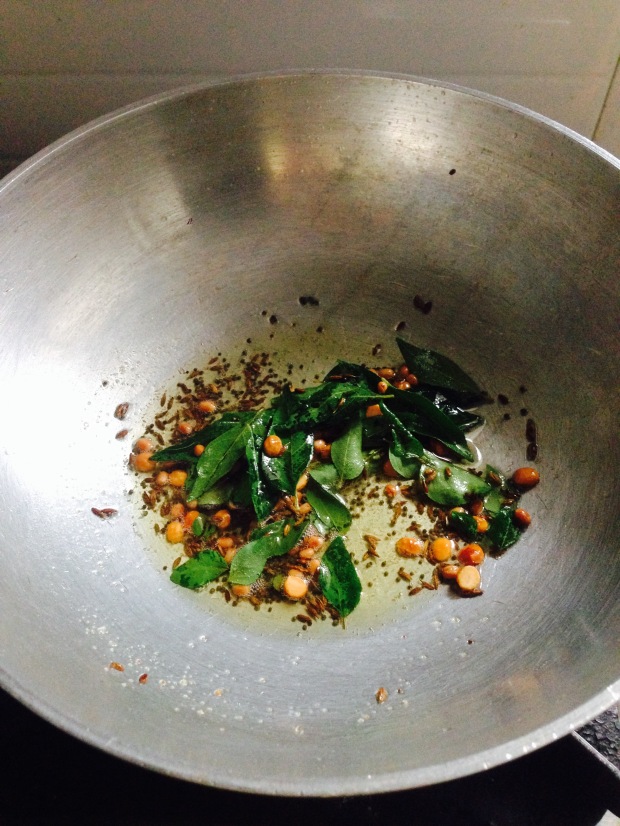
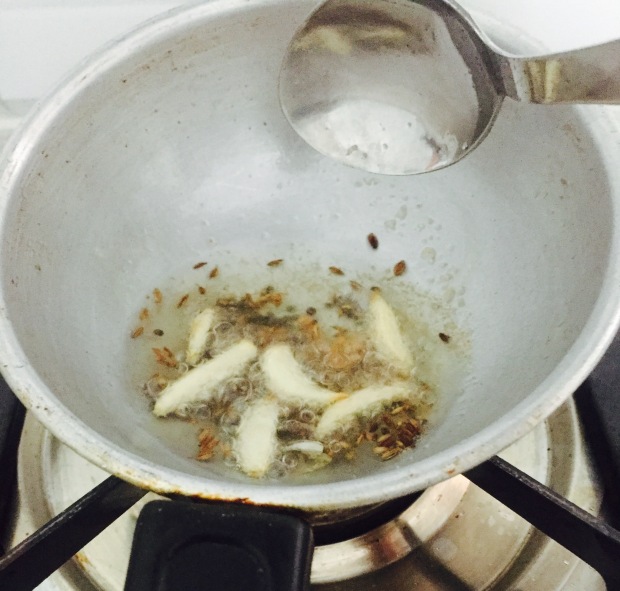
5. Now heat kadai, pour oil. Add urad dal, chana dal, mustard, cumin and raw peanuts. When mustard splutters add a pinch of hing into it. Also add curry leaves and copra powder.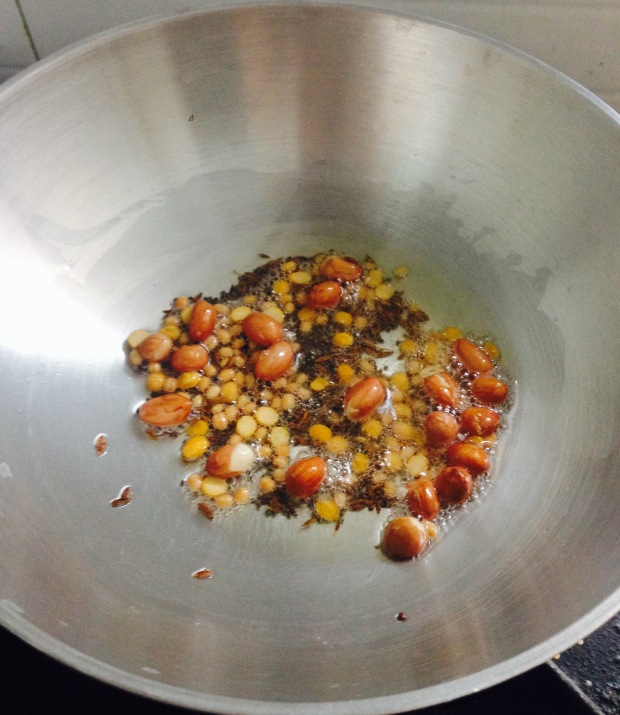
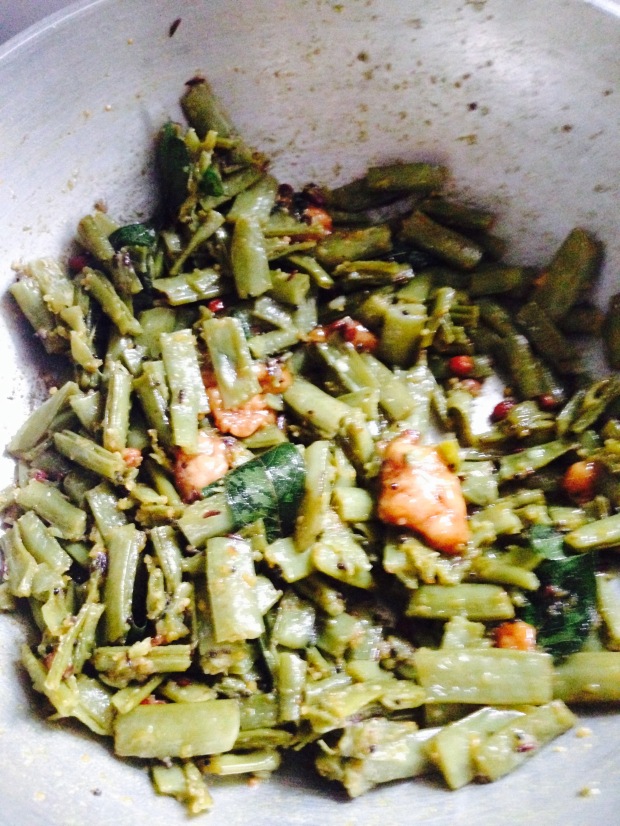
 6. Now add steamed cluster beans with toor dal. Mix thoroughly and add required amount of salt.
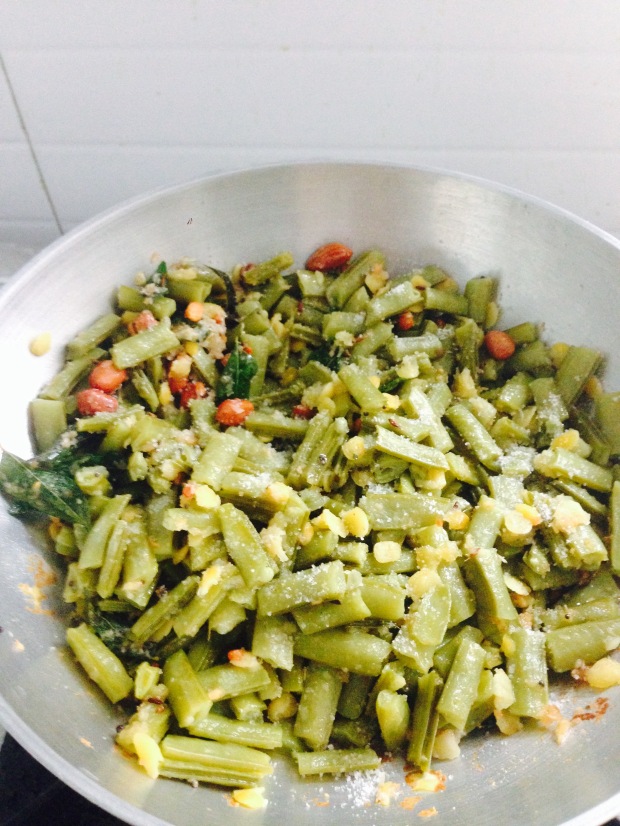
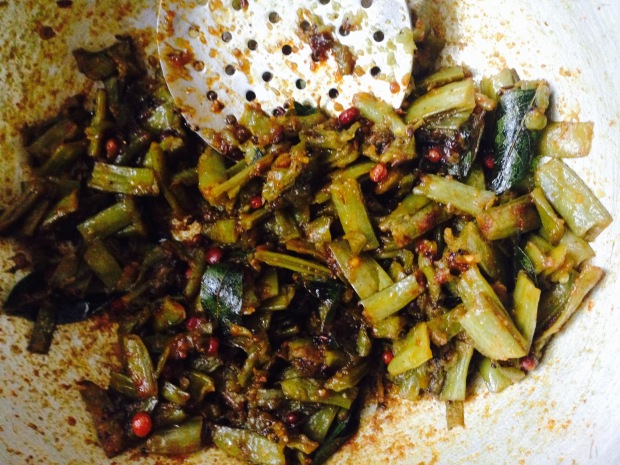
7. Add curry powder and mix well. Addition of Curry powder gives nice aroma to the poriyal.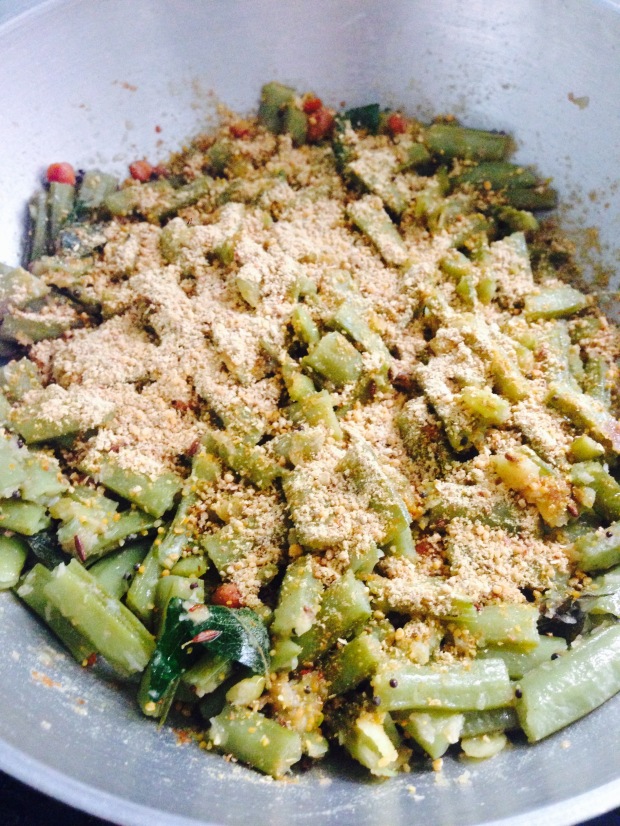
8. Now add red chilli powder and fry for a minute. Switch off the flame.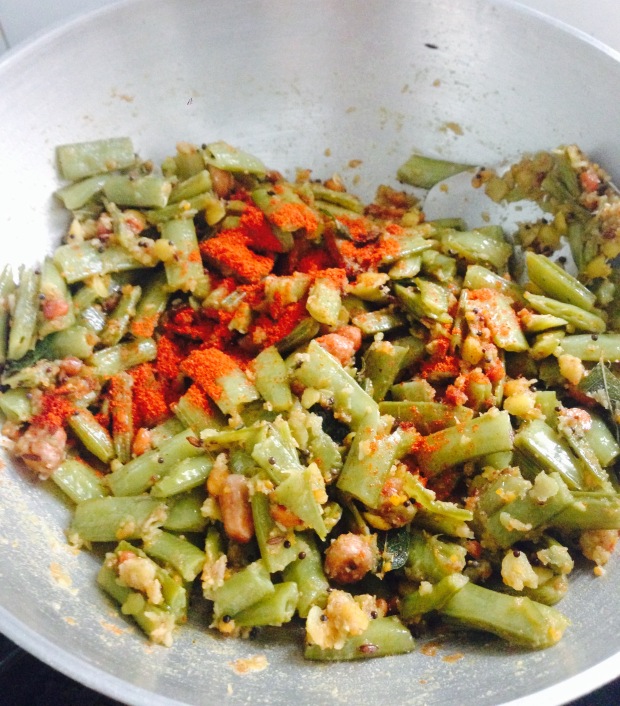
9. Now yummilicious cluster beans poriyal is ready to serve with hot steamed rice.
Note:
* Curry powder is optional. If curry powder is not available, add one tsp of coriander powder instead of it.
* Check my curry powder recipe which I’ve posted earlier.
* I’ve used copra powder, you can use fresh grated coconut also.
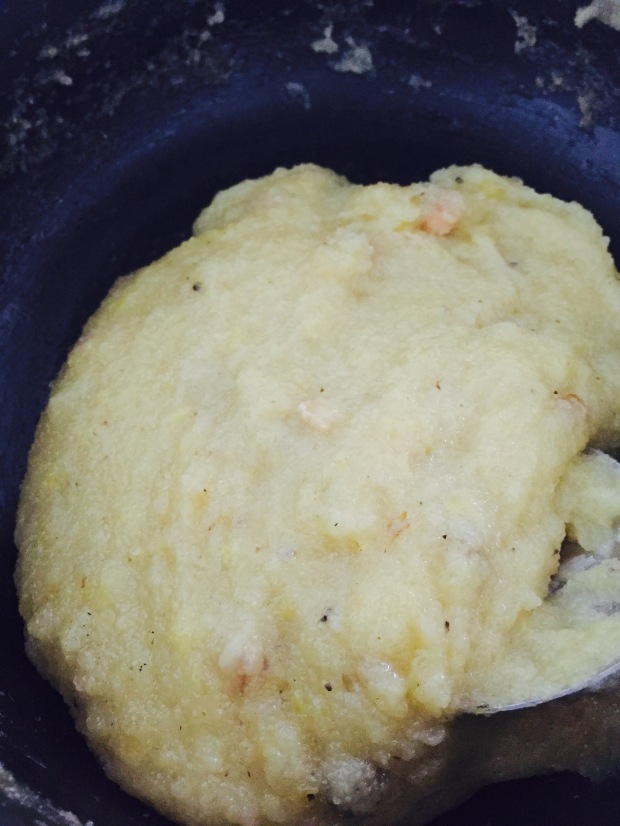
 Goru Chikkudukaya Bellam petti kura
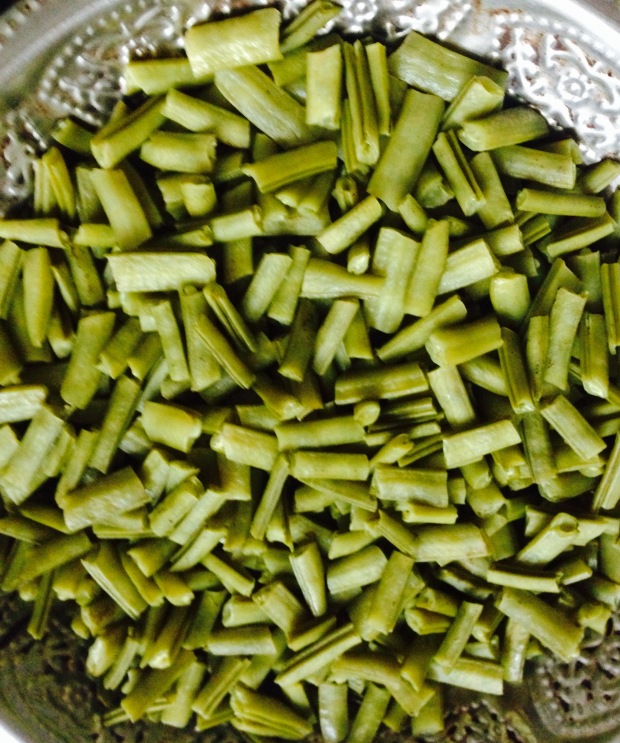
 5. Now put cooked cluster beans into the tempering. Add required amount of salt and turmeric. Mix thoroughly and stir fry for a minute. I have not used tamarind pulp, if using add pulp in this stage.
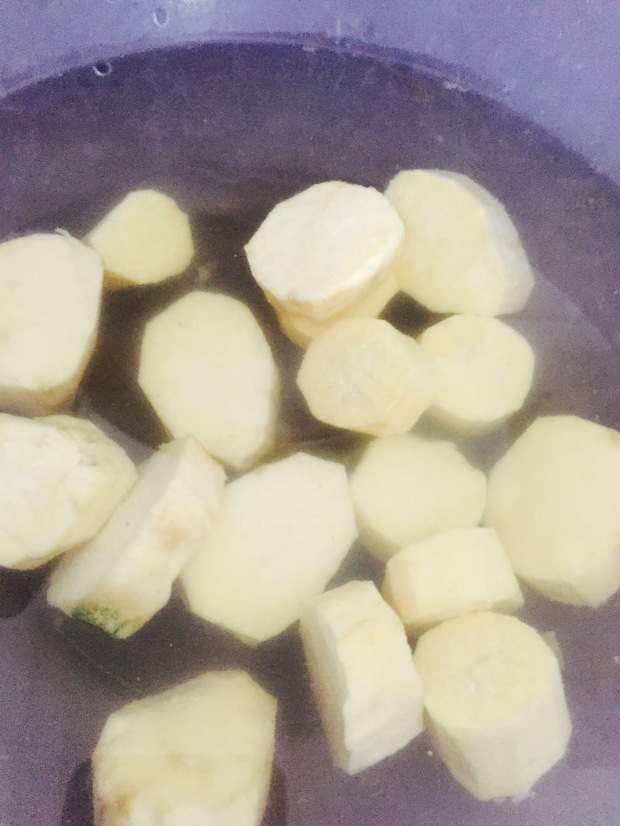
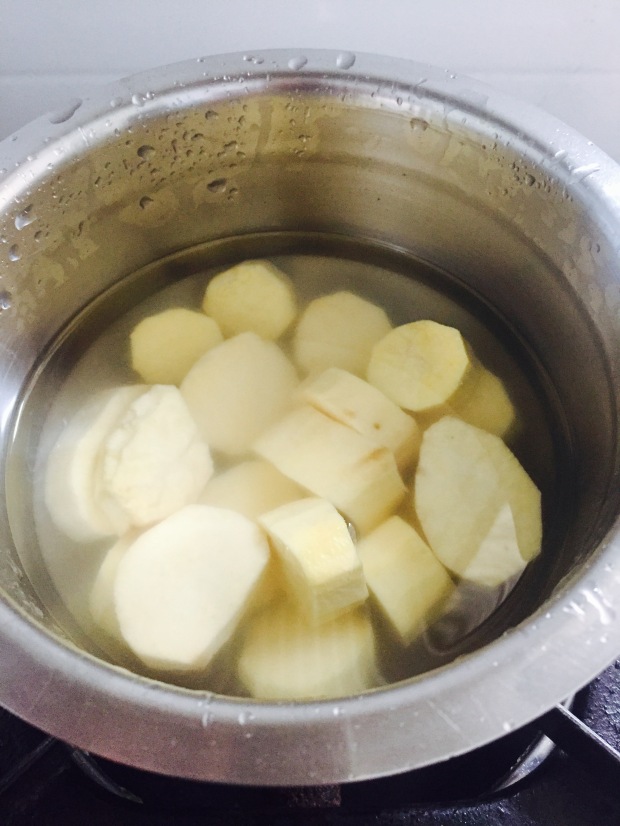
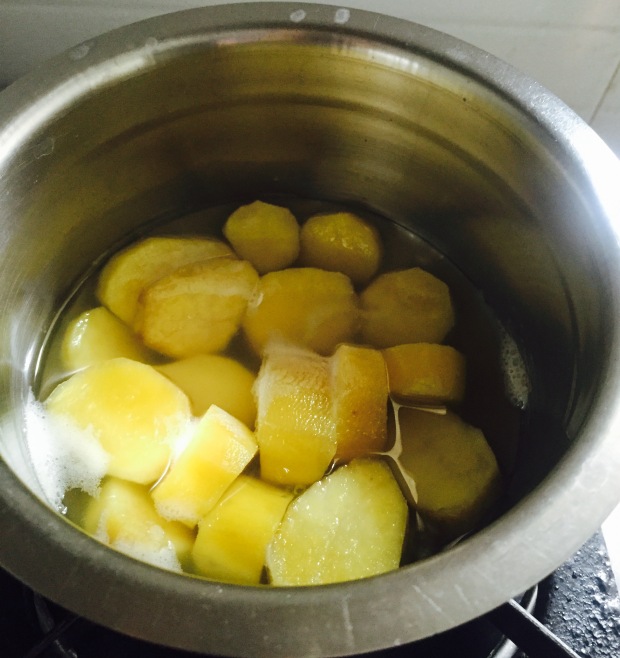
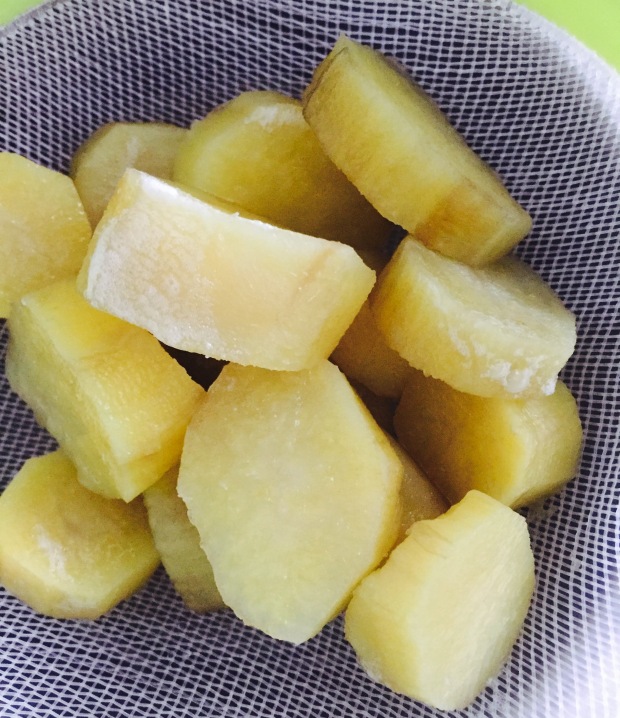
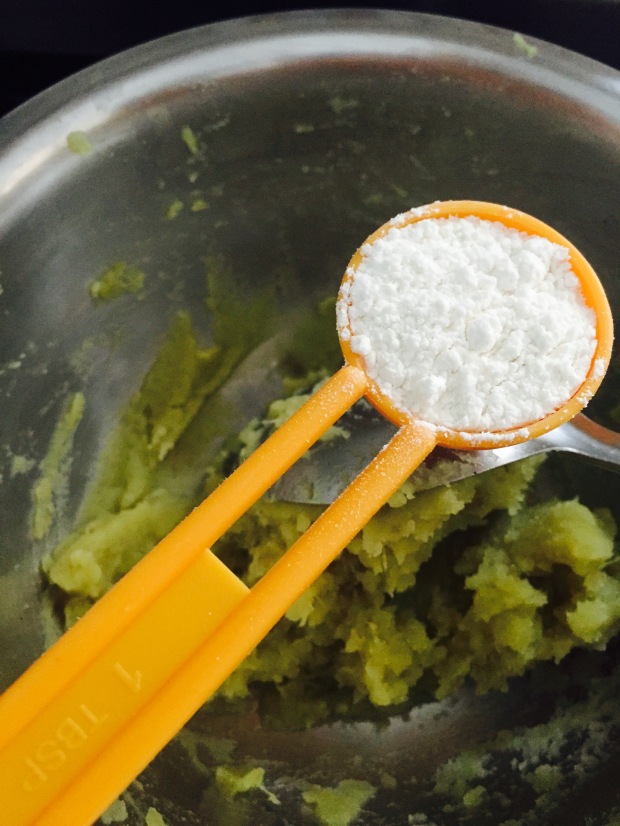
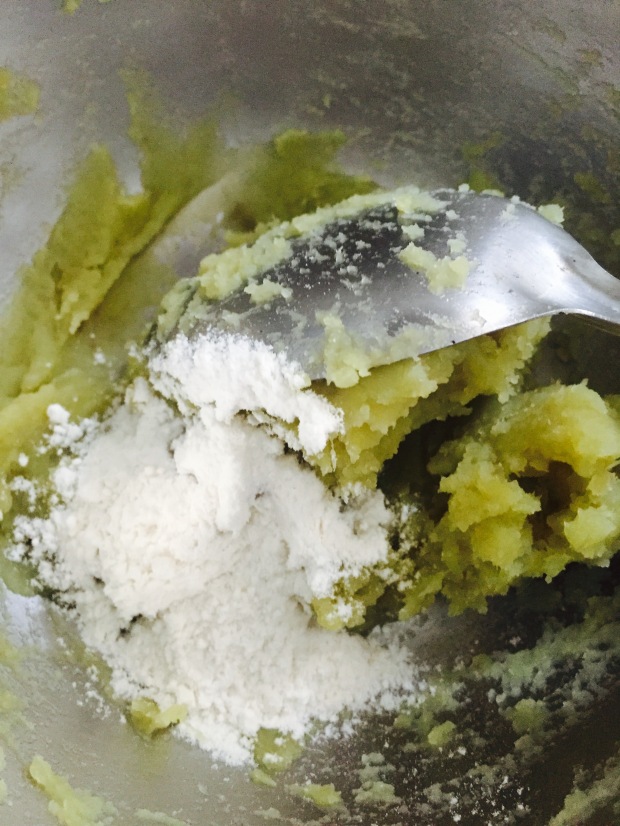
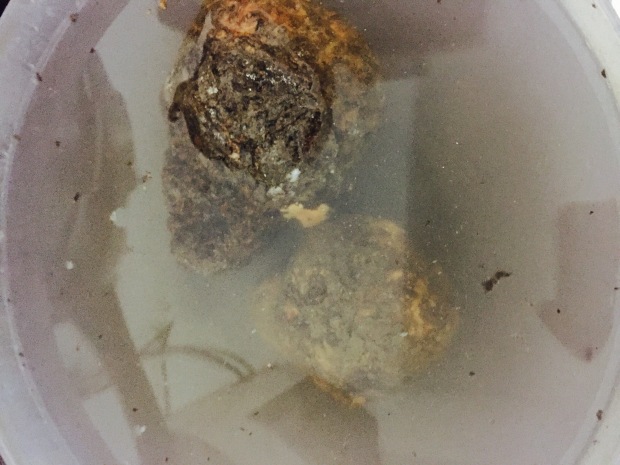
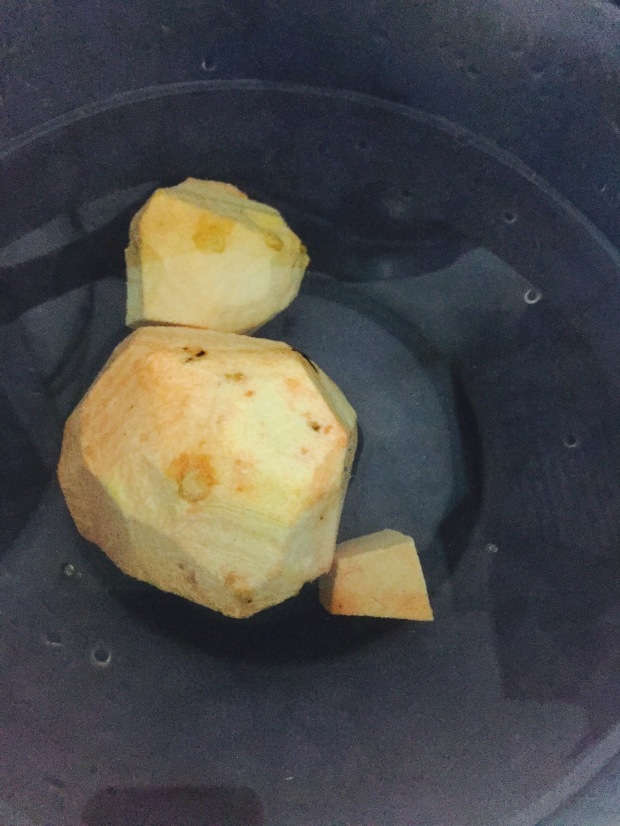
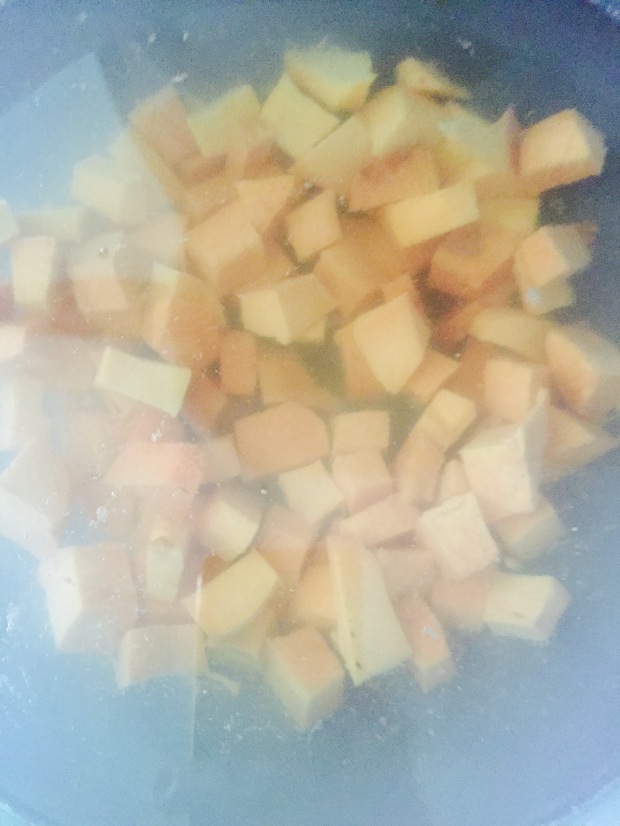
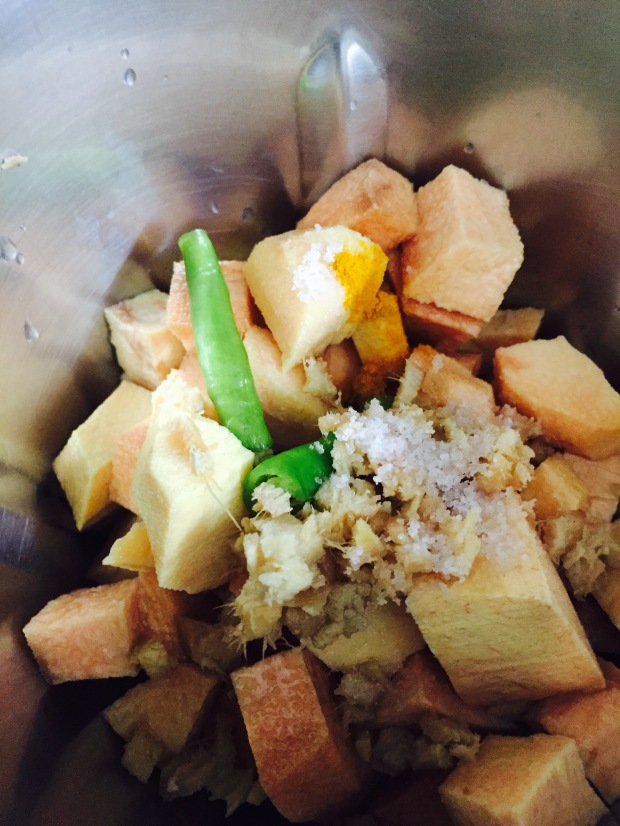
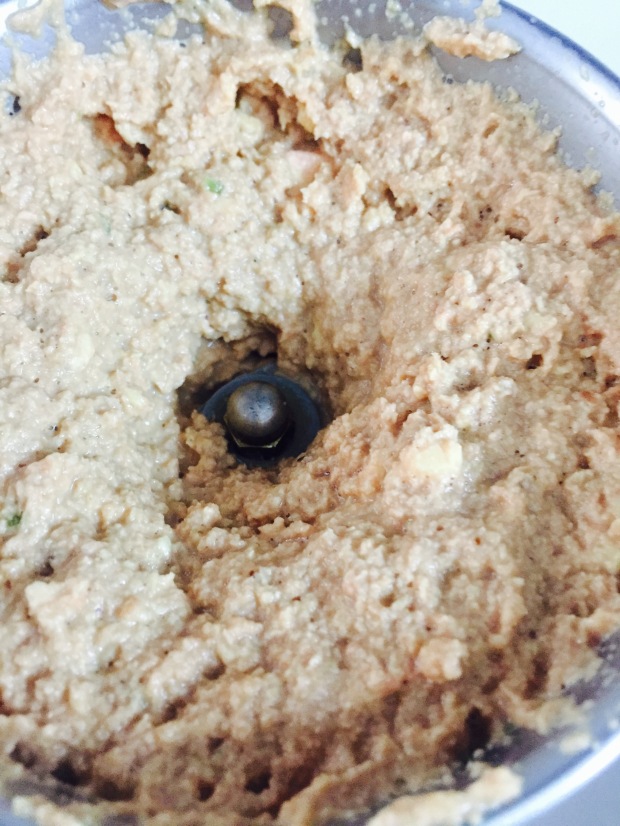
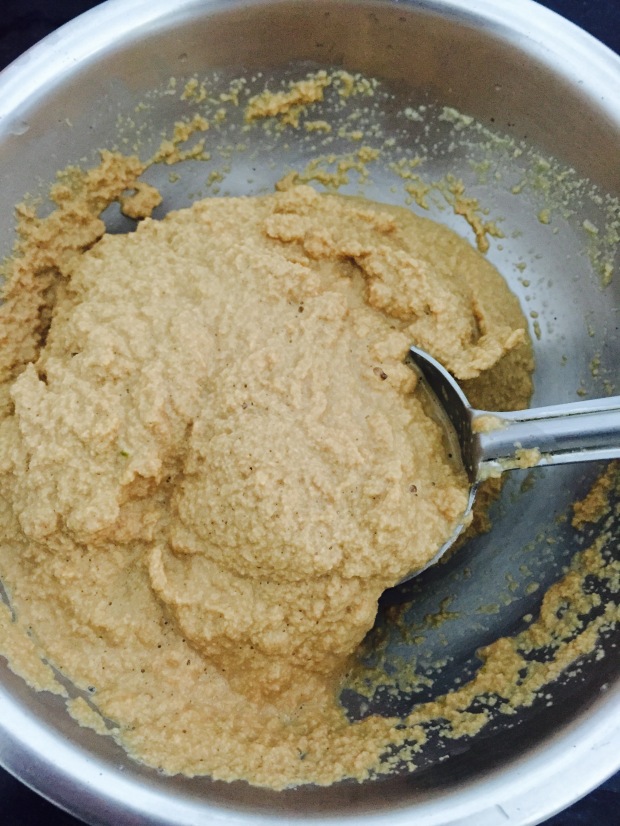
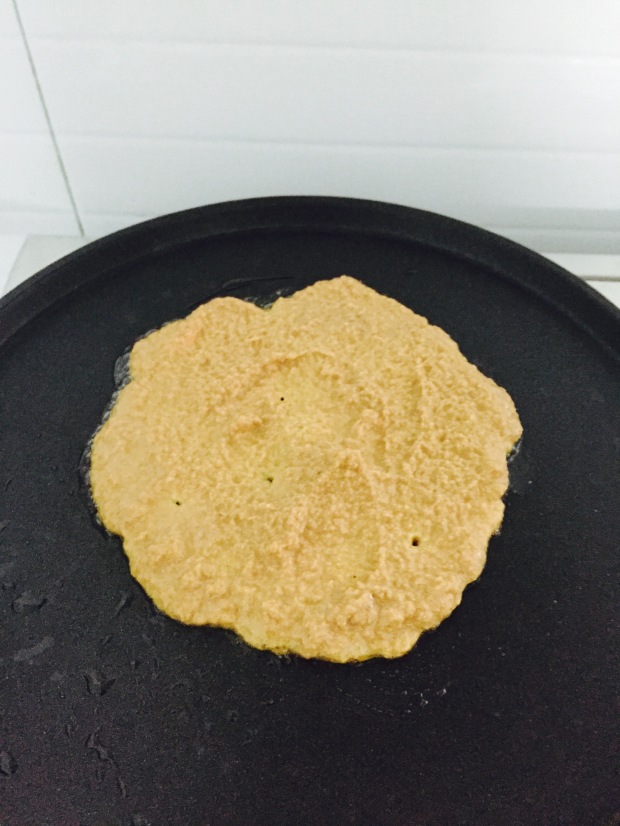
 Sweet potato(Chilagada dumpa)jamoons
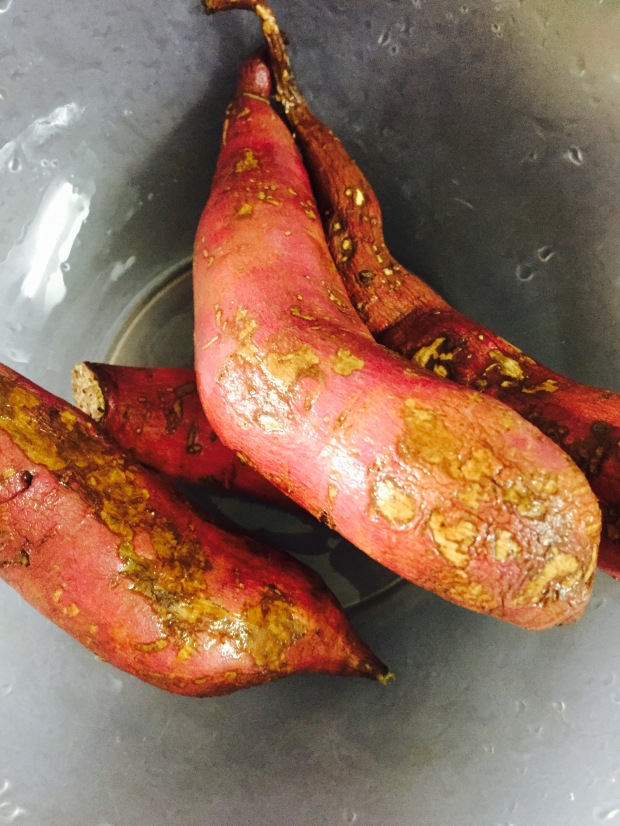


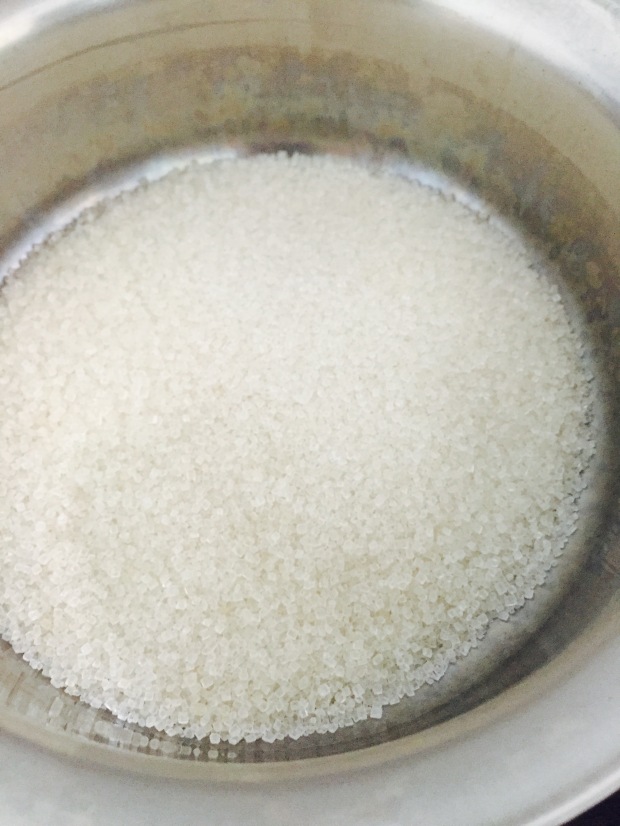
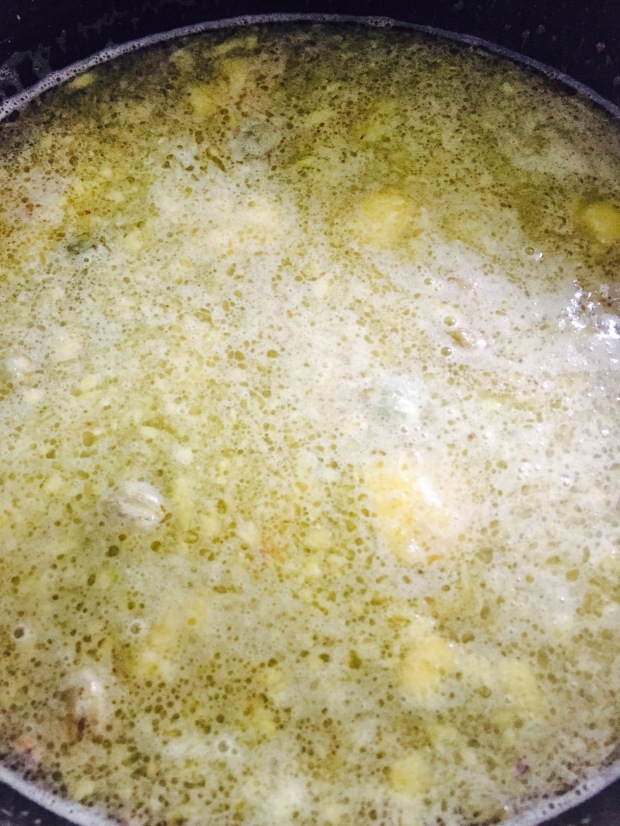
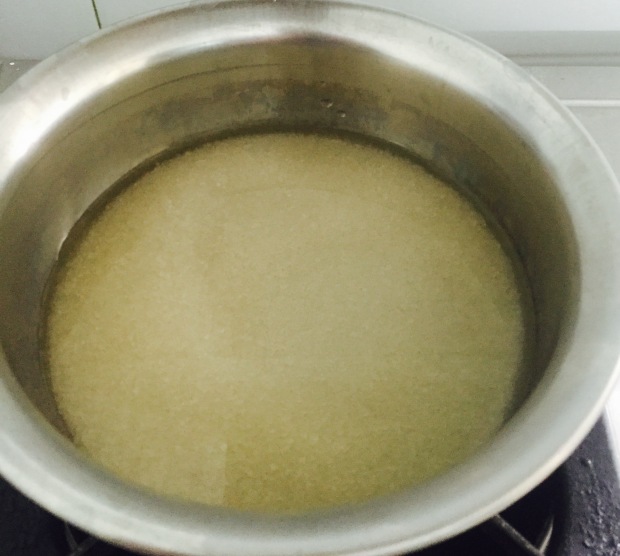 9. Boil the syrup well. Add crushed cardamom pods.
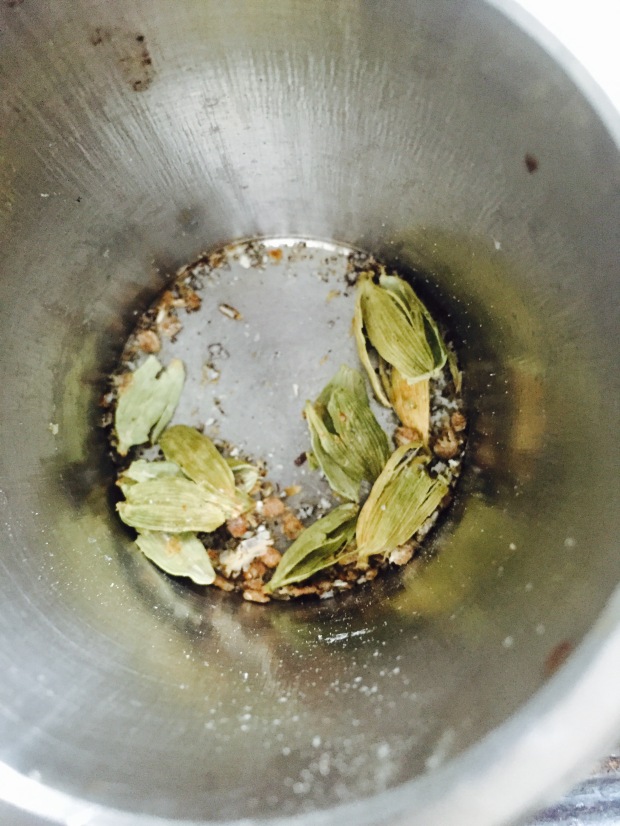
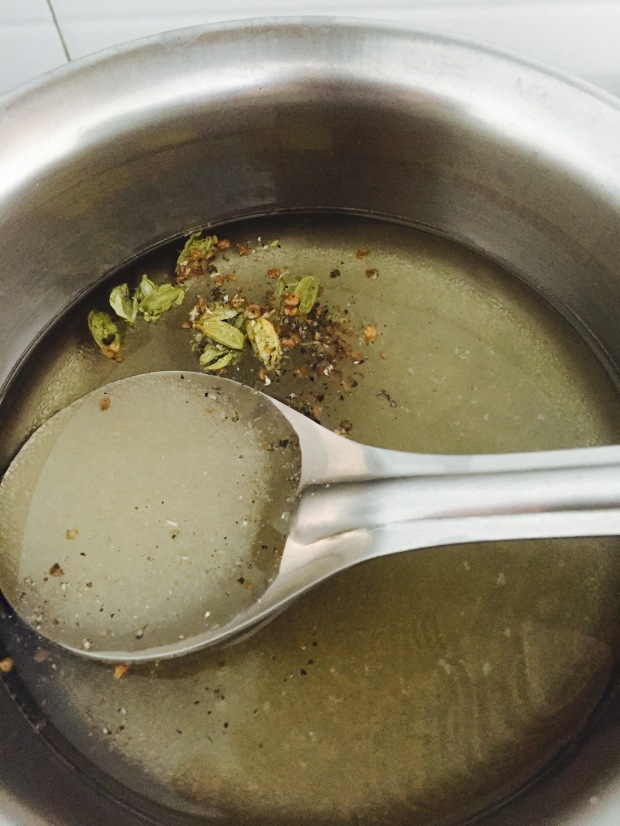
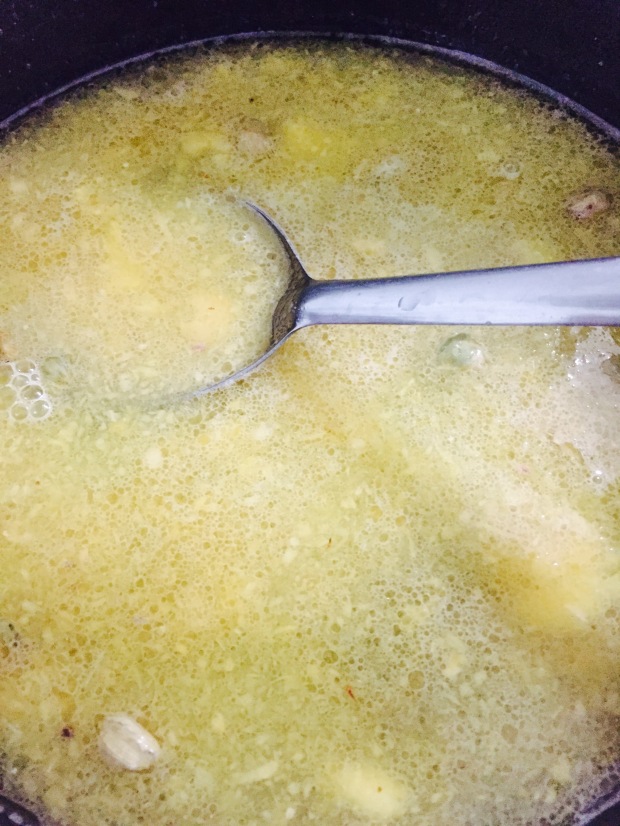
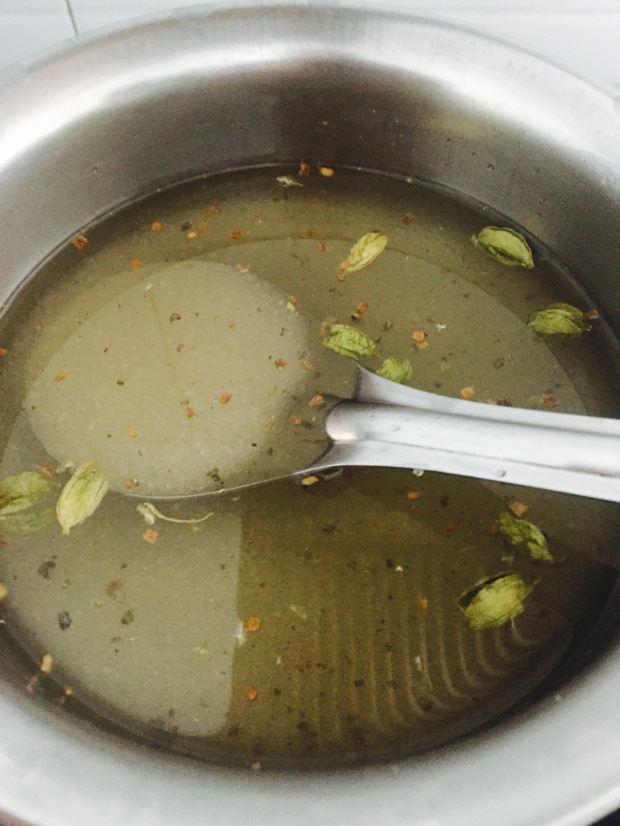 10. Boil once again till you get thin sugar syrup. Add saffron strands and few drops of lemon juice. Lemon stops the crystallization of sugar syrup and gives tantalizing taste.
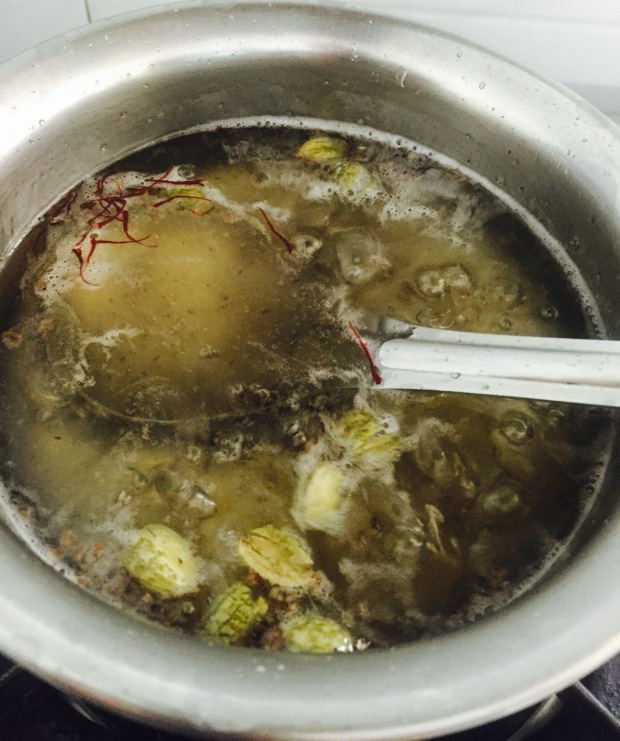
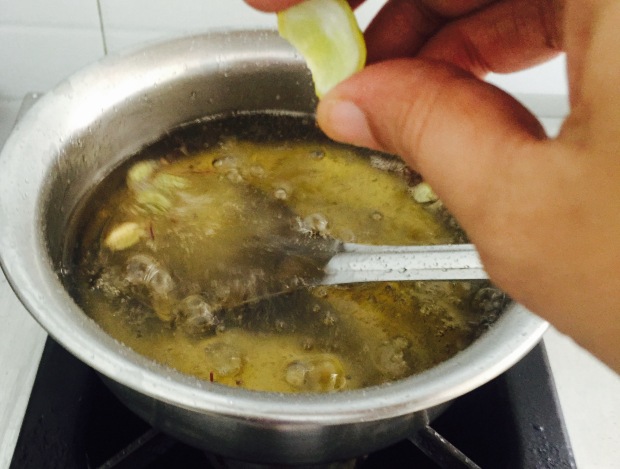

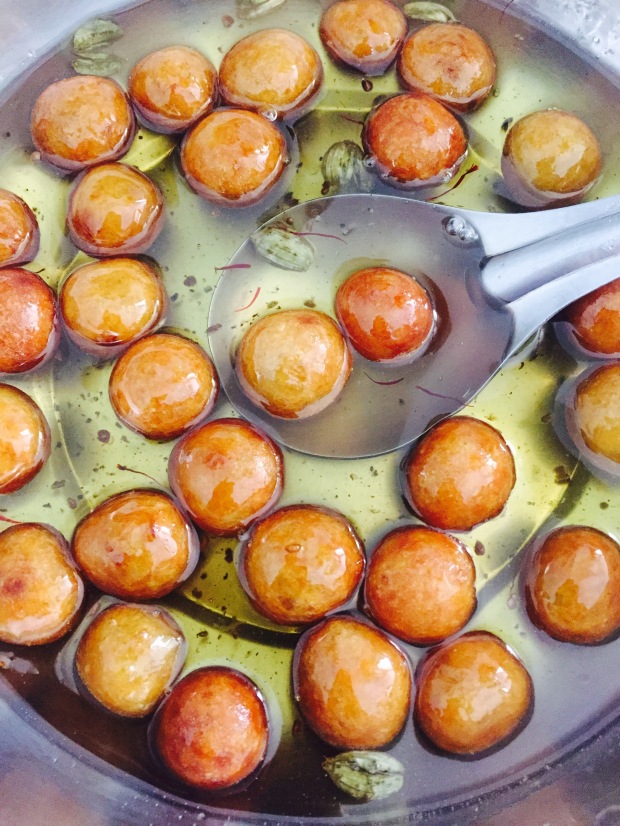
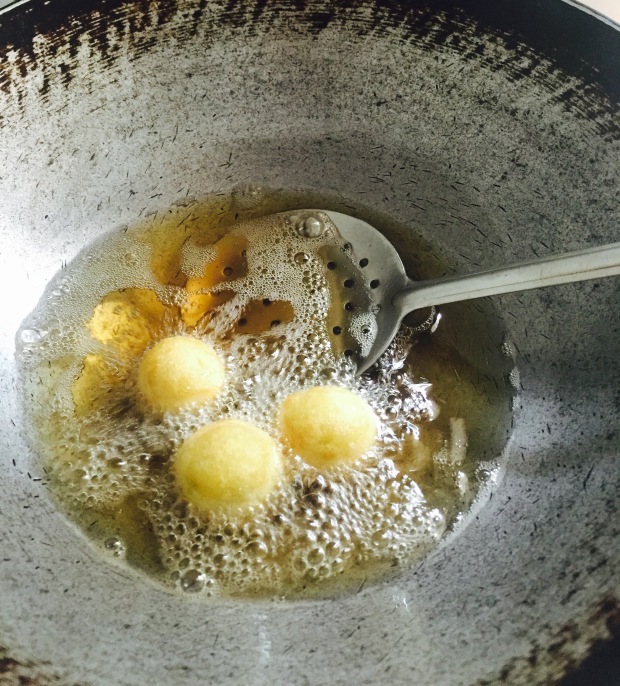
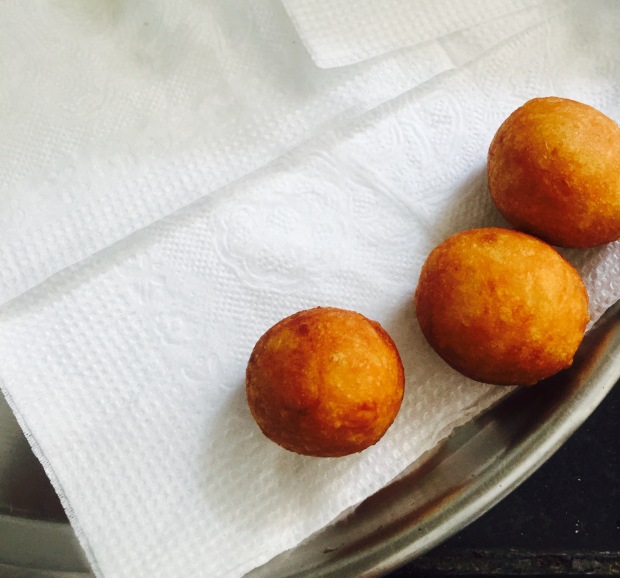
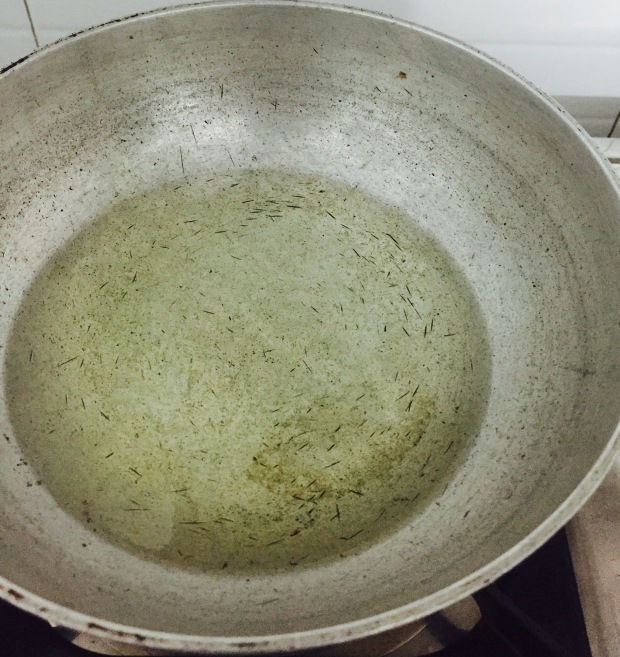
 13. Now carefully drop each ball in the hot oil/ghee and fry till they attain golden brown colour. Keep rolling the jamoons frequently while frying to get uniform colour. Fry 3/4 nos. at a time.
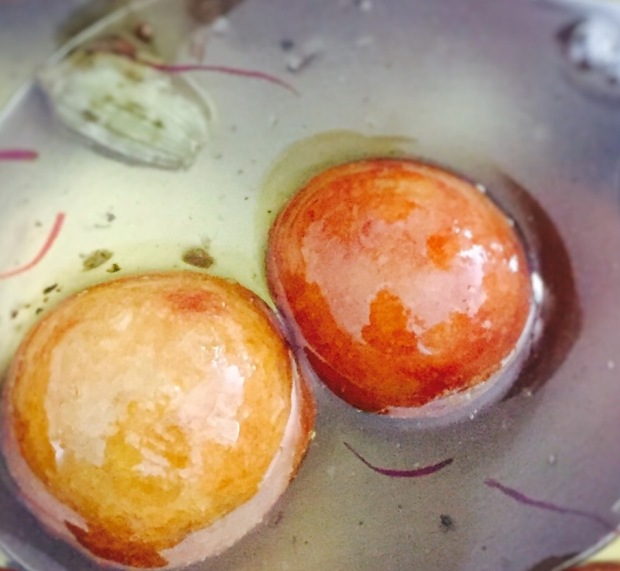
 15. The sugar syrup is also ready and transfer to a broad vessel to avoid overcrowding of the jamoons.
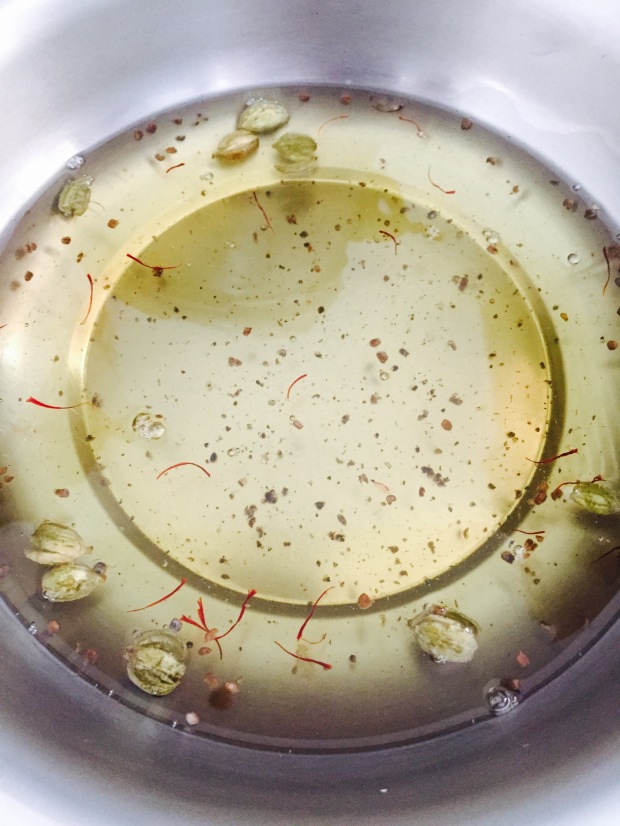
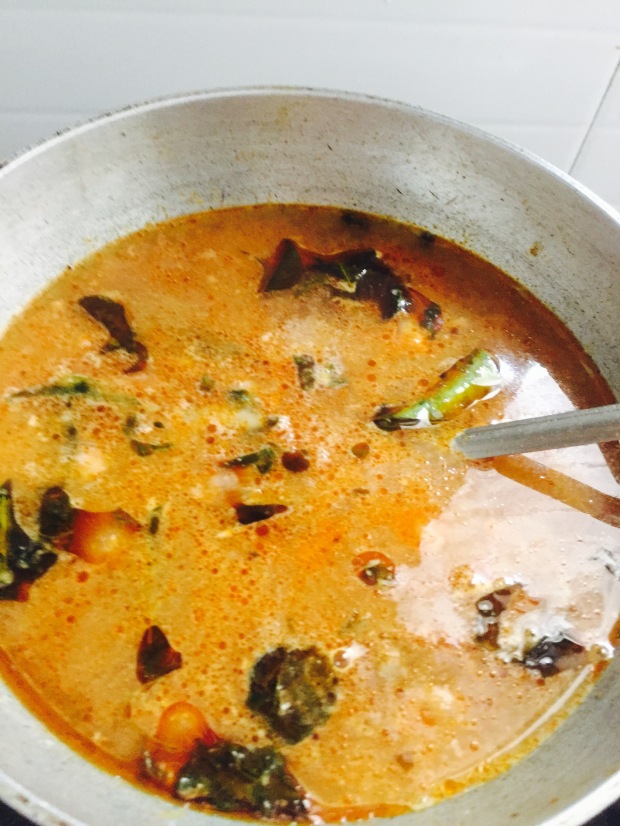
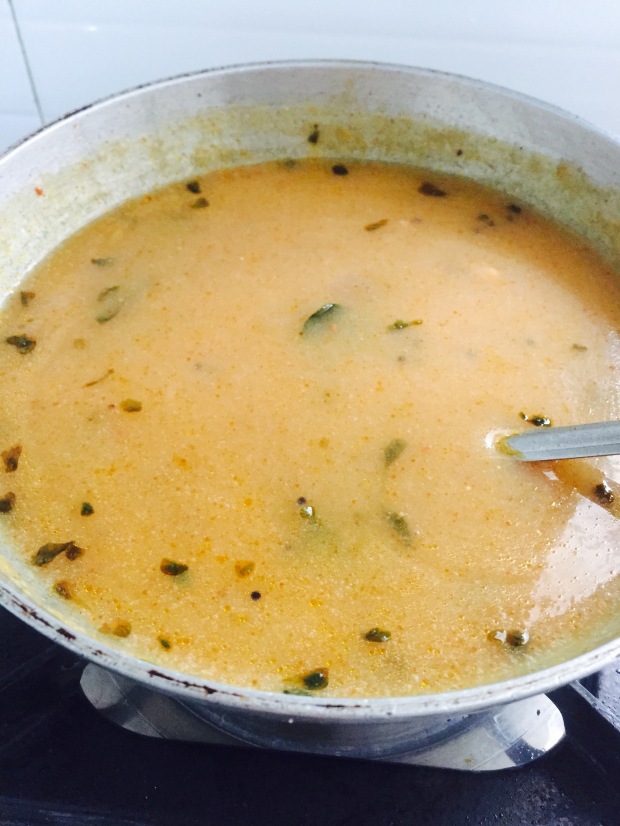
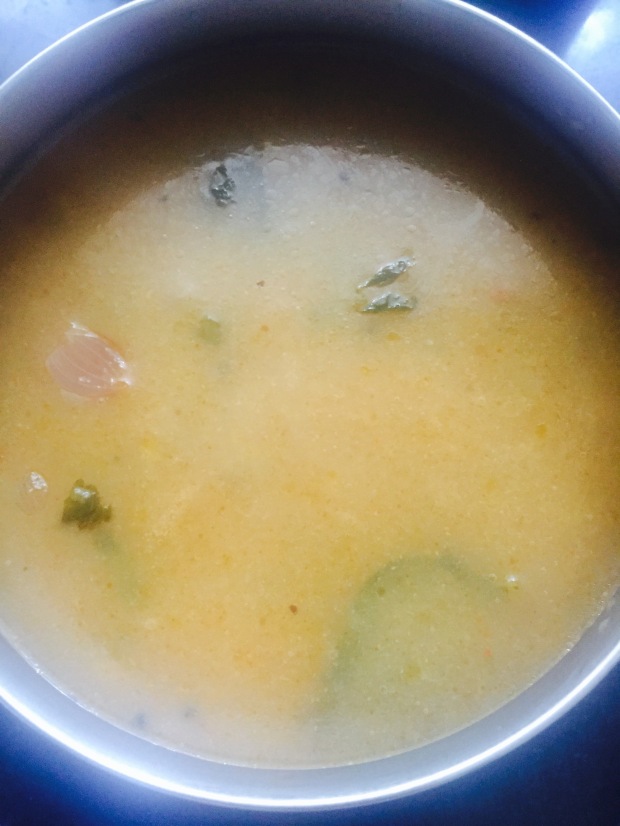
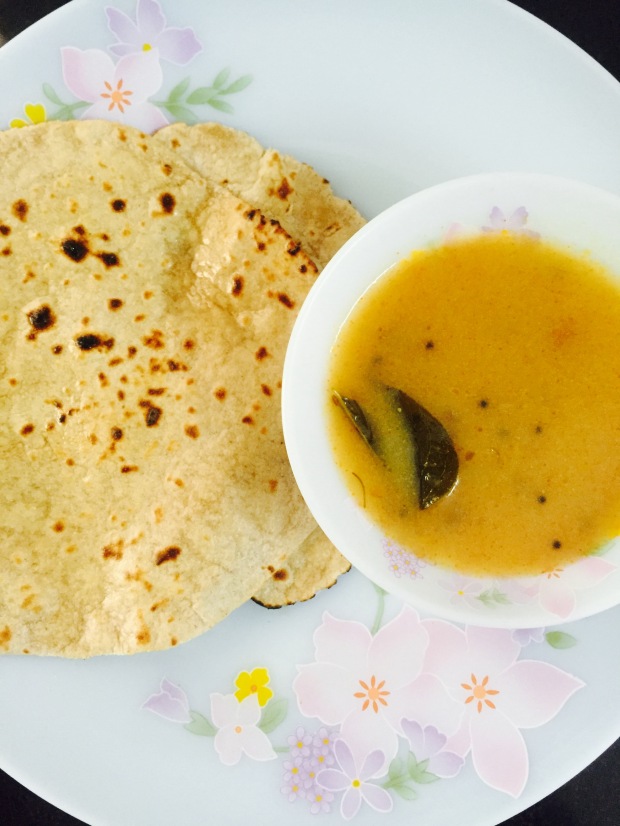
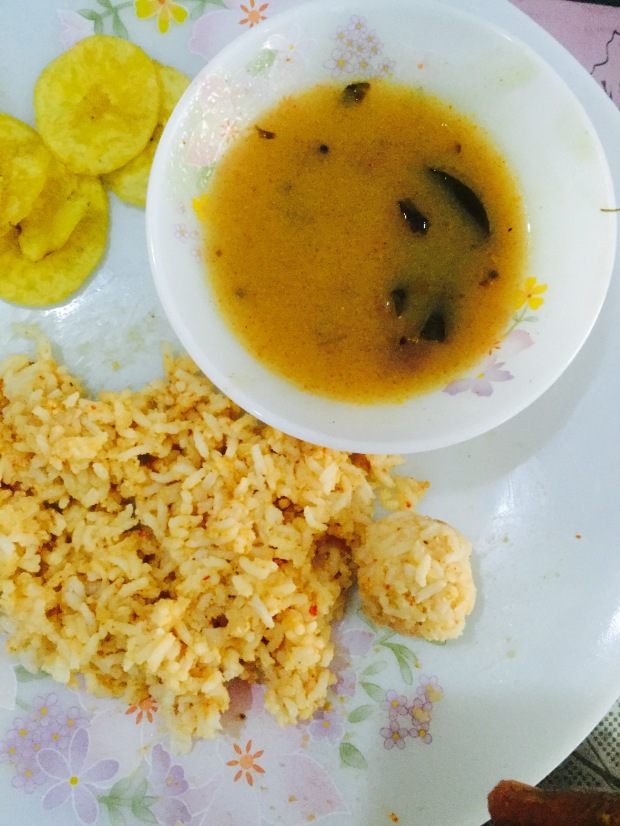
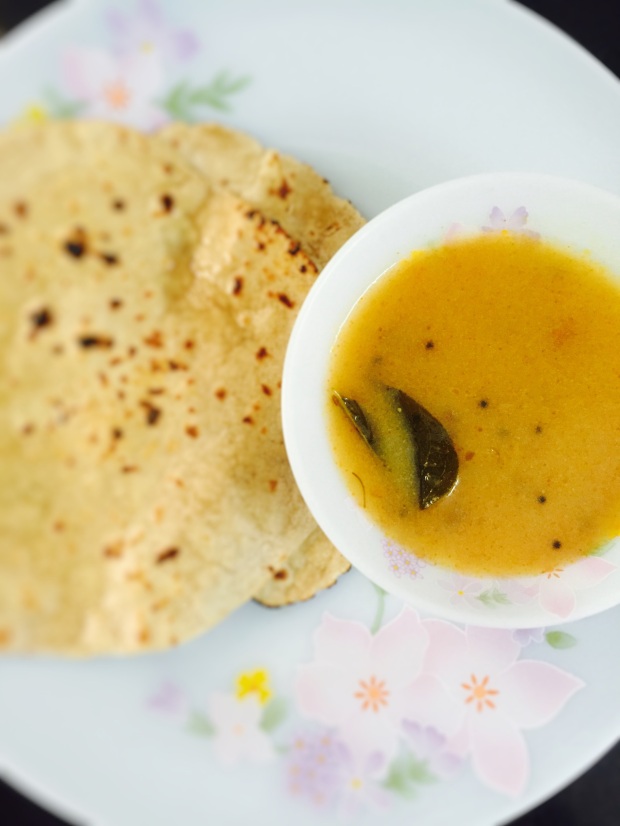 Vullipaya pulusu


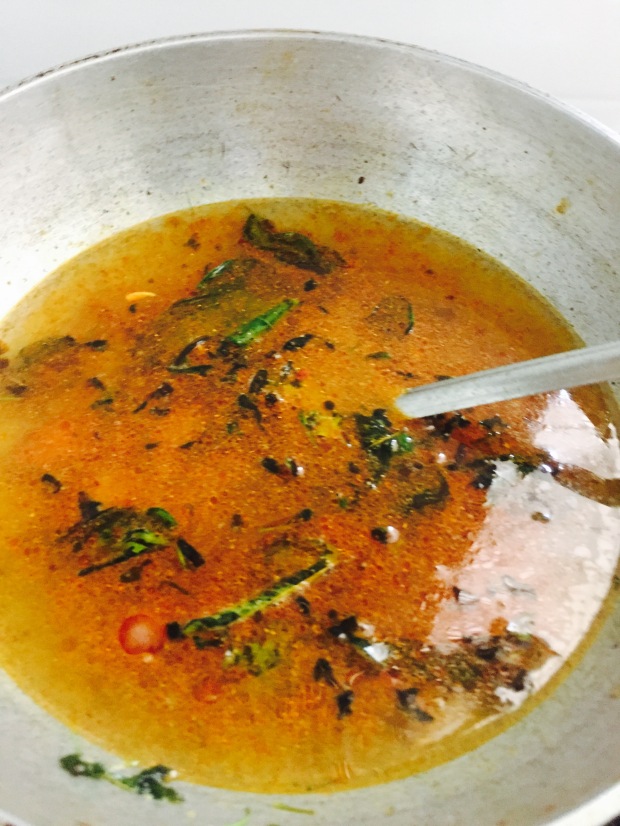

 Note:
Note: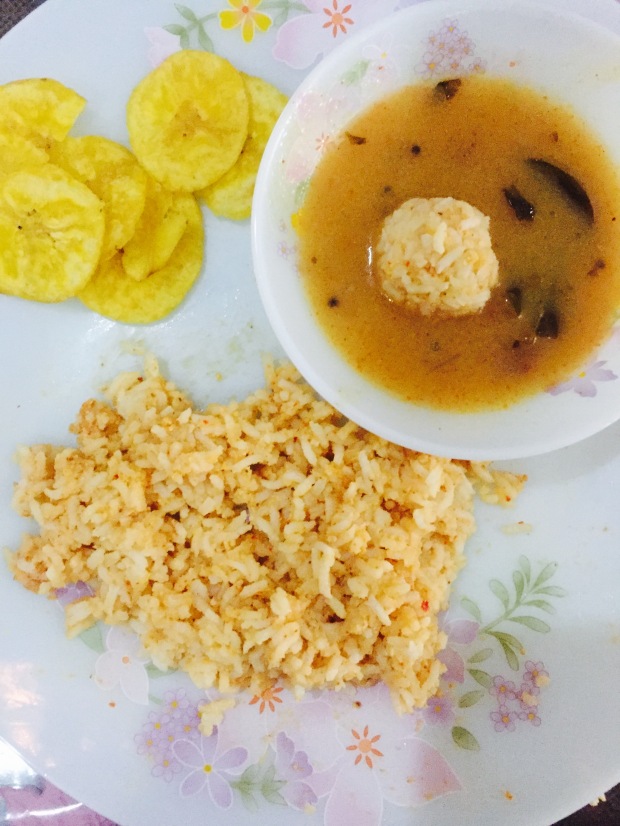
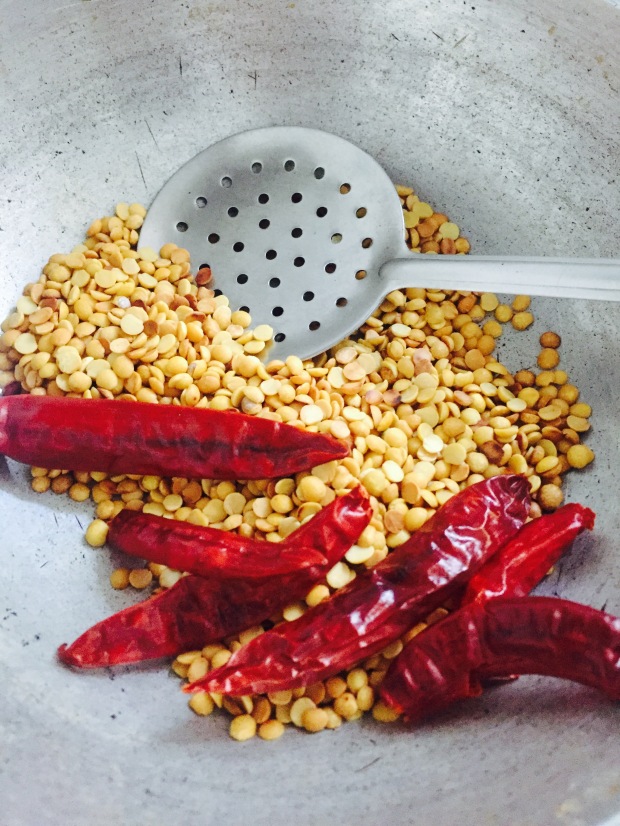
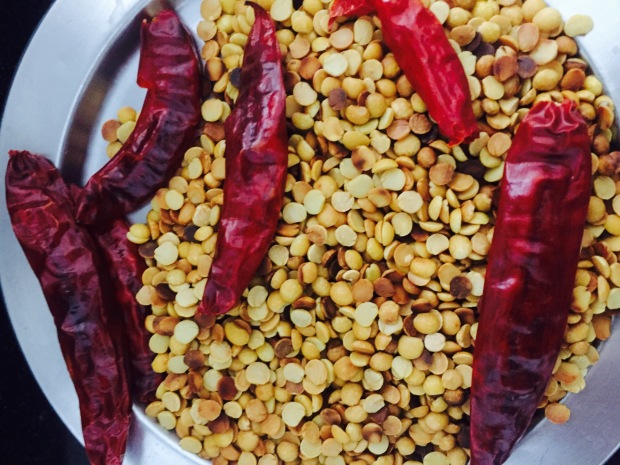
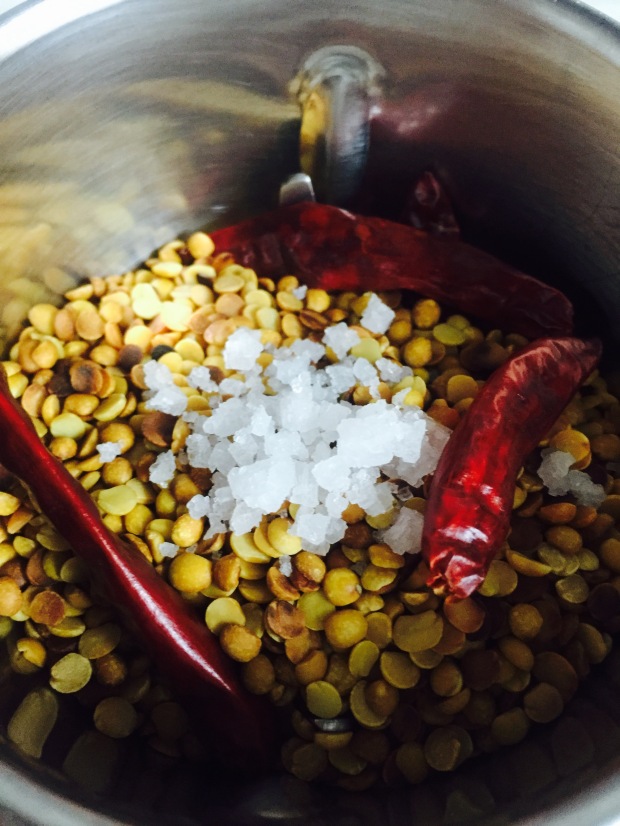
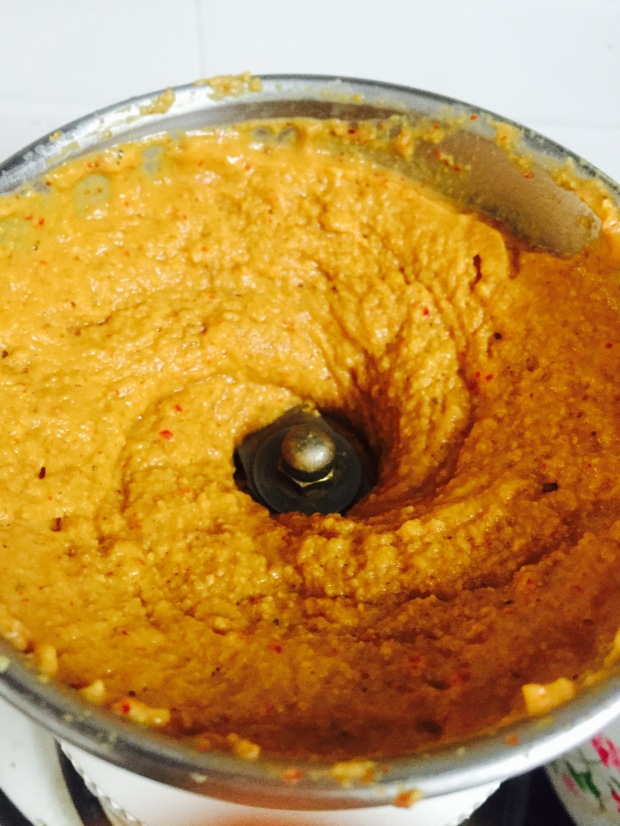
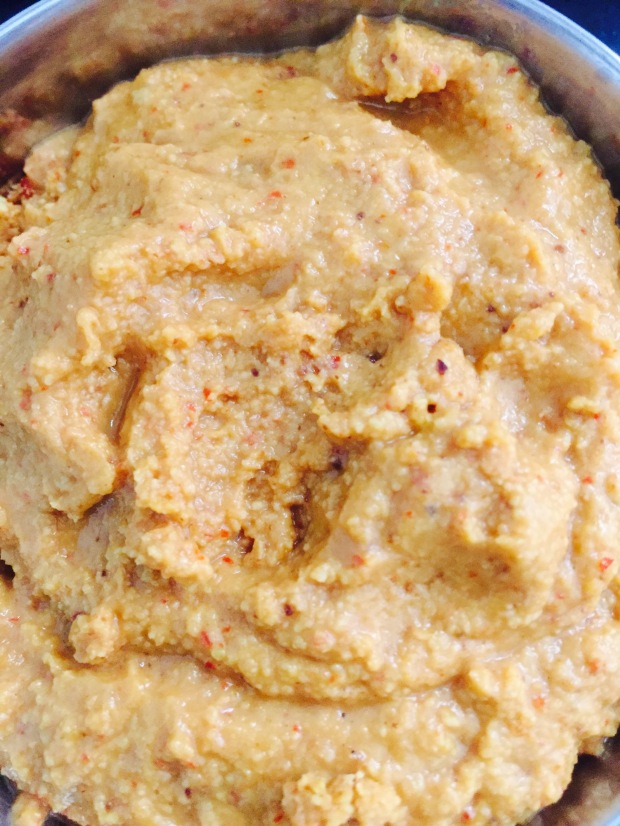
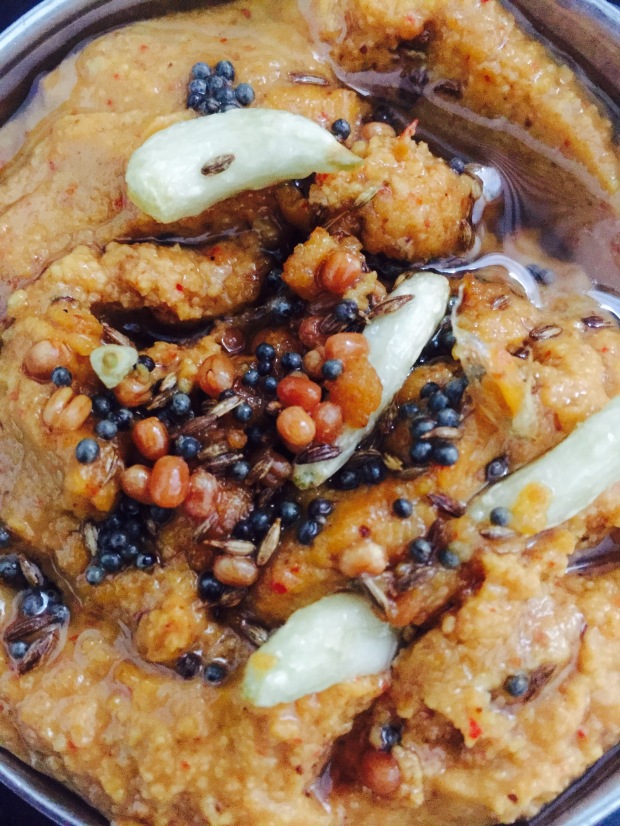
 Kandi pachadi/toor dal chutney
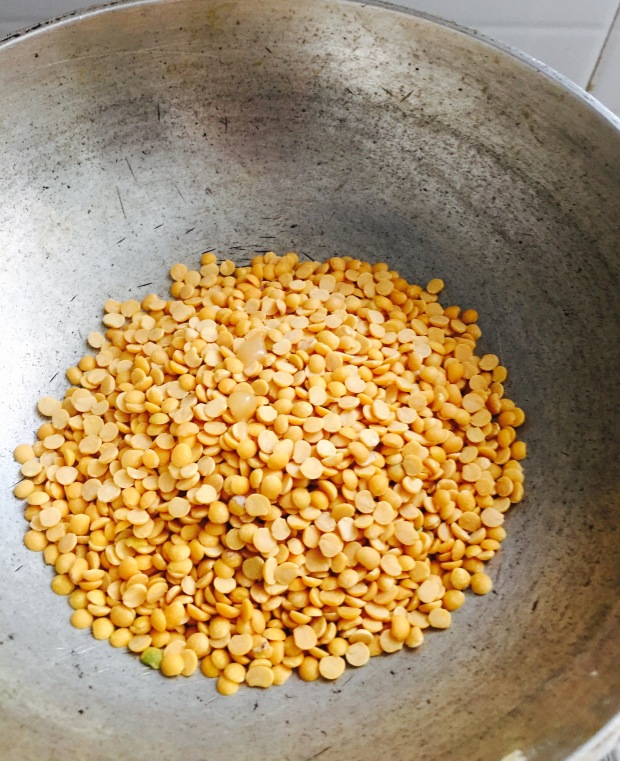


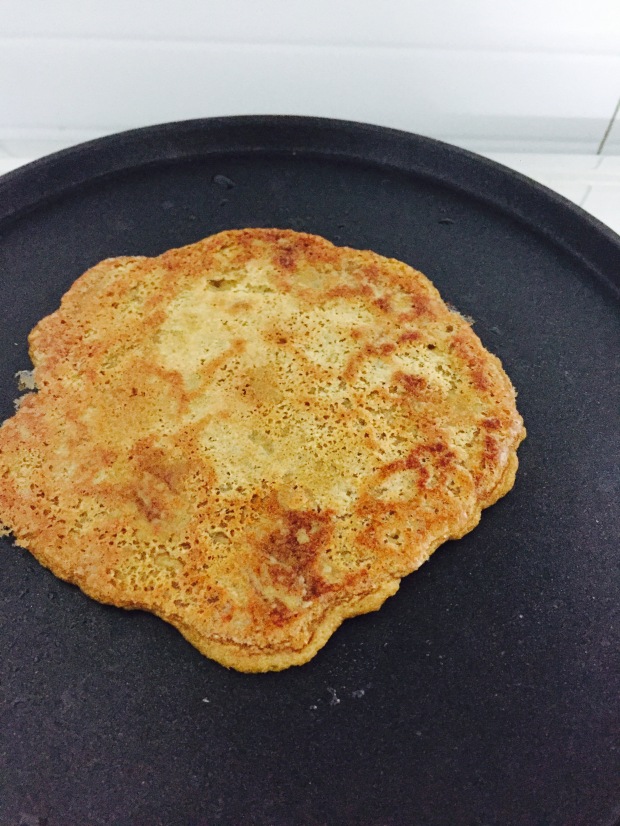
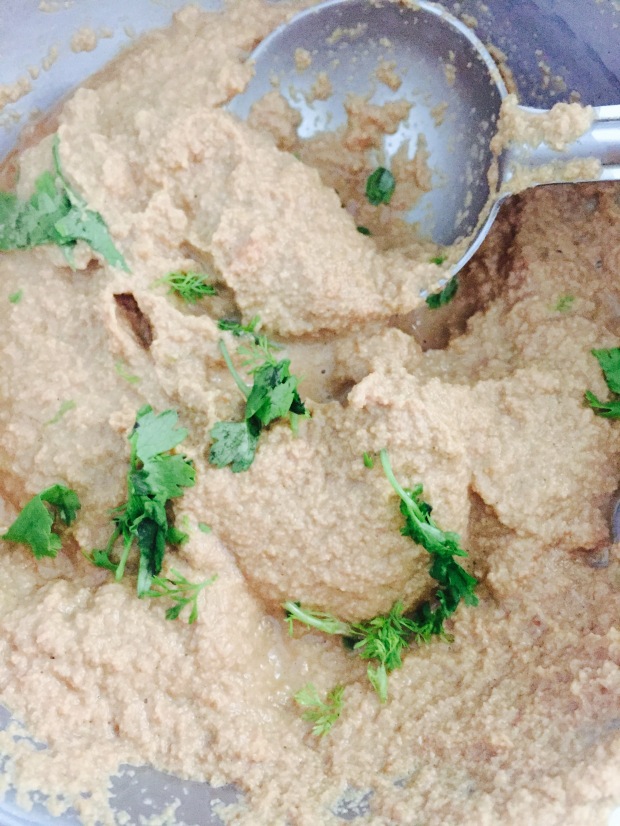
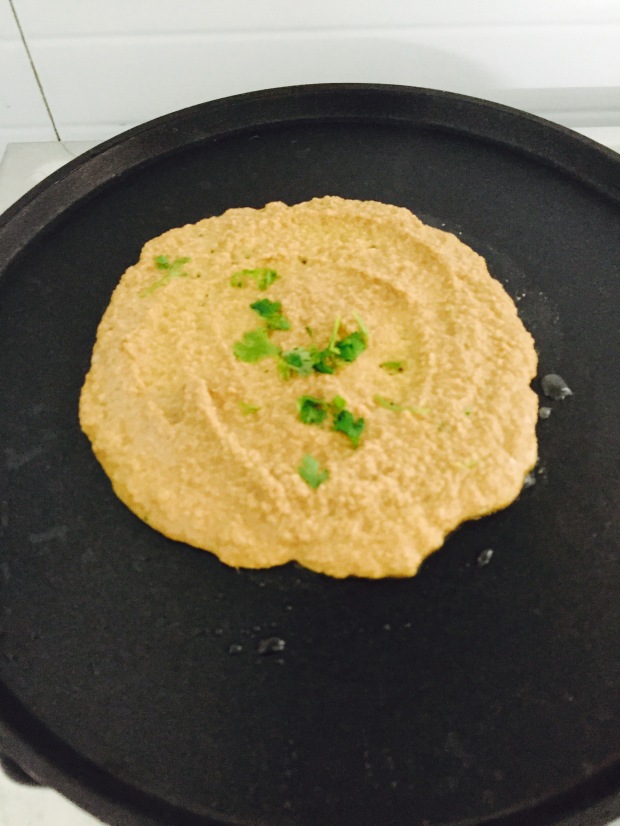
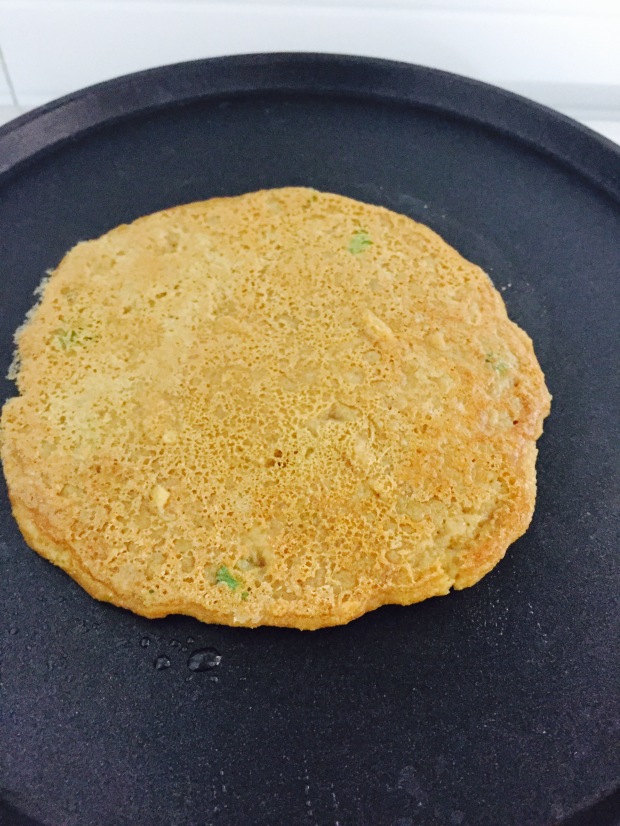
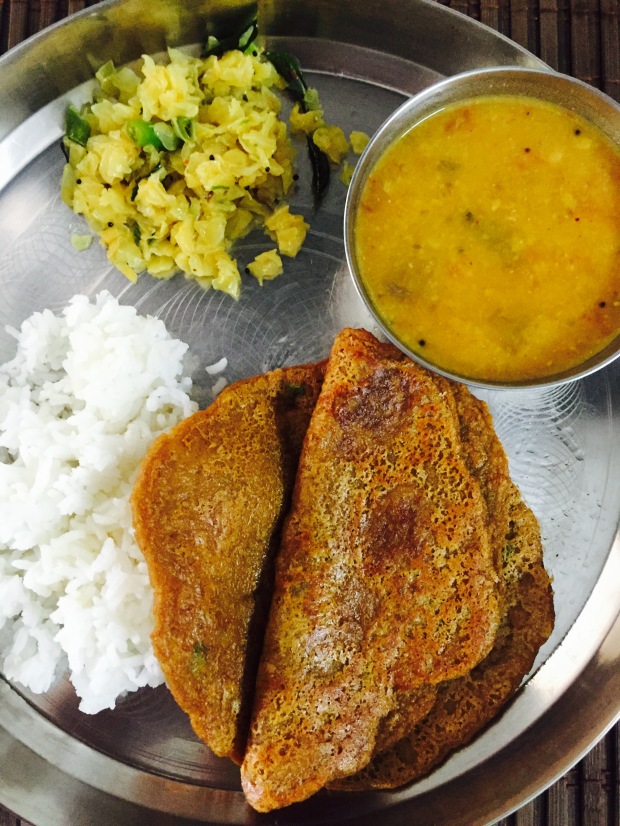
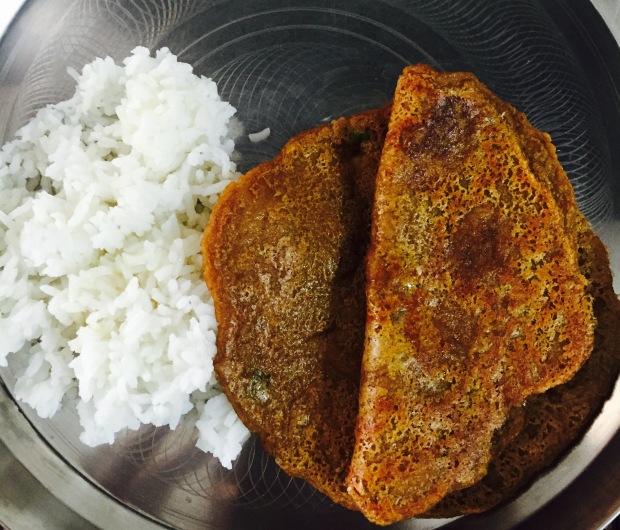 Kanda Attu/Yam Dosa
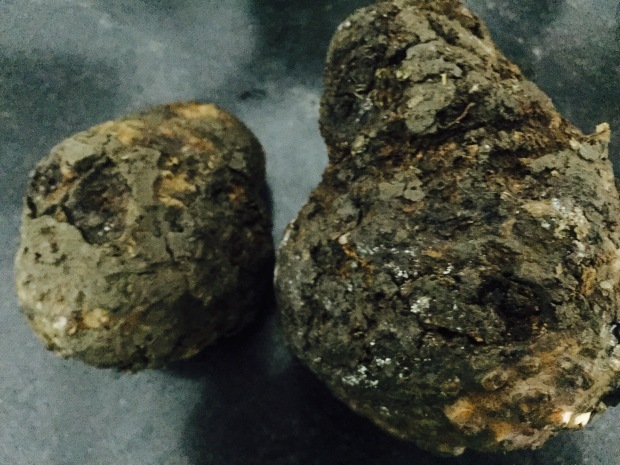
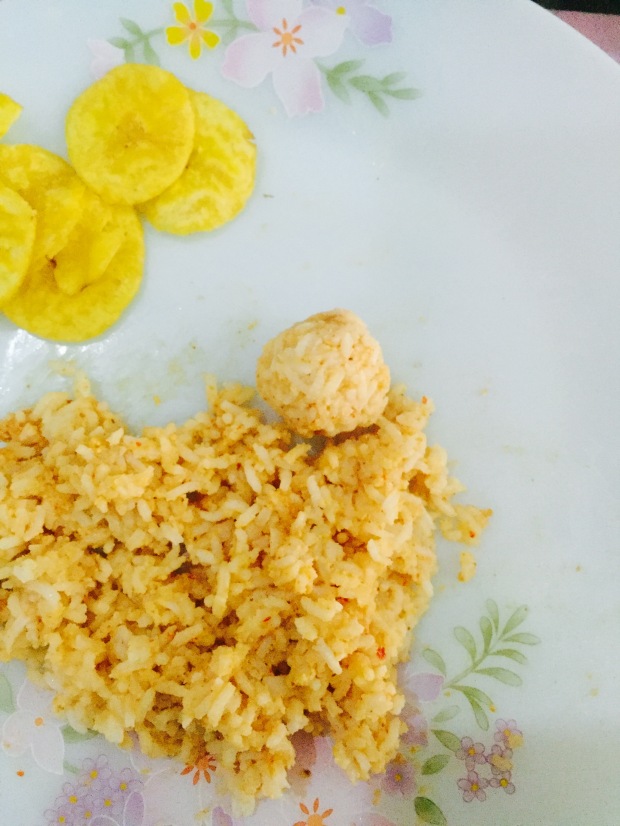
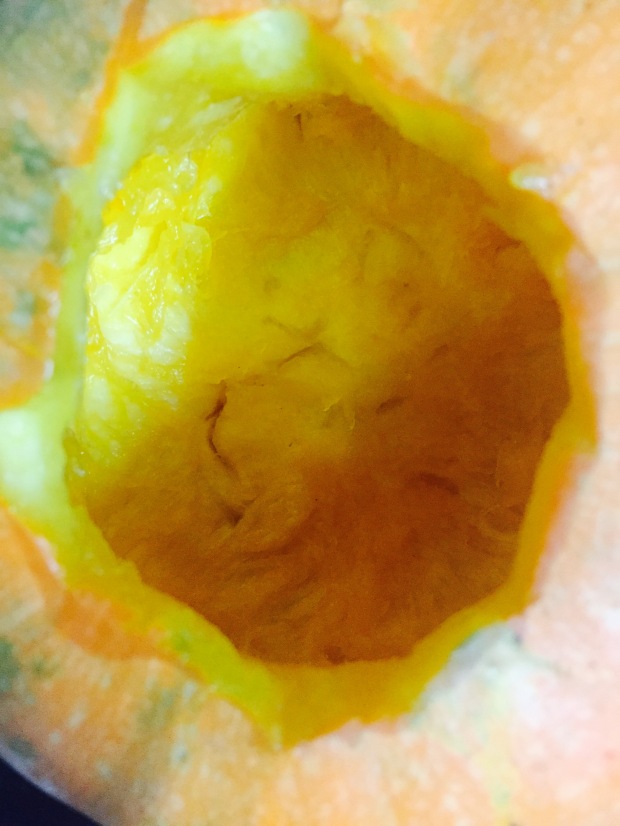
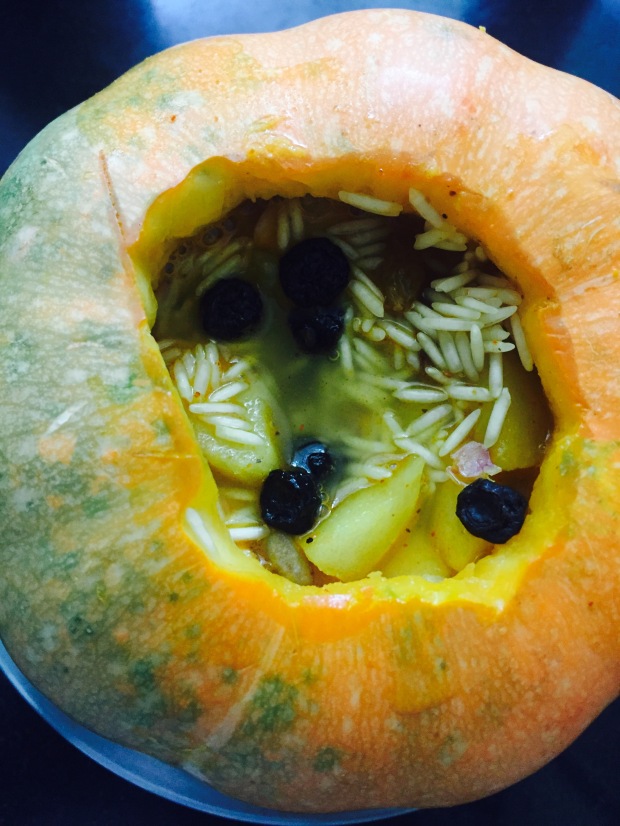
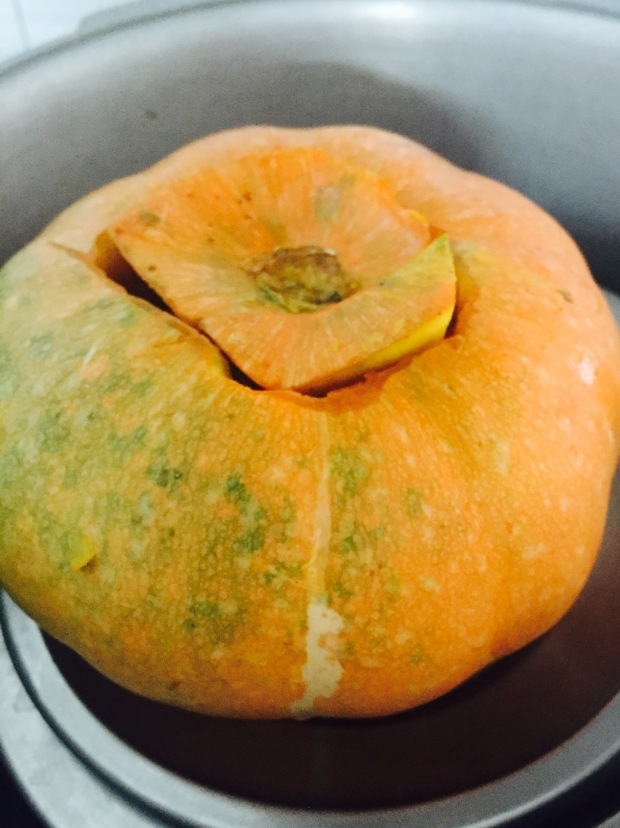
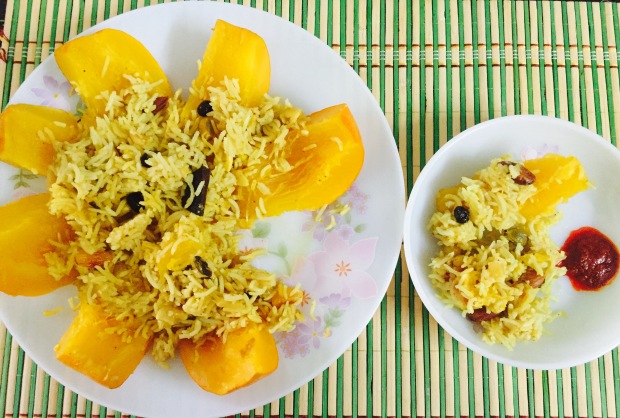
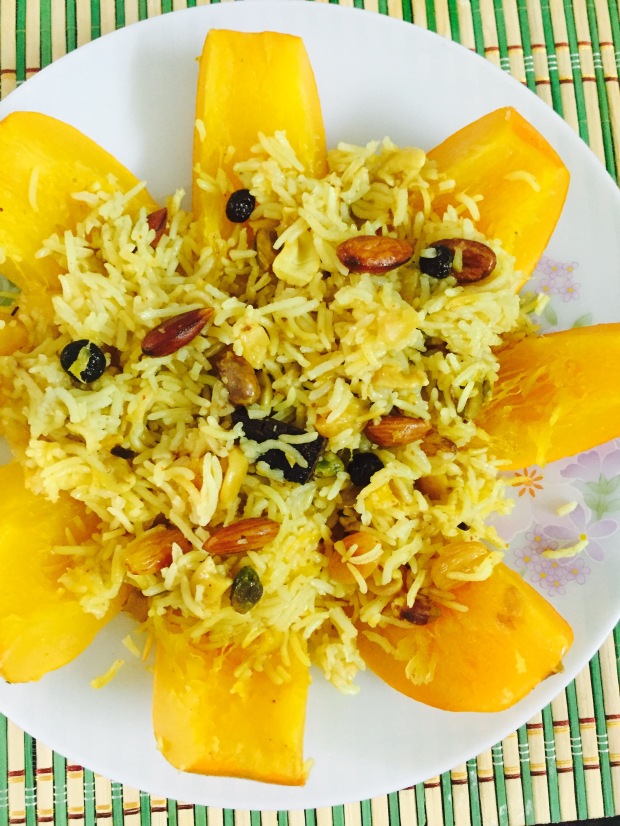 Pumpkin pot‘ meal
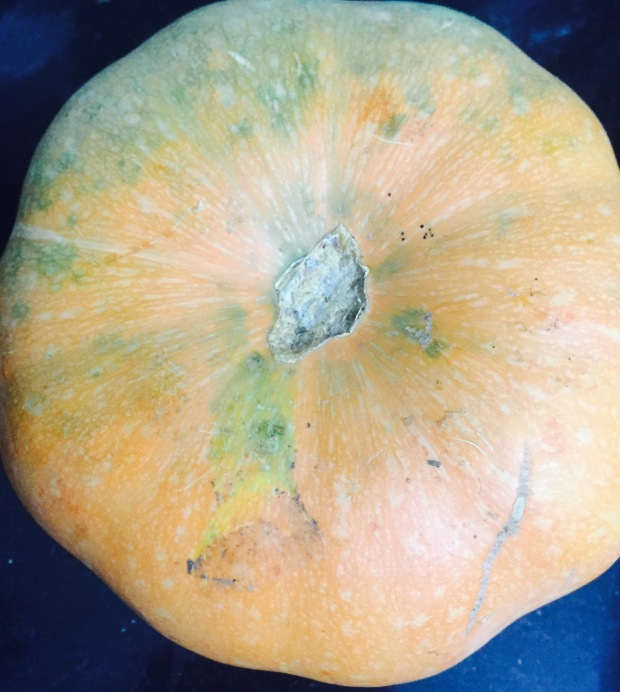
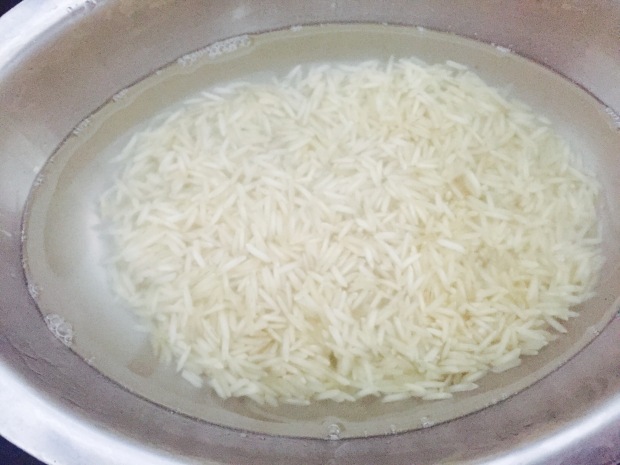
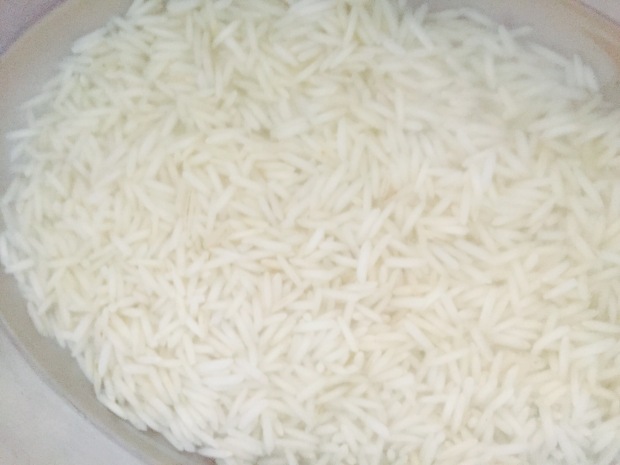
 2. Take one small cup of basmati rice, rinse thoroughly and soak in 2 small cups of water for 30 minutes.
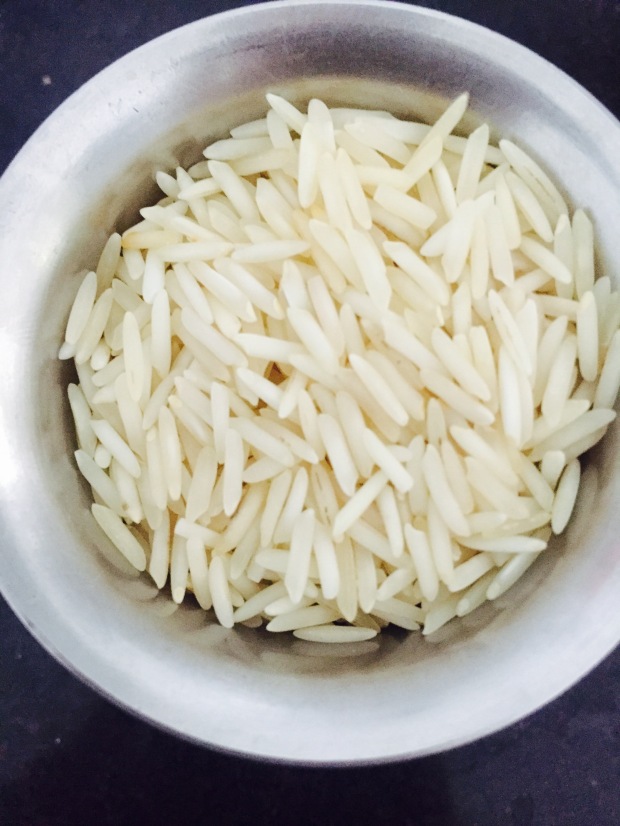
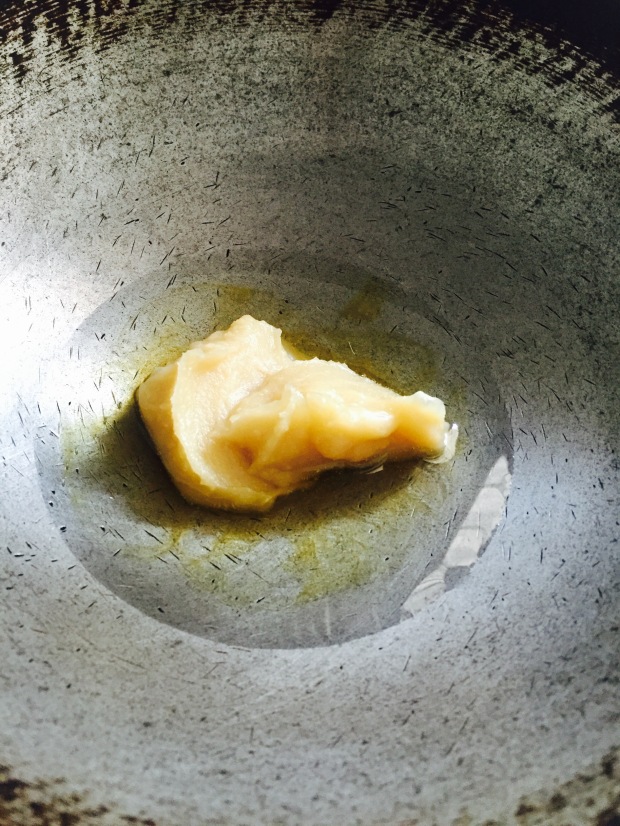
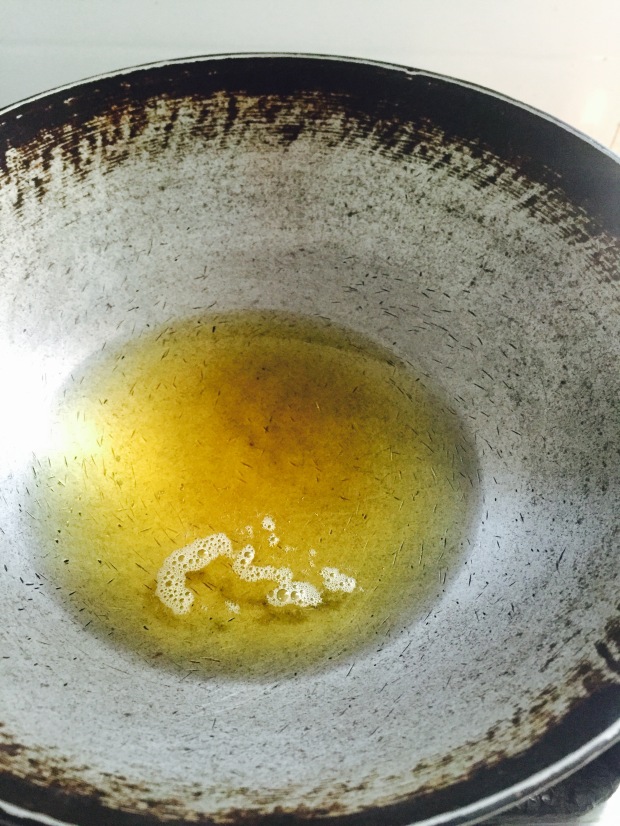
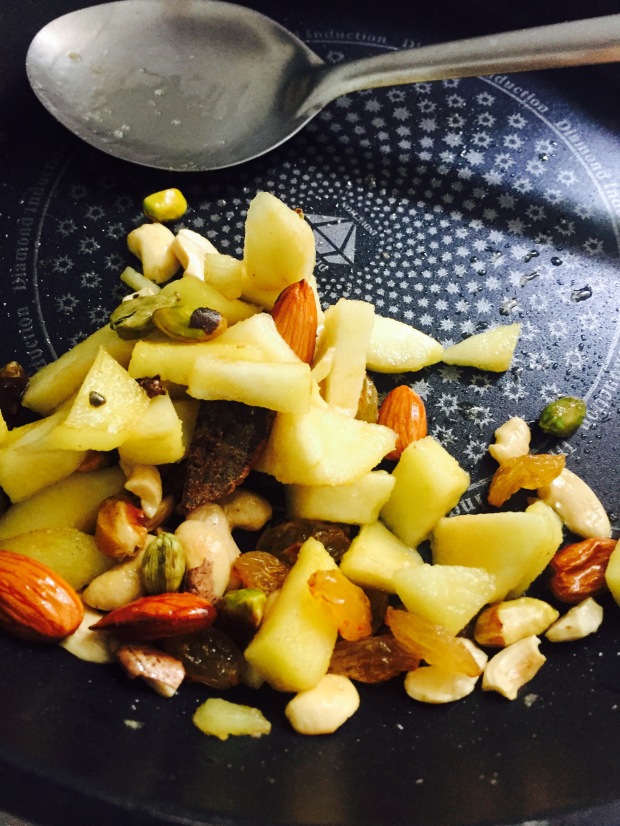
 3. Heat a pan and pour 2 tsp of ghee, fry the dry fruits in the ghee.
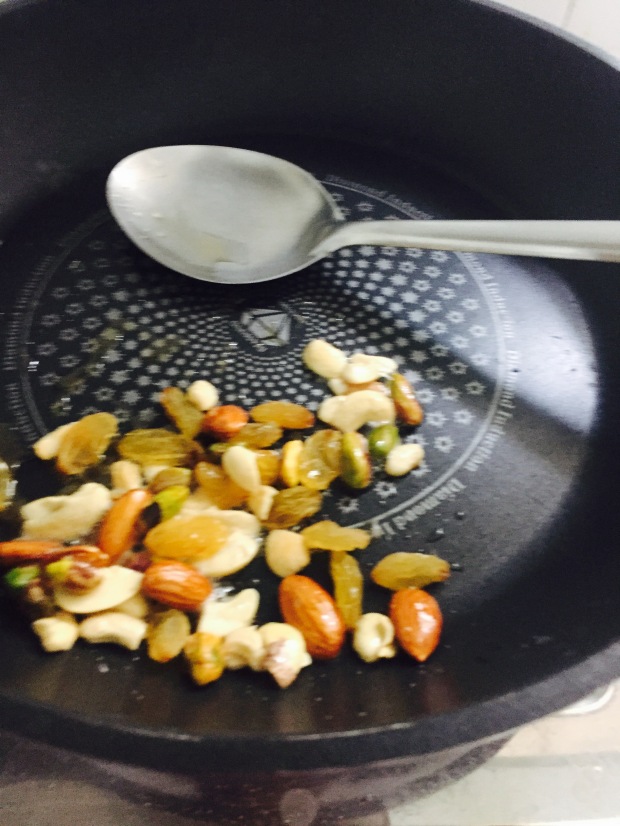
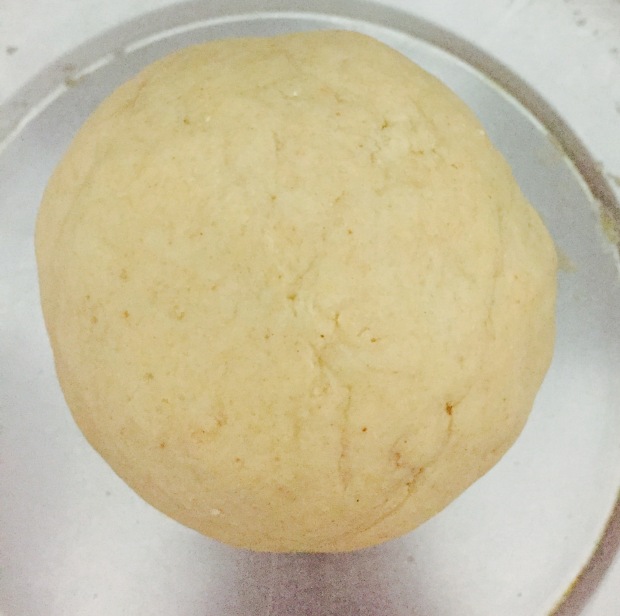
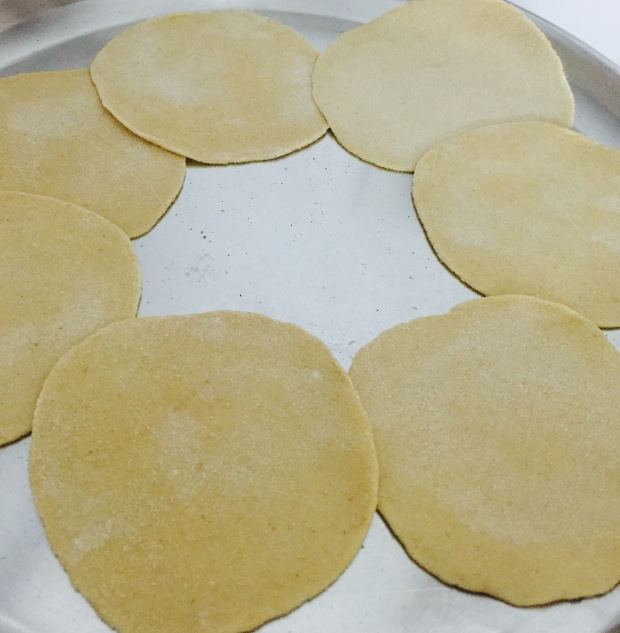
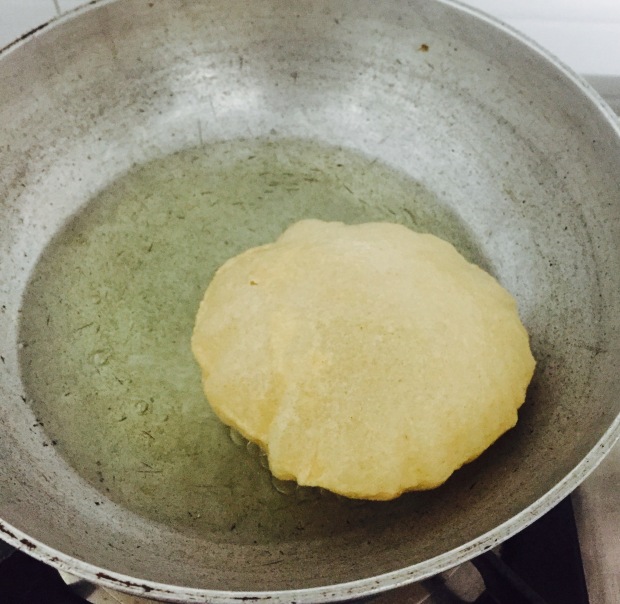
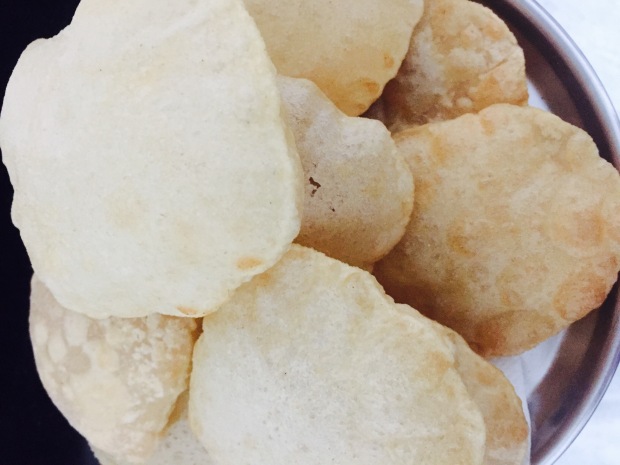
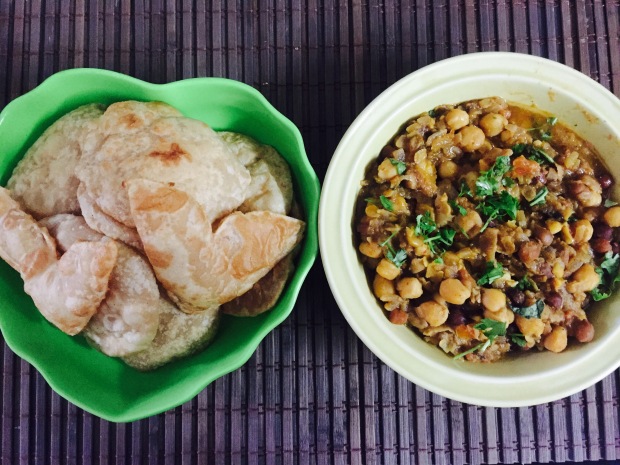 Multigrain atta poori

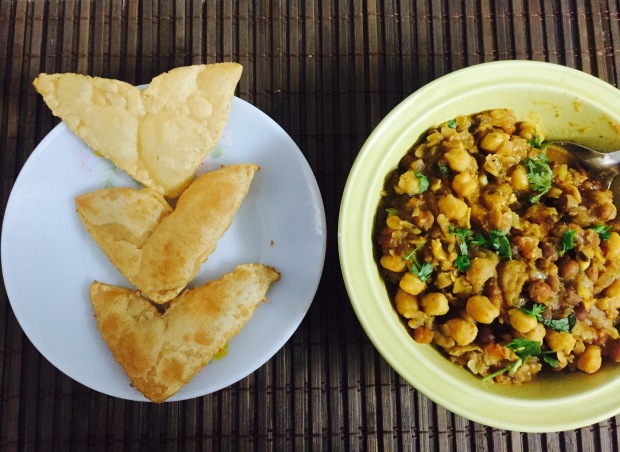
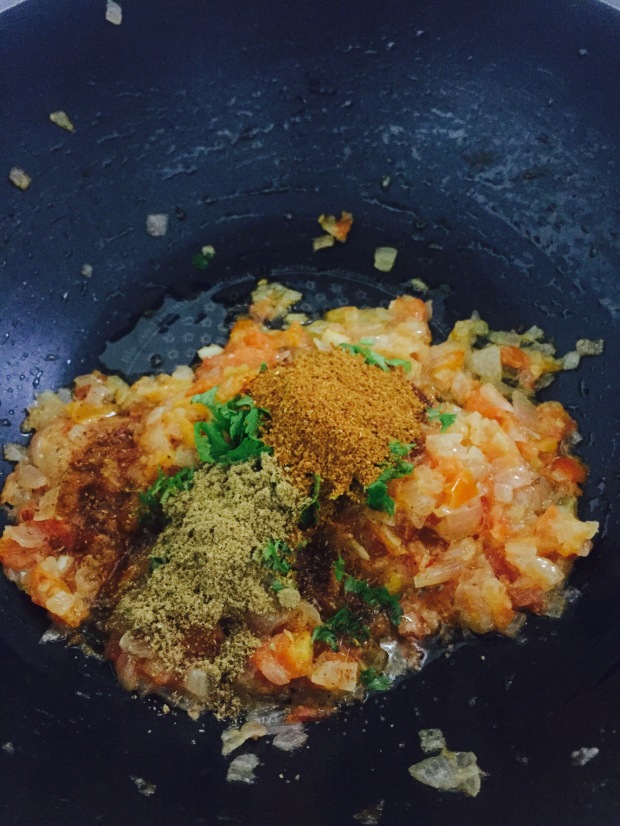
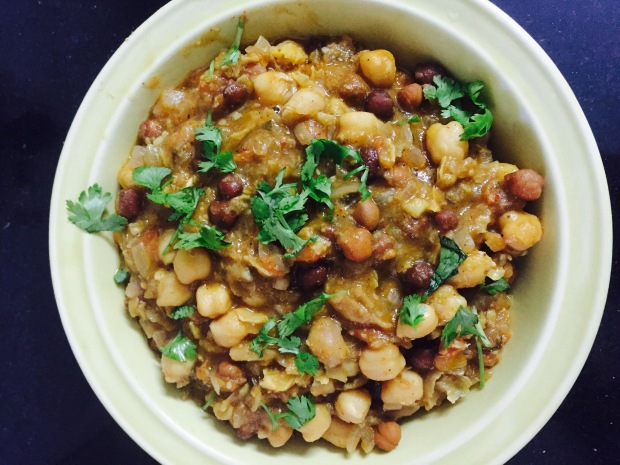
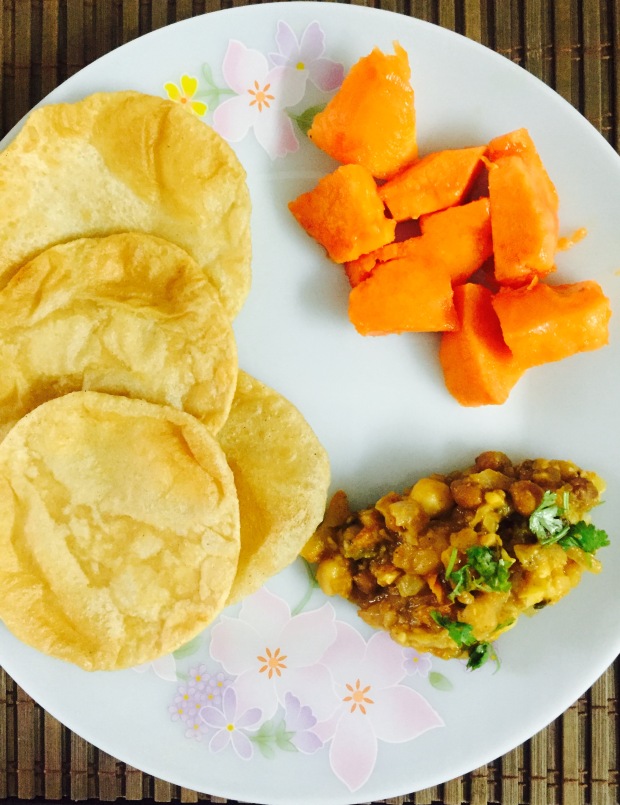 Chole masala for multigrain Atta poori
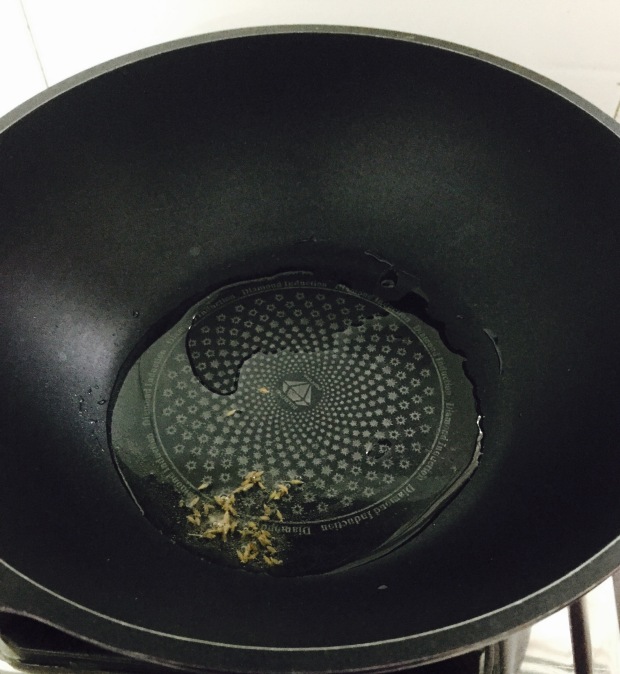
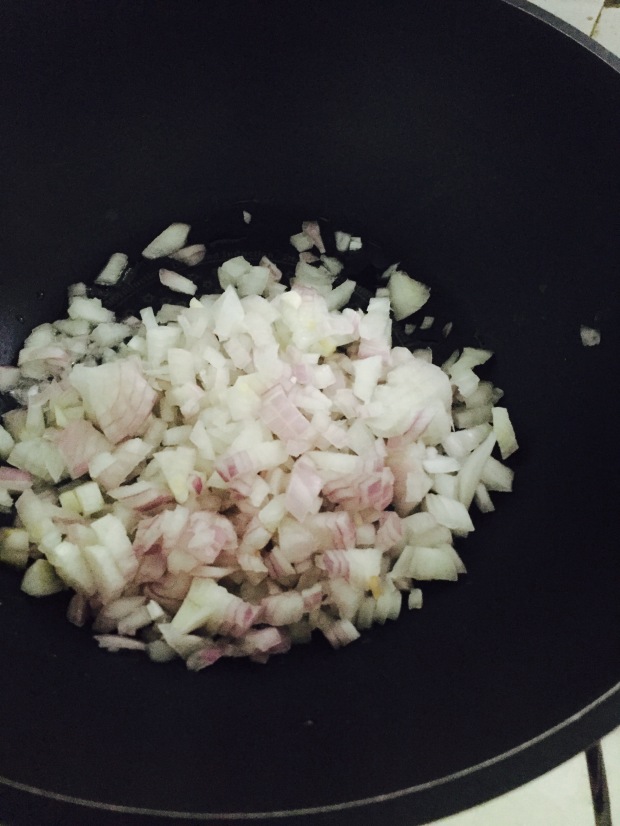
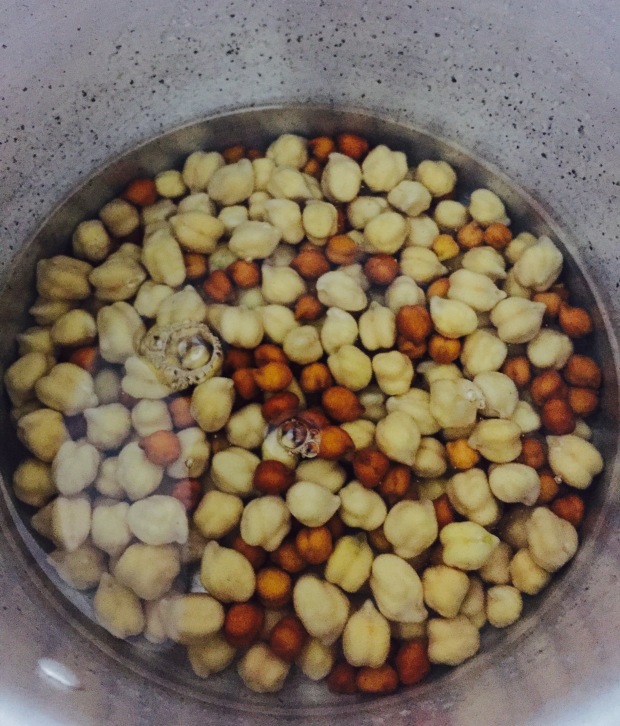
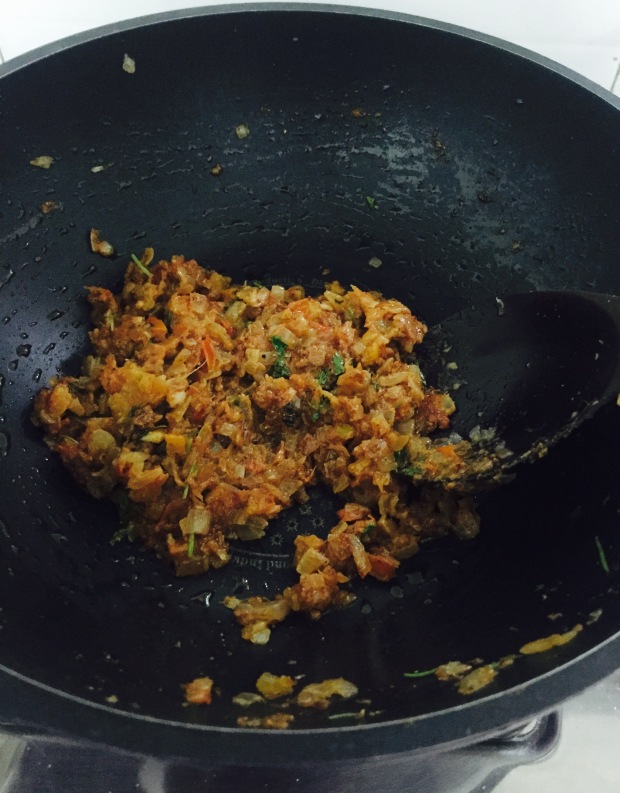 12. Now transfer the cooked Chana along with water onto the fried onion and tomato mixture. From the cooked Chana take some quantity and mash well so that we get the right consistency for the gravy.
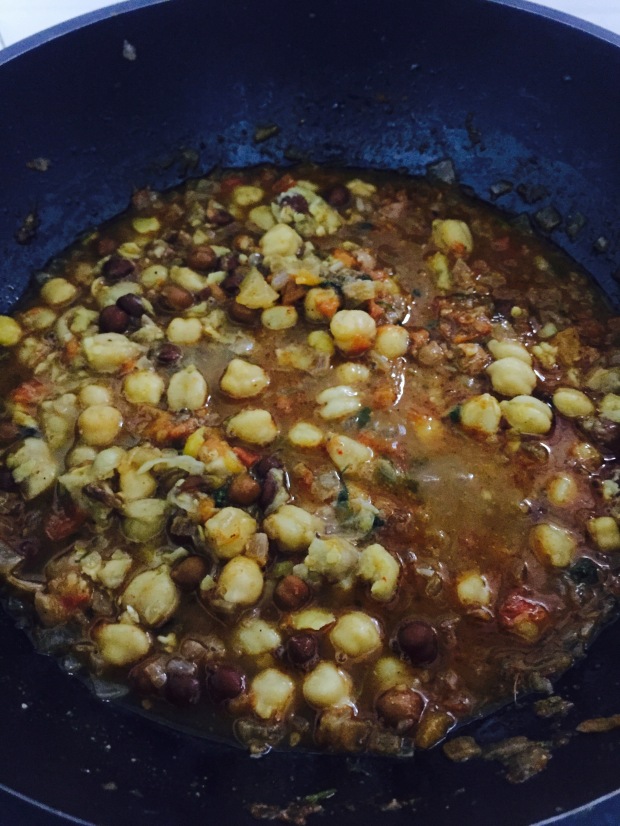

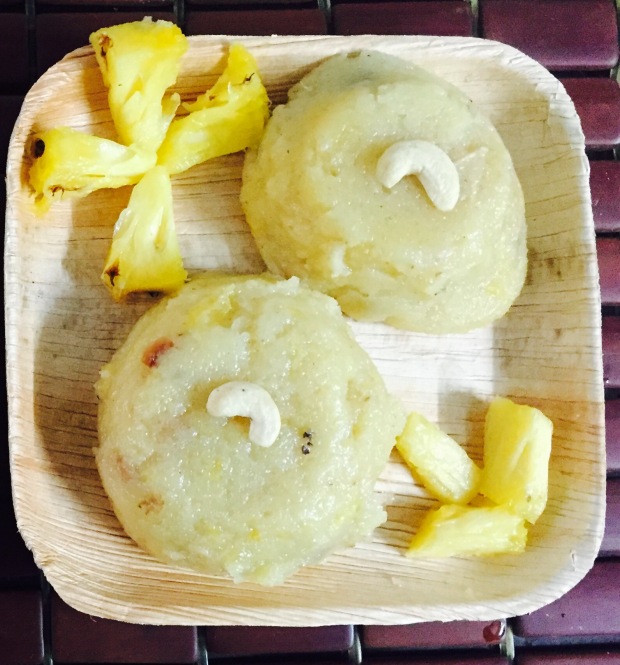 pineapple kesari(Another variation)
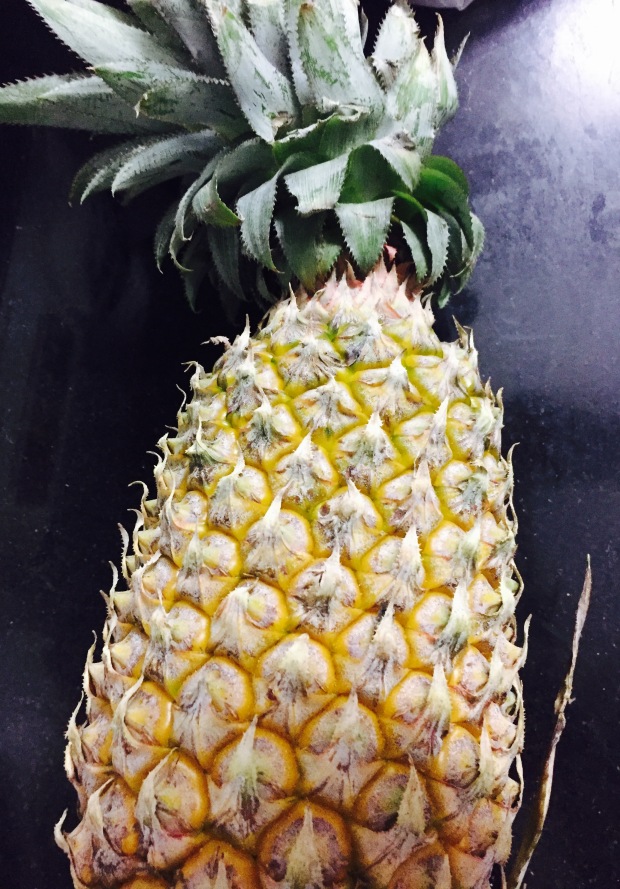
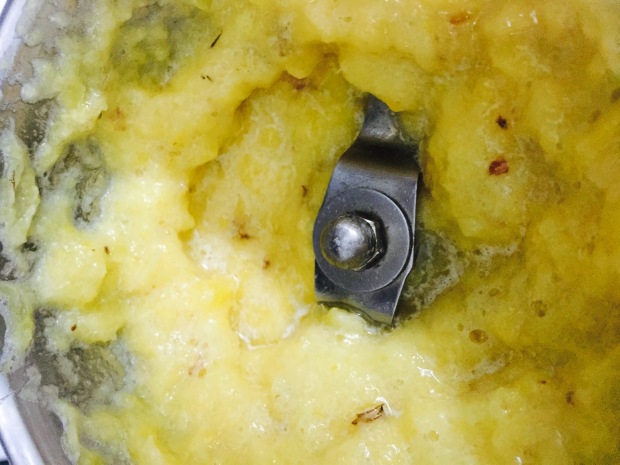
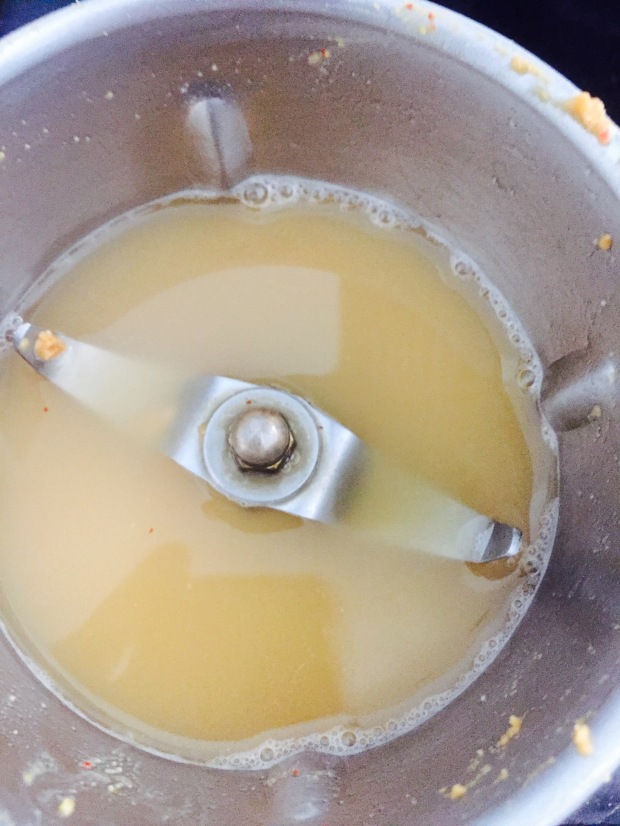
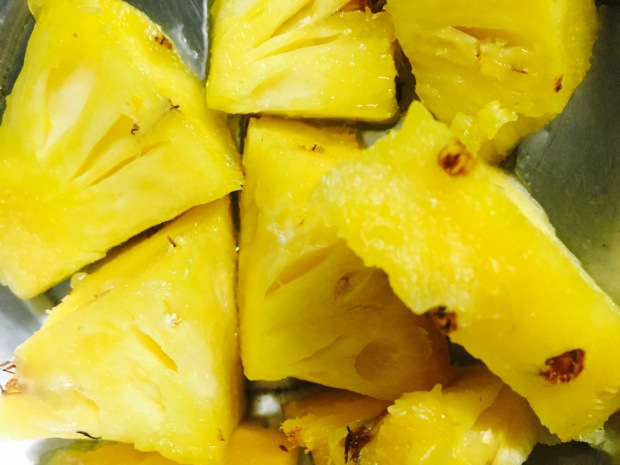 3. Take a mixer grinder and make the pineapple chunks into purée. Keep few chunks for garnishing. Also I’ve added few tiny pieces while boiling water.