Today is a very special day for me. Akshayakumbham is celebrating it’s 3rd Anniversary. I would like to thank all my readers for making it a big success. On this special day I’m posting pista cookies to celebrate the occasion.
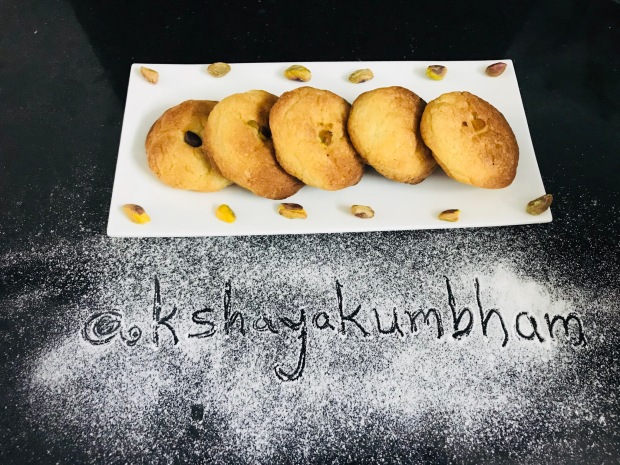 Pista cookies
Pista cookies are super quick snacks and can be prepared so easily. I’ve used maida, powdered sugar, little milk, vanilla essence, crushed pistachios and butter to prepare the cookies. Dough is prepared with the ingredients and baked in an oven@170 degrees for 10-15 minutes. Cookies are allowed to completely cool down for one hour and served with cup of tea or coffee. Here I present mouthwatering pista cookies 🍪 to relish anytime. Njoy Cooking, Serving n Savoring!
Author: Akshayakumbham
Course: Cookies/baking
Cuisine: World
Servings: 15
Ingredients:
Maida/all purpose flour: One and half cups
Powdered sugar: One cup
Vanilla essence: Few drops
Pistachios: One tsp
Butter: 100 gms (Approximately)
Baking powder: 3/4 th tsp
Baking soda: A pinch
Milk: One and half tsp
Crystal sugar: 2 tsp
Method of preparation:
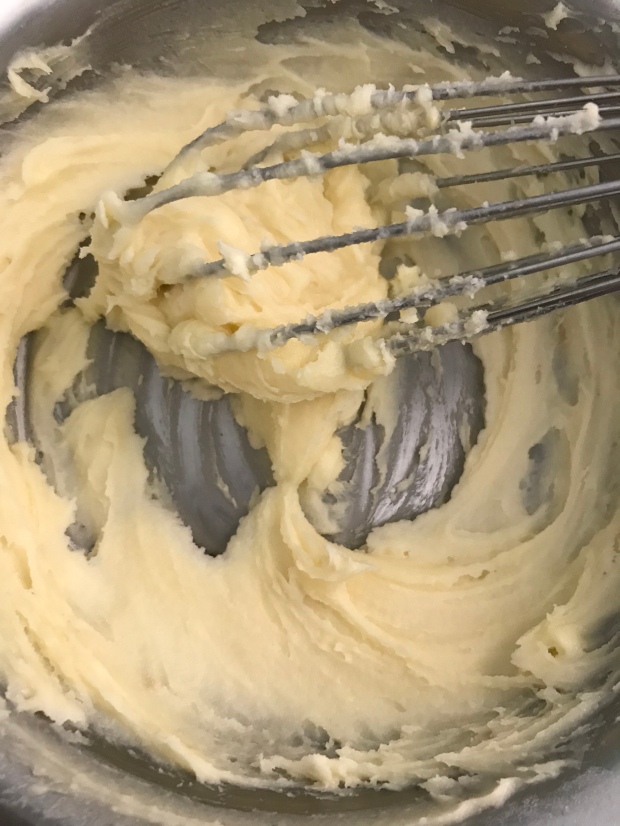
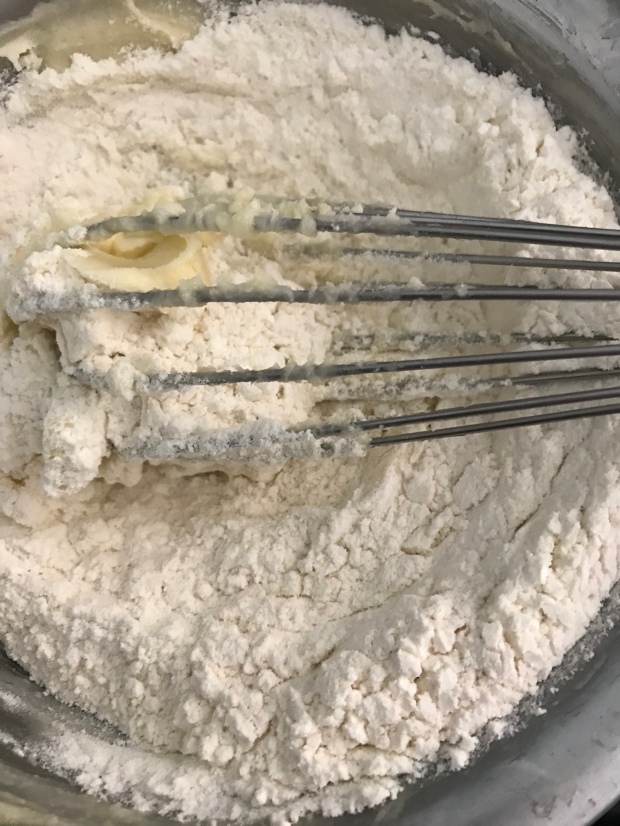
- Take unsalted butter in a mixing bowl. Keep it outside for 15 minutes if refrigerated. Whisk thoroughly using a wired whisk and add powdered sugar, vanilla essence.
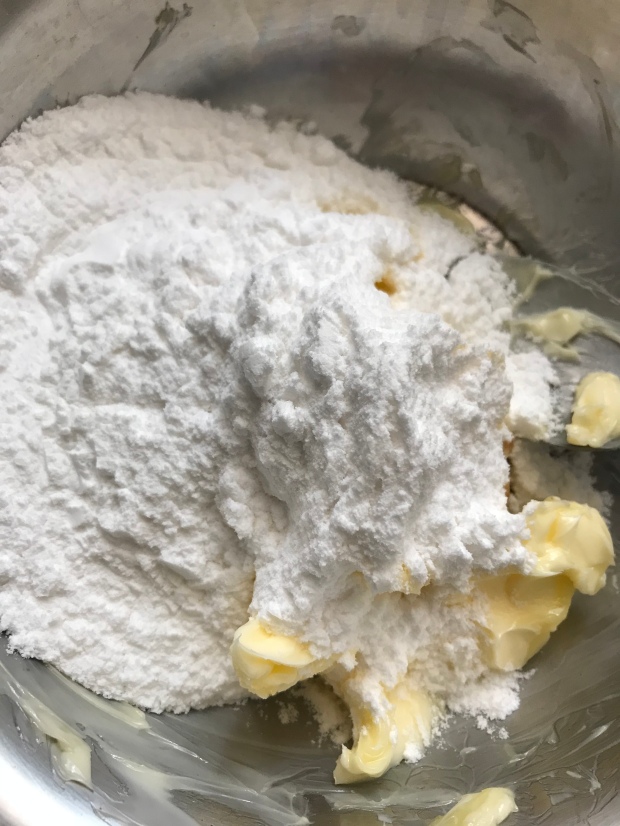
- Mix thoroughly and add two tsp of crystal sugar.

- Sift maida flour, baking powder and baking soda. Combine all the ingredients to get a dough. Also add crushed pistachios. Meanwhile preheat oven @170 degrees centigrade for 10 minutes.
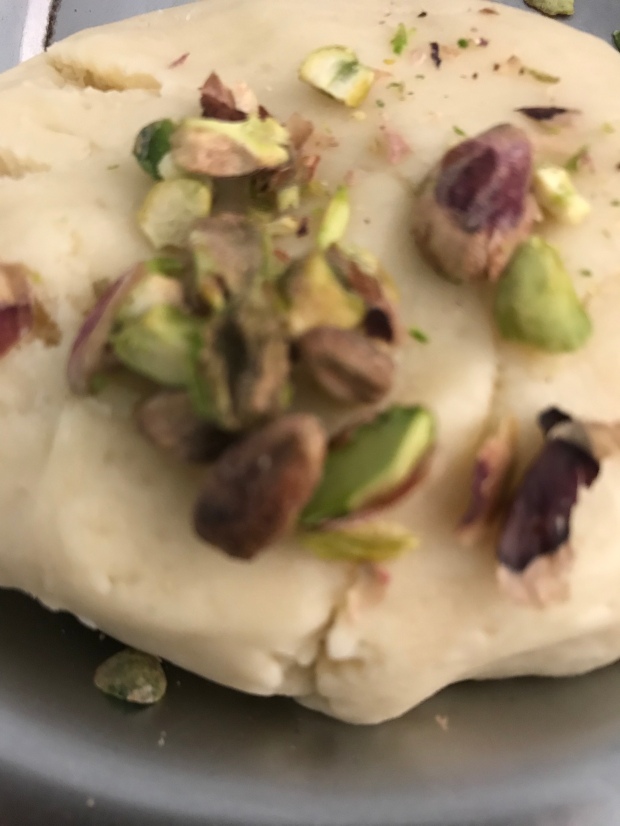
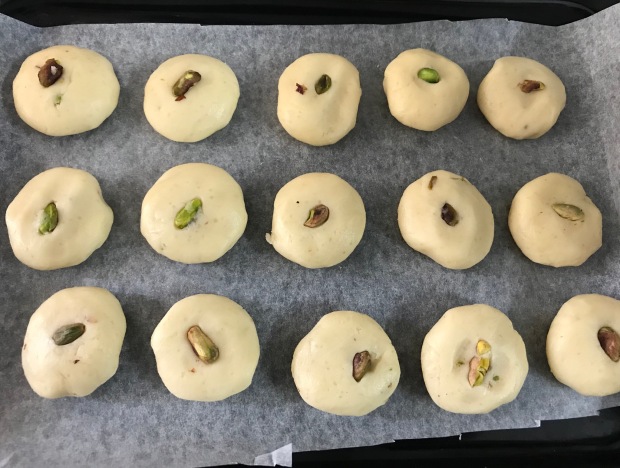
- Grease the baking tray with butter or oil. Roll the dough into small balls and keep one pistachio onto each rounded ball.
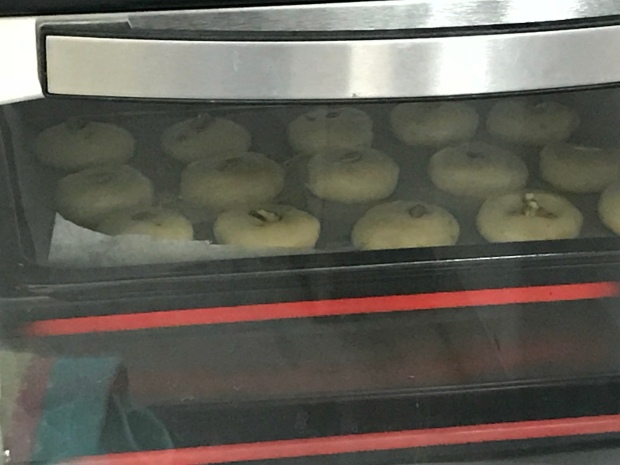
- Keep the tray in a preheated oven and bake the cookies @170 degrees centigrade for 10-15 minutes. First keep the bottom heating element on and later on the top heating element. Now switch off the bottom heating element[Adjust the temperature and timing according to your oven/OTG settings].
- Now take the baking tray out of the oven and allow the cookies to completely cool down.
- Transfer the cookies onto a Serving plate and garnish with pistachios.
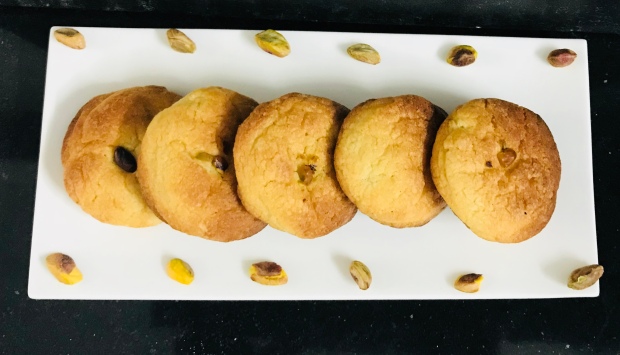
- Now the delicious pista cookies are ready to serve with my favorite South Indian Filter Coffee.


Thank you for visiting akshayakumbham and leaving comments. Your comments are really appreciated.


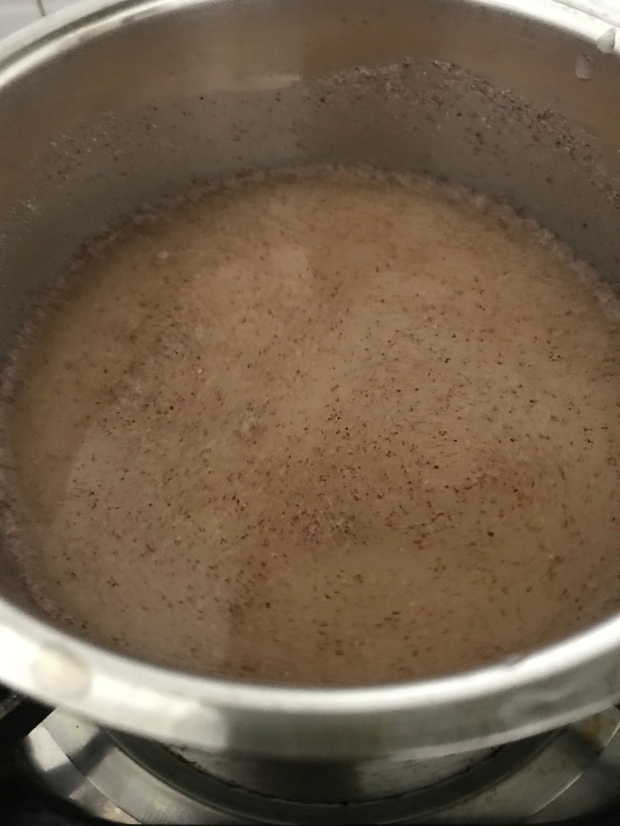
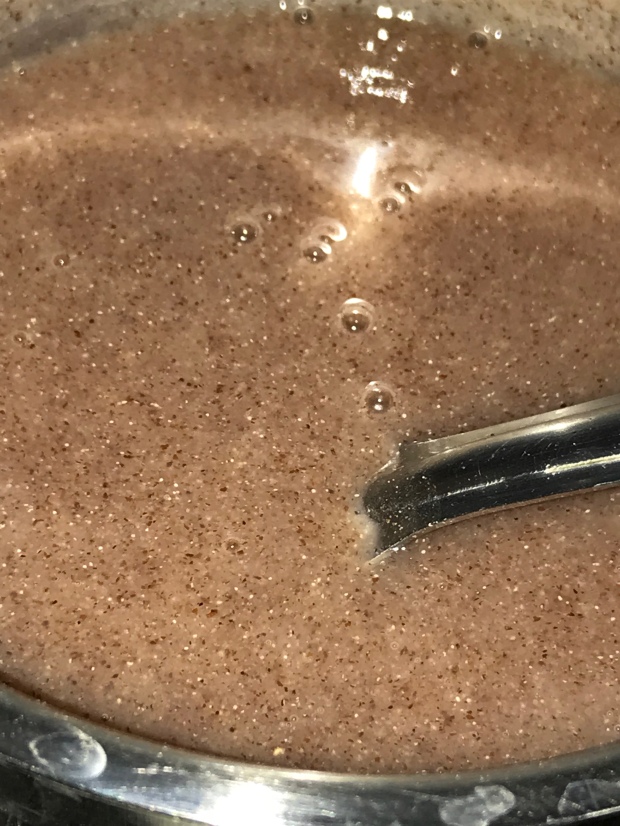
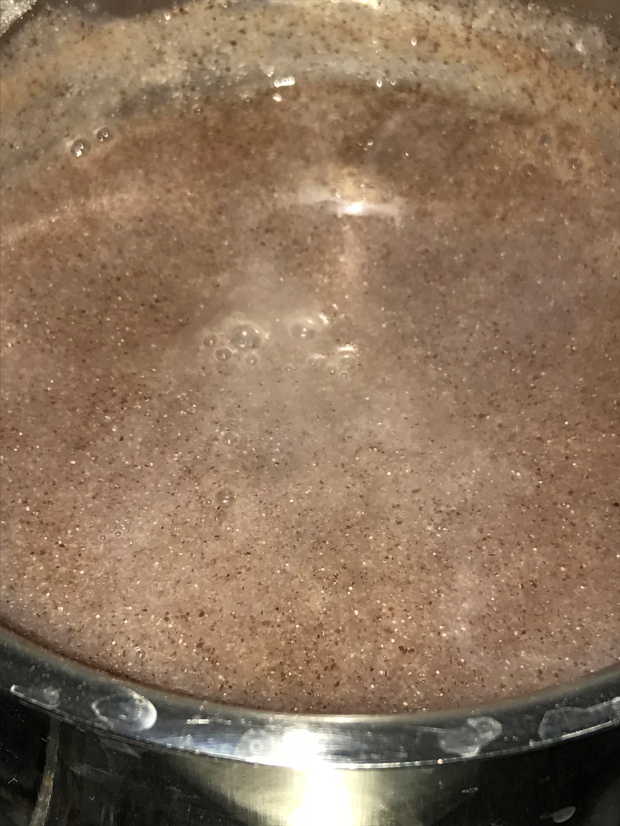
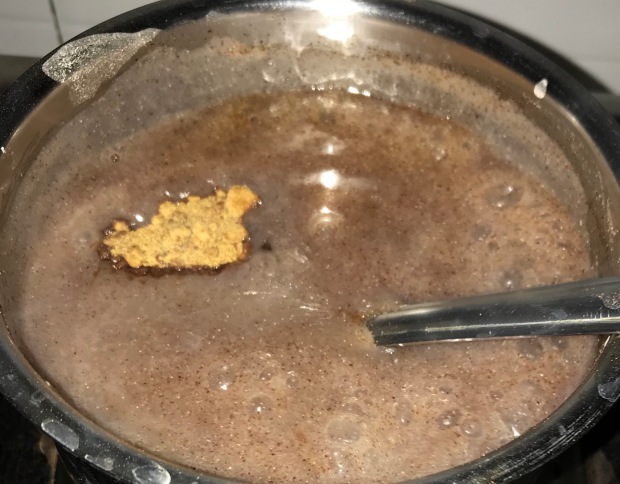
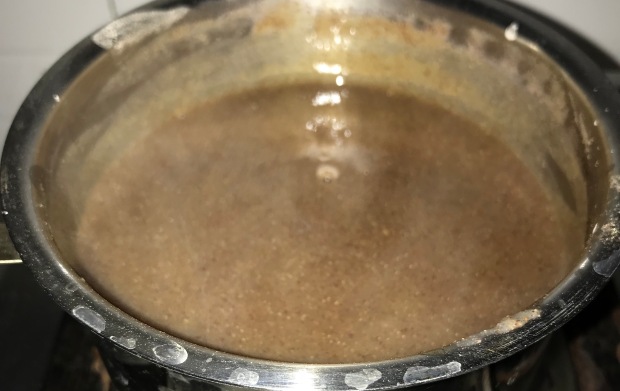
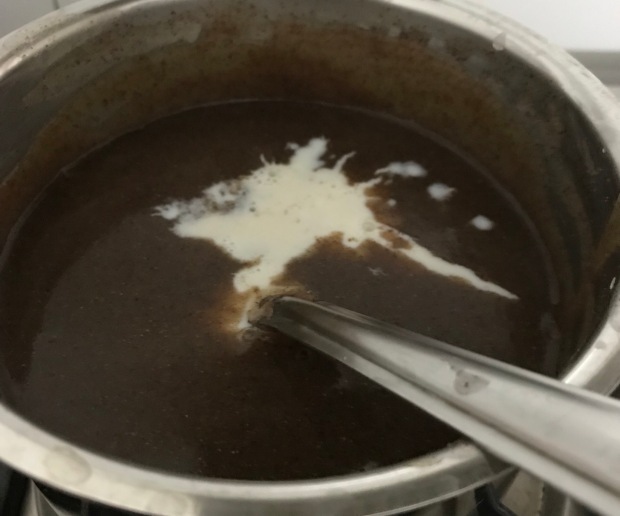
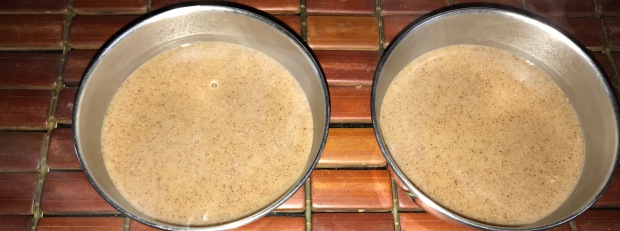
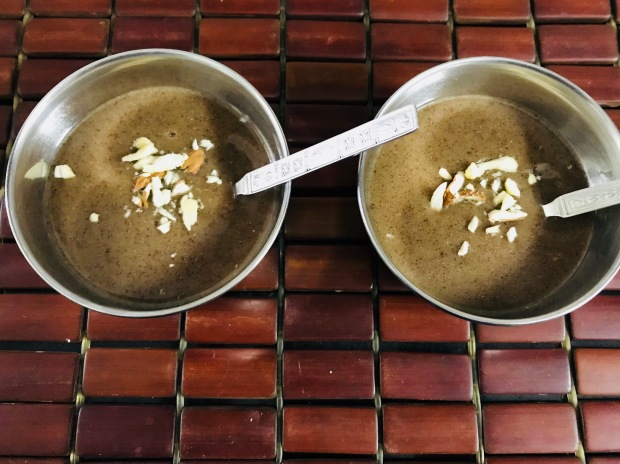
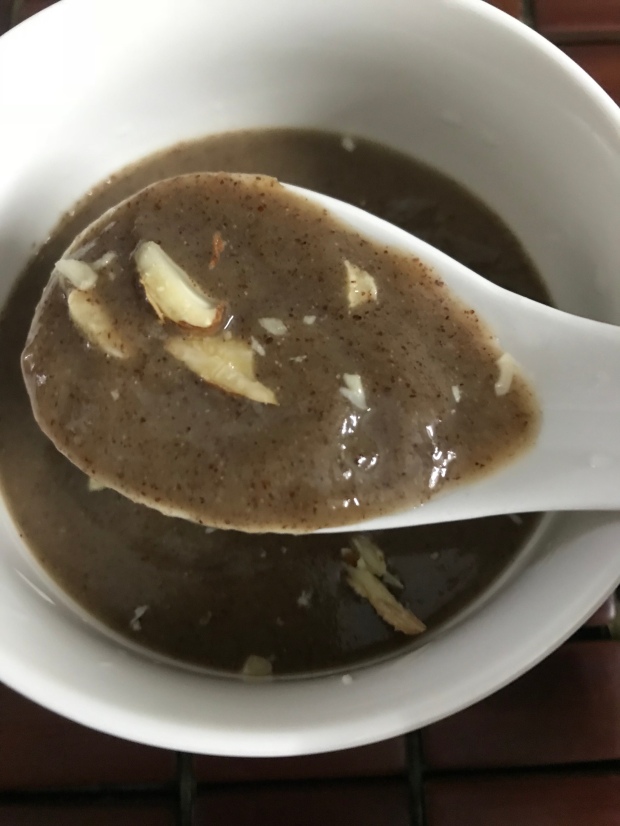
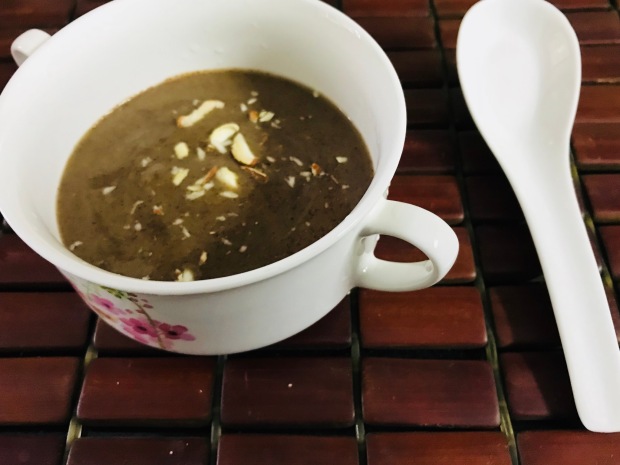 Ragi Java
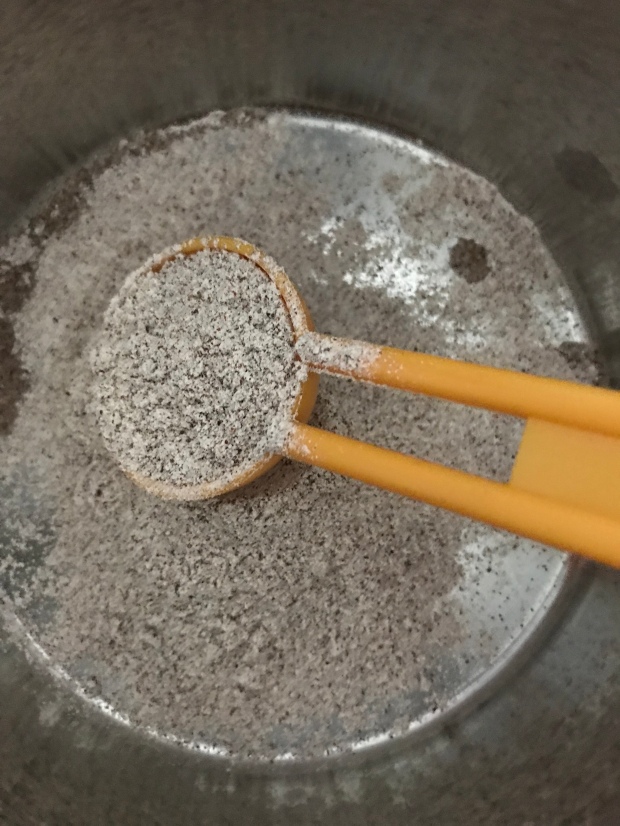
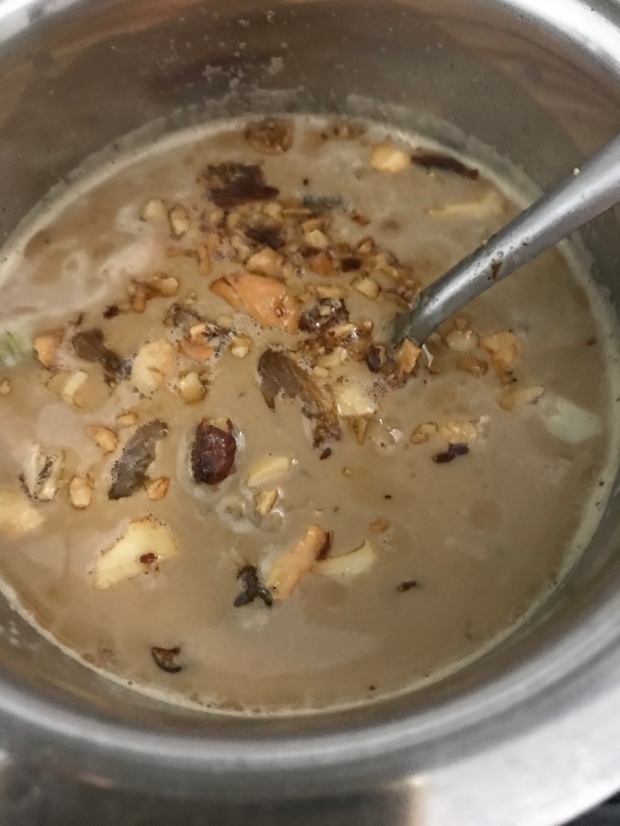
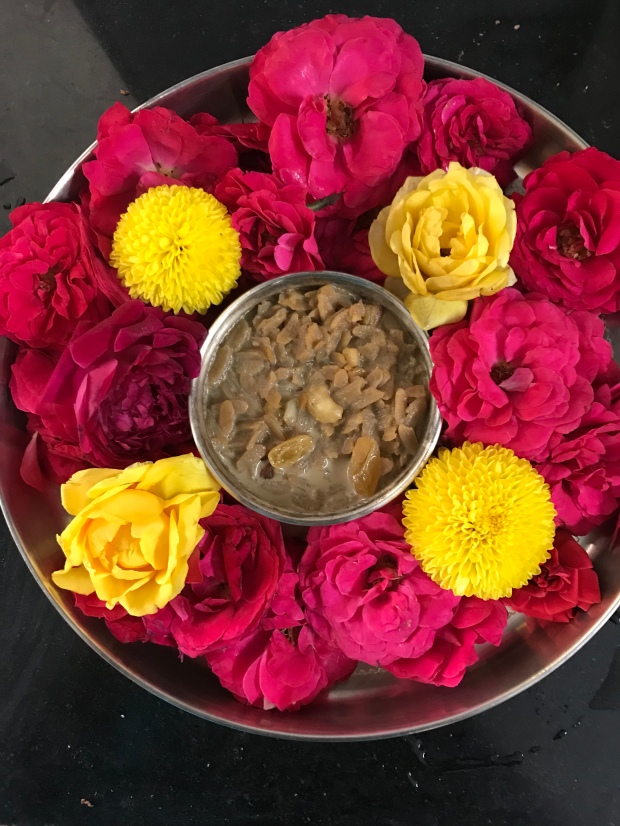
 Atukula payasam

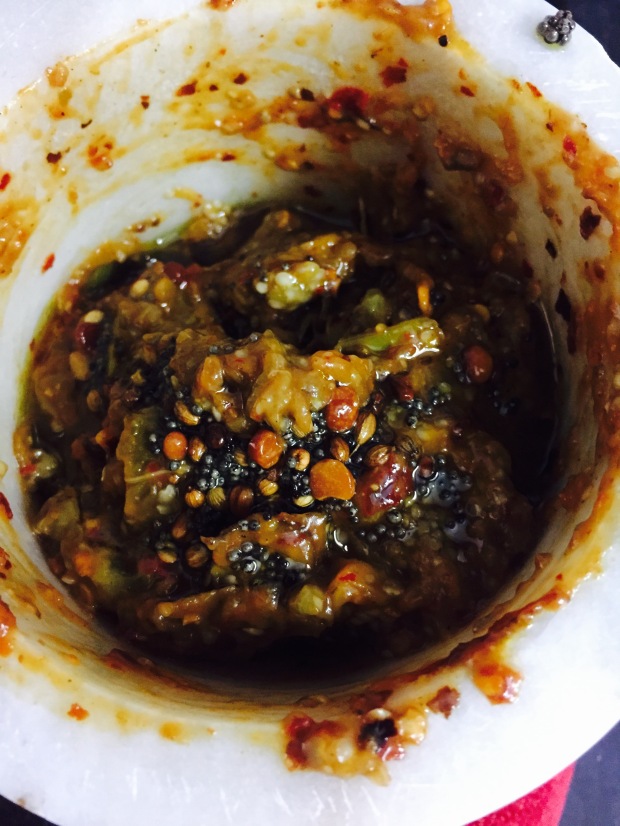
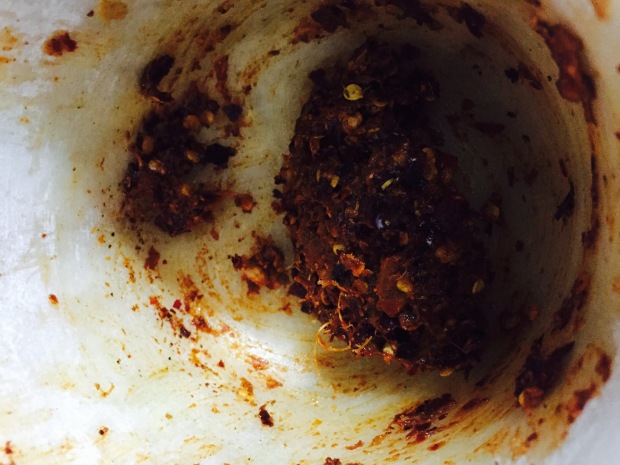
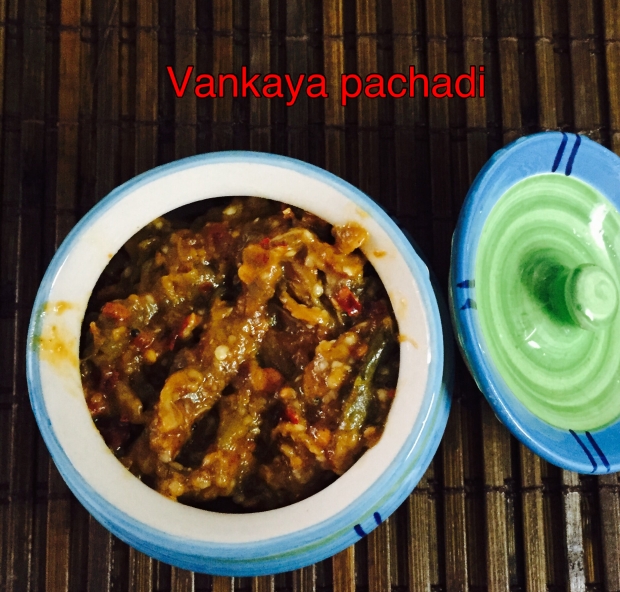 Vankaya Roti pachadi
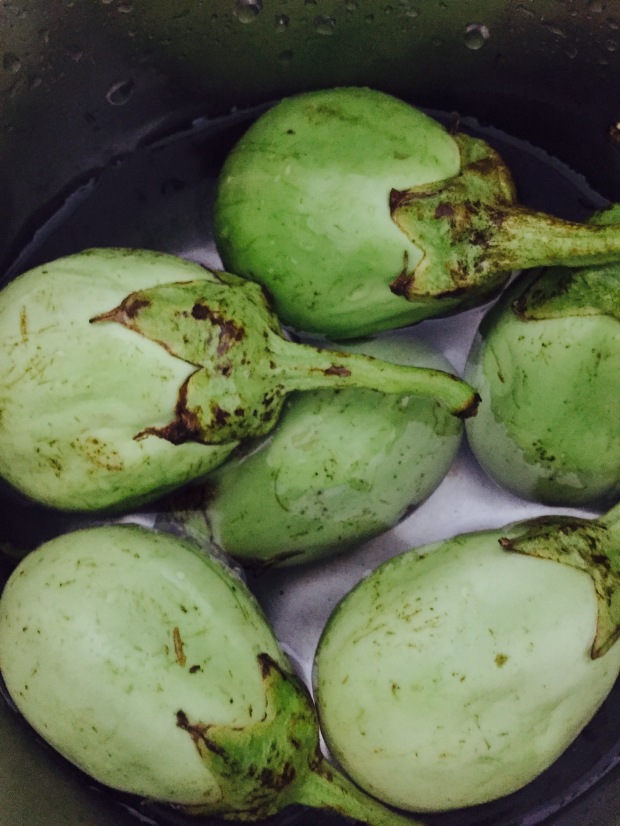
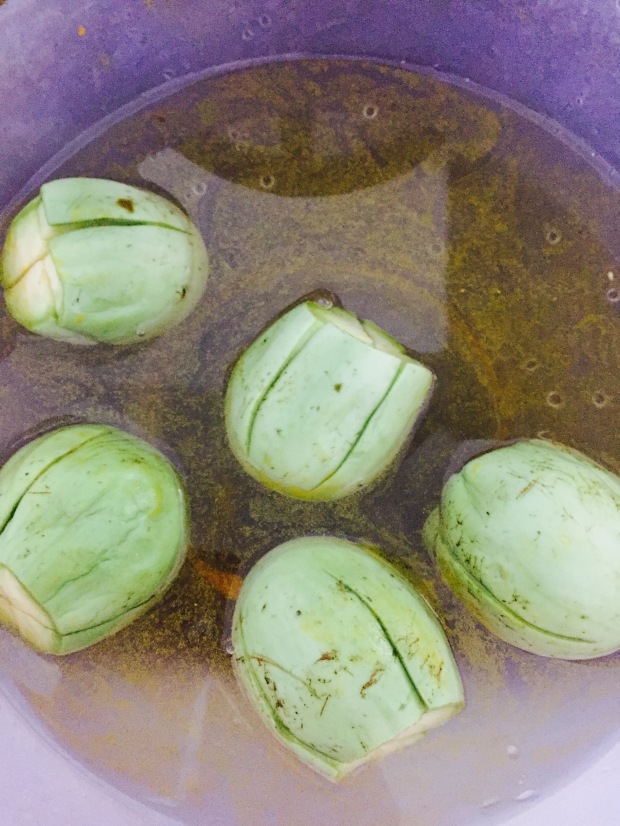
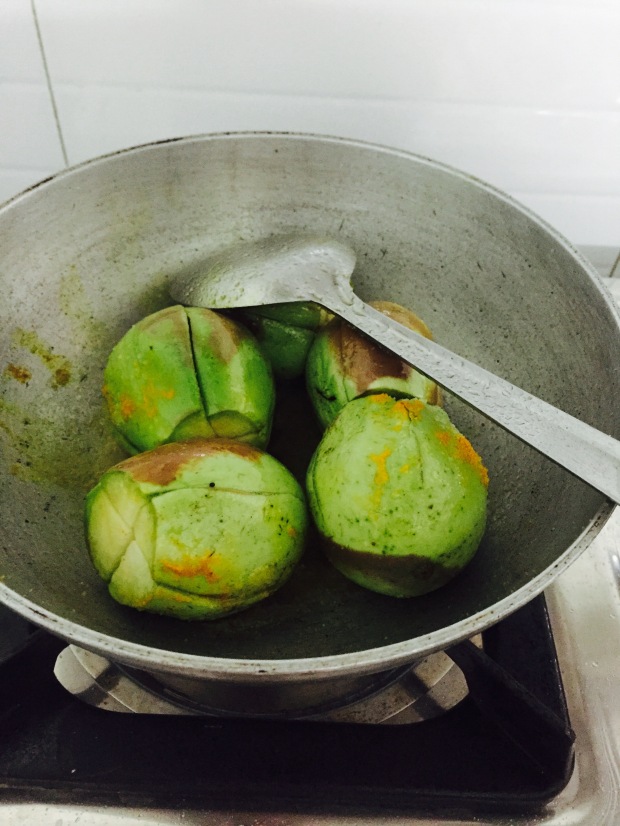
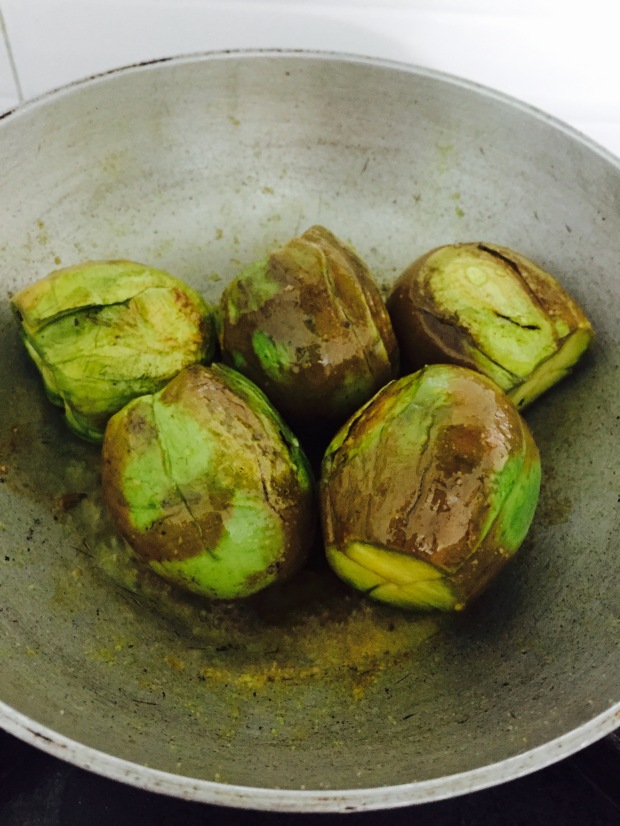
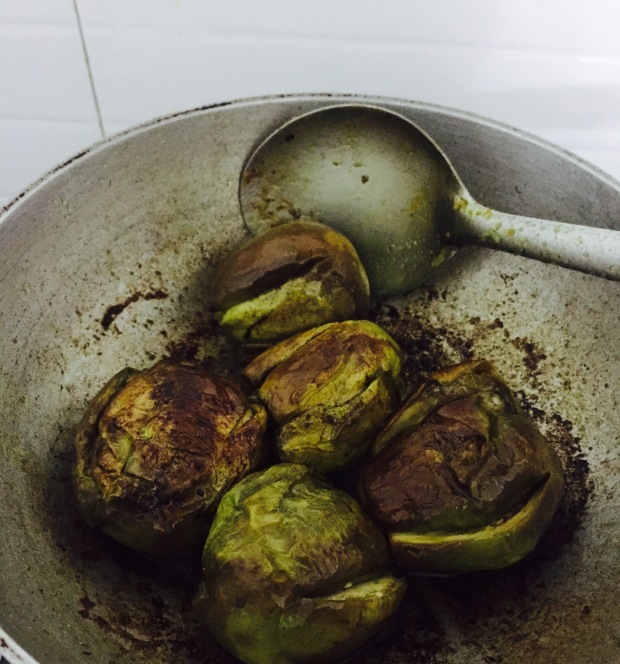
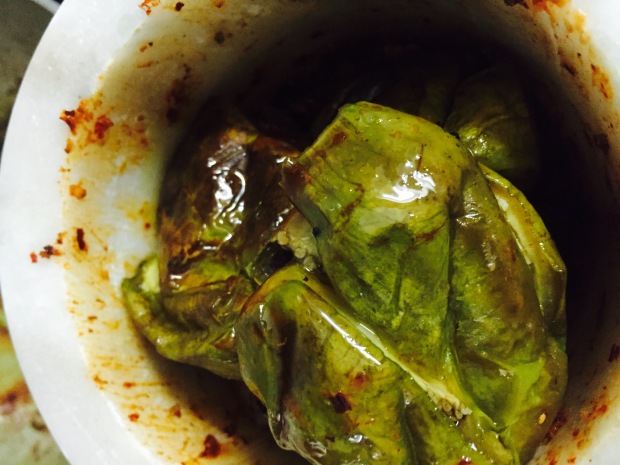
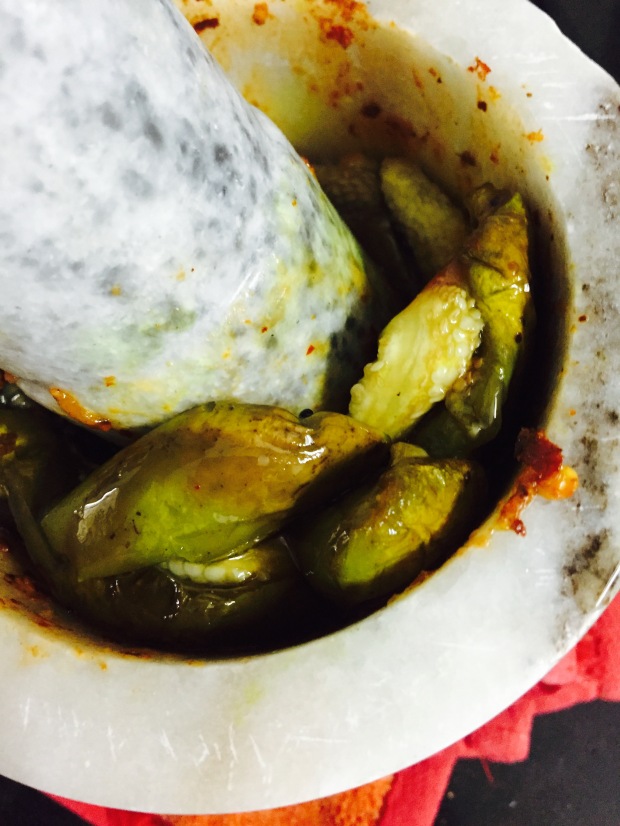
 6. Now in the same kadai, pour little oil and put cut brinjals. Add pinch of salt and turmeric. If we don’t add salt brinjals will get bitter taste.
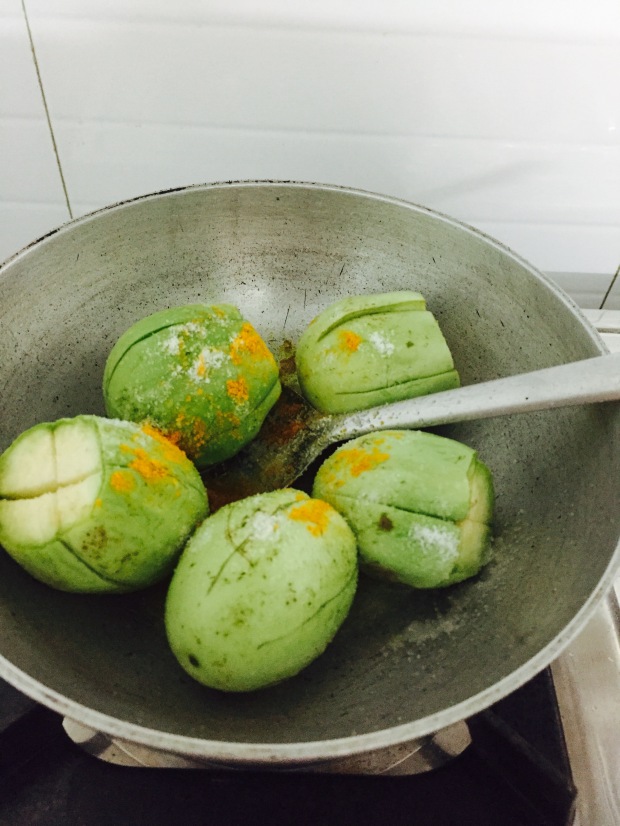
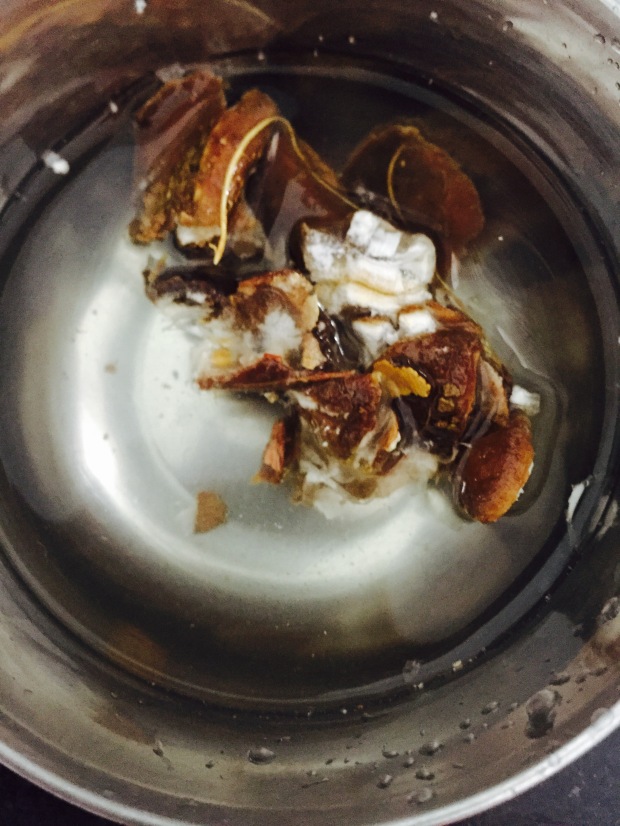
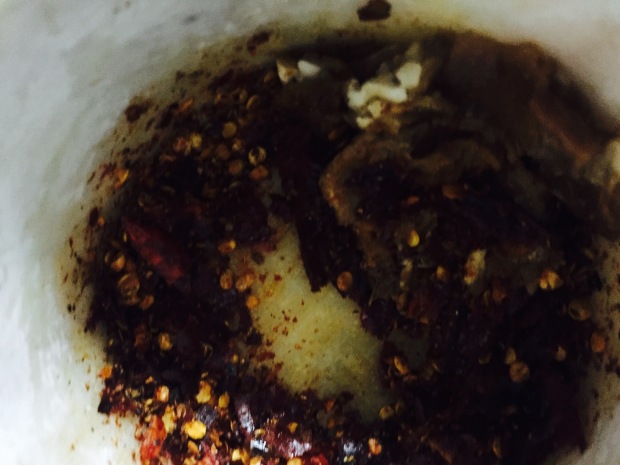
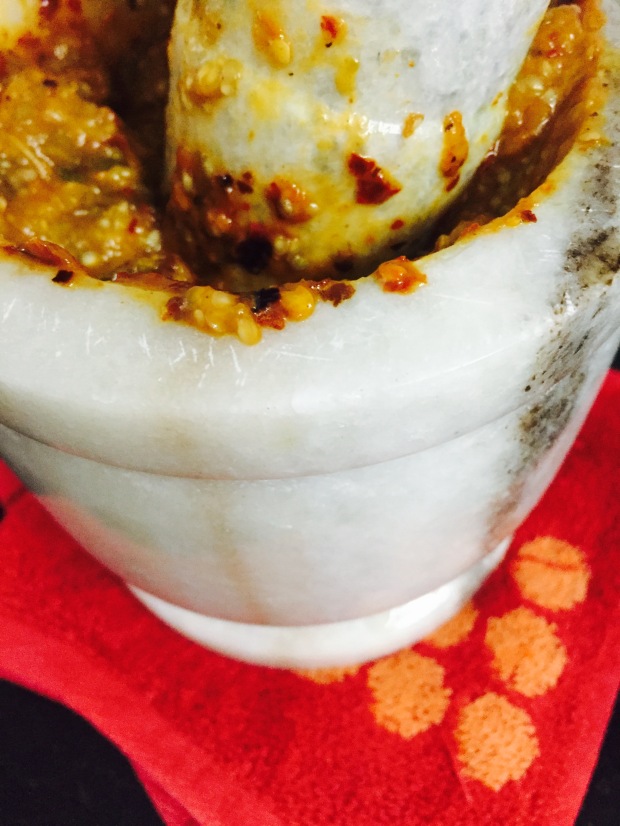
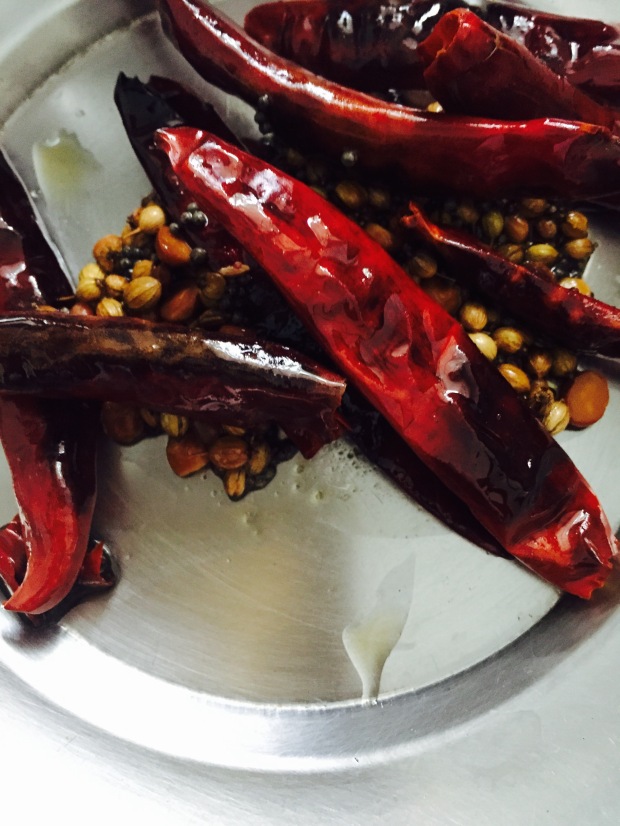
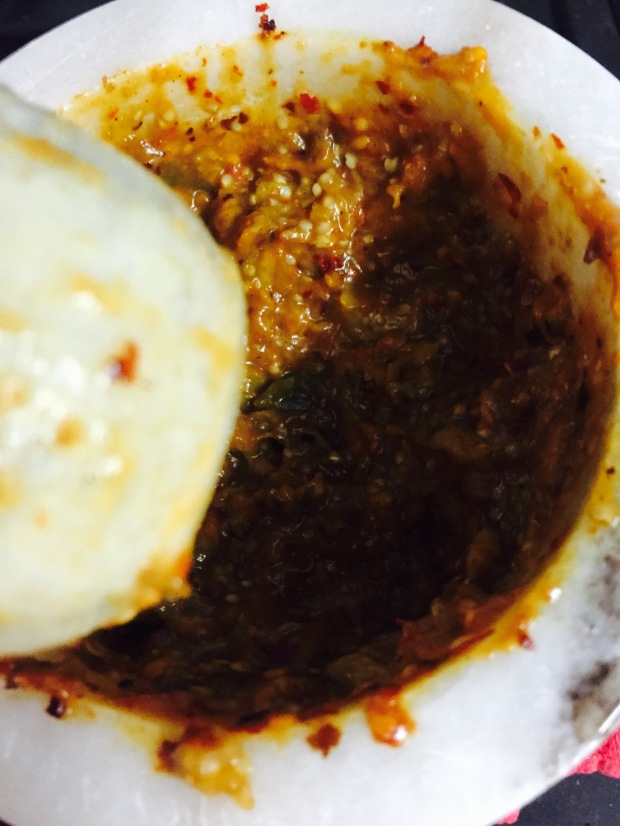 16. Now add the remaining tempering to the pachadi.