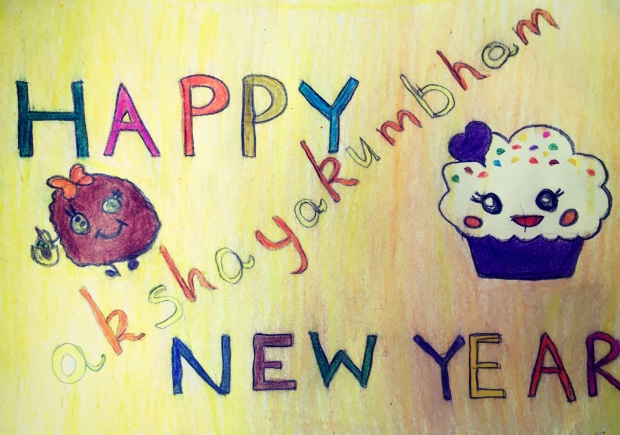
Hi friends,
Wishing you all a very HAPPY NEW YEAR
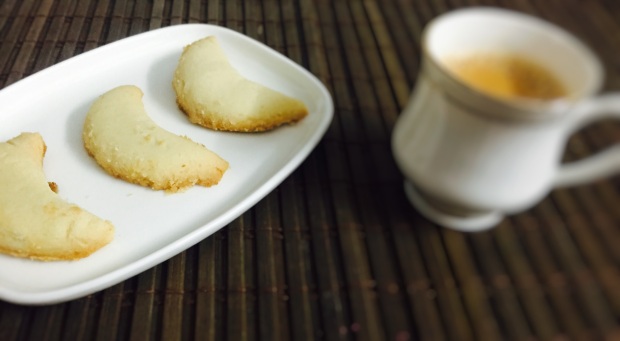
I wanted to celebrate this special occasion with Hyderabadi delicacy Chand biscuits. Chand biscuits or moon biscuits are in the shape of crescent moon. They are pretty famous in irani chai stall to big confectioneries in Hyderabad. Chand biscuits and Chai/tea both pair a very good combination. The preparation of Chand biscuits is so simple. I’ve prepared them in a nonstick Pan on stove top. You can bake them in an oven too. Here I present mouth melting Hyderabadi evening snack Chand biscuits which is served with cardamom tea to relish. Njoy Cooking, Serving n Savoring!
Author: Akshayakumbham
Course: Snacks/cookies
Cuisine: Hyderabad, Telangana
Servings: 5-6
Ingredients:
Maida: 1 cup(Small)
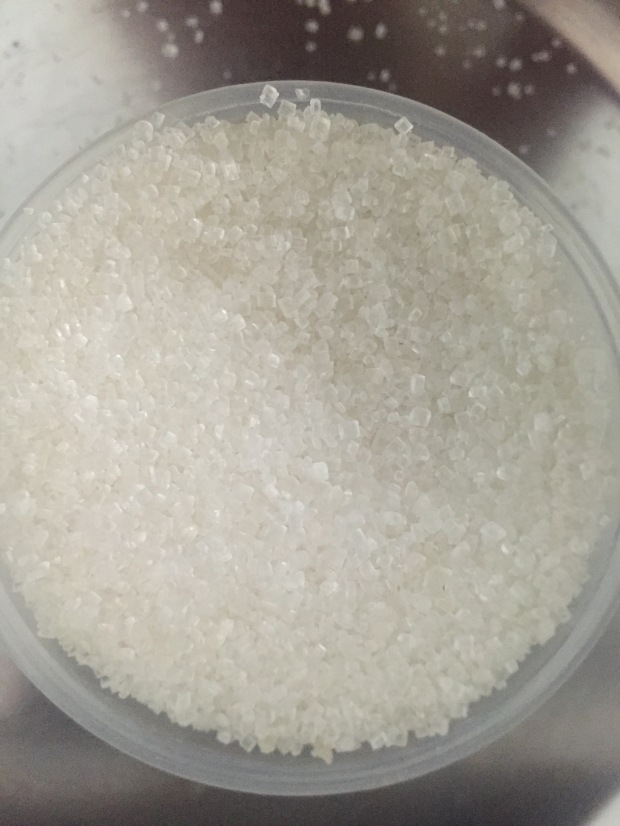
Sugar: 1 cup(Small)
Melted ghee: 1 cup(Small) or slightly less than one cup.
Method of preparation:
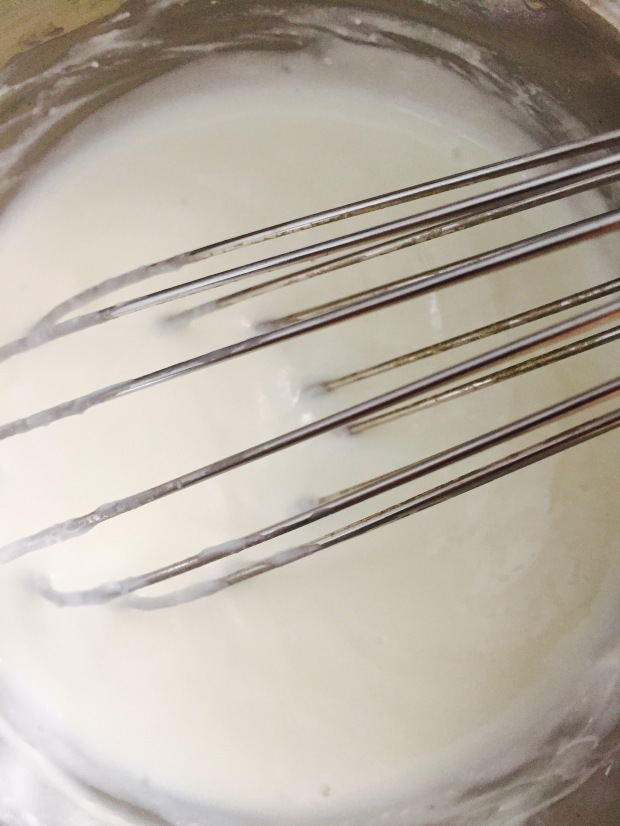
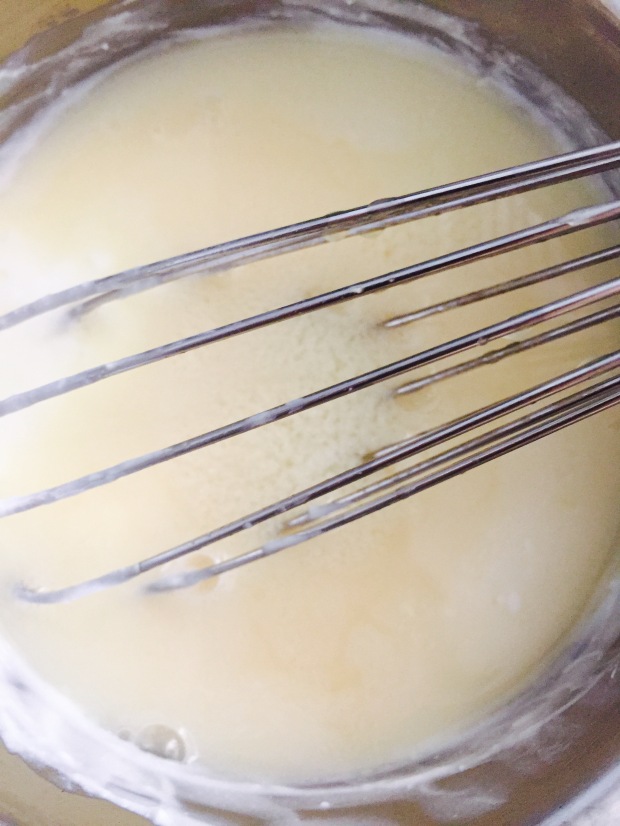
1. Take one cup of maida flour and one cup of sugar. Take melted ghee also.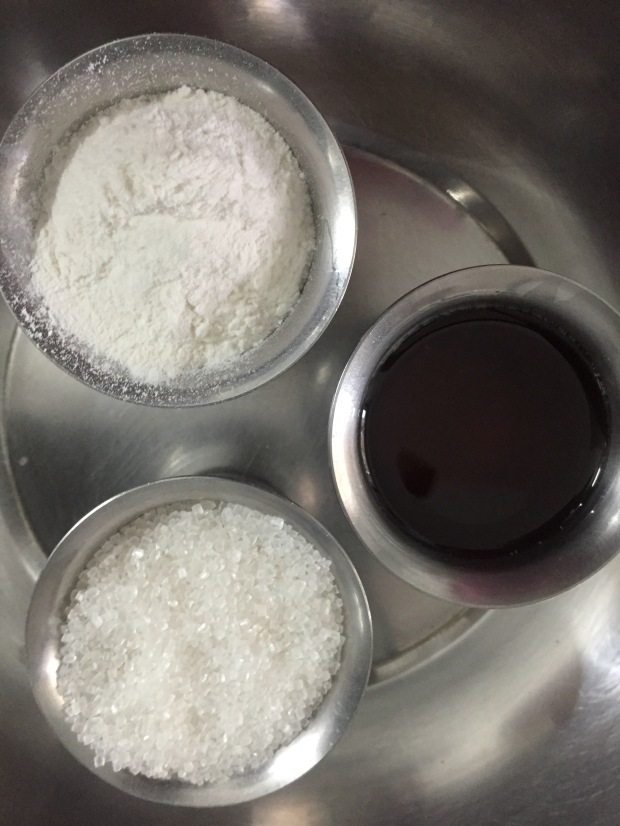
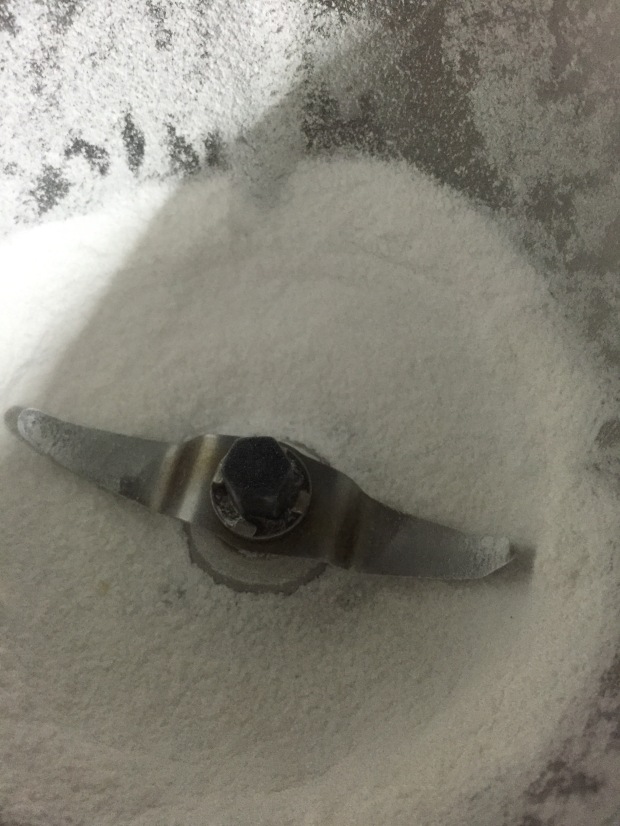
2. Take a mixer grinder and grind the sugar to a fine powder.
3. Now transfer the maida into a broad vessel.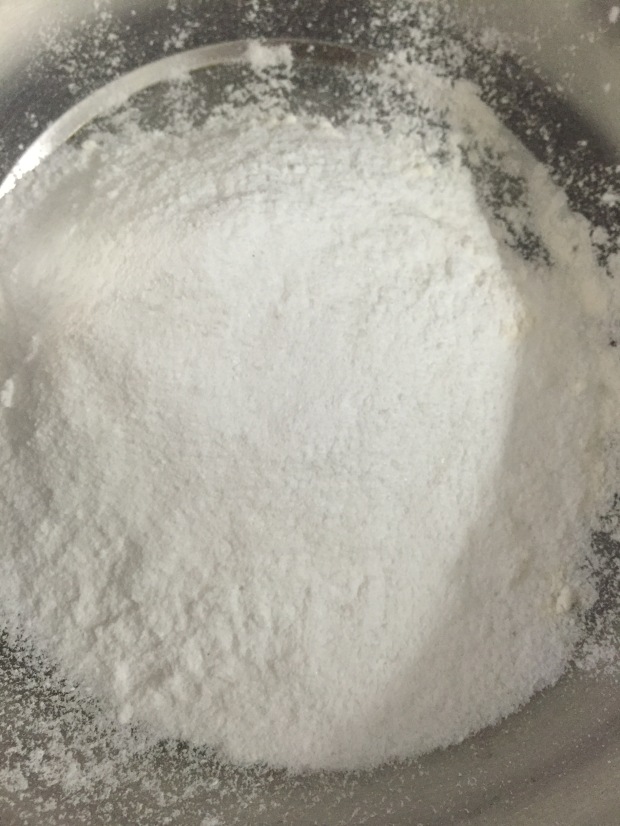
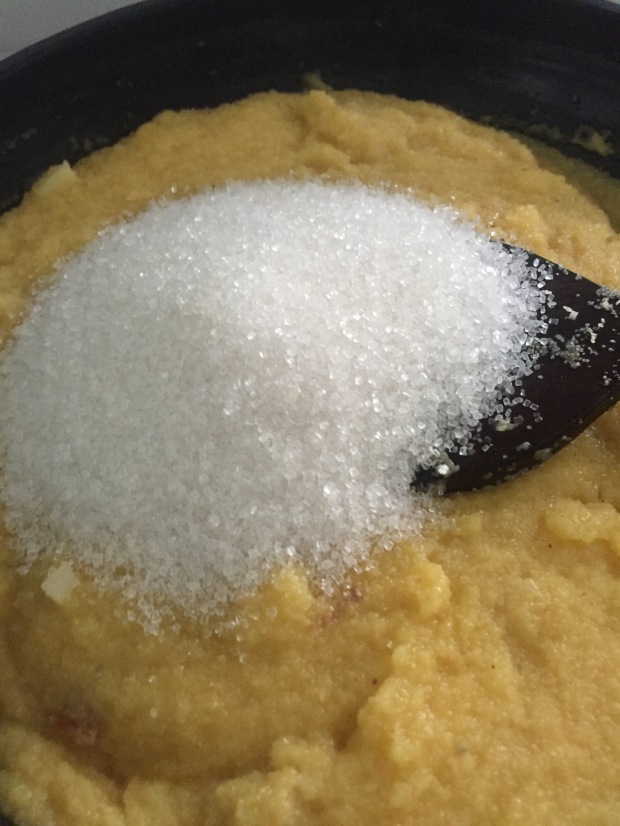
4. Transfer the powdered sugar into the same vessel and Mix powdered sugar or icing sugar with maida thoroughly.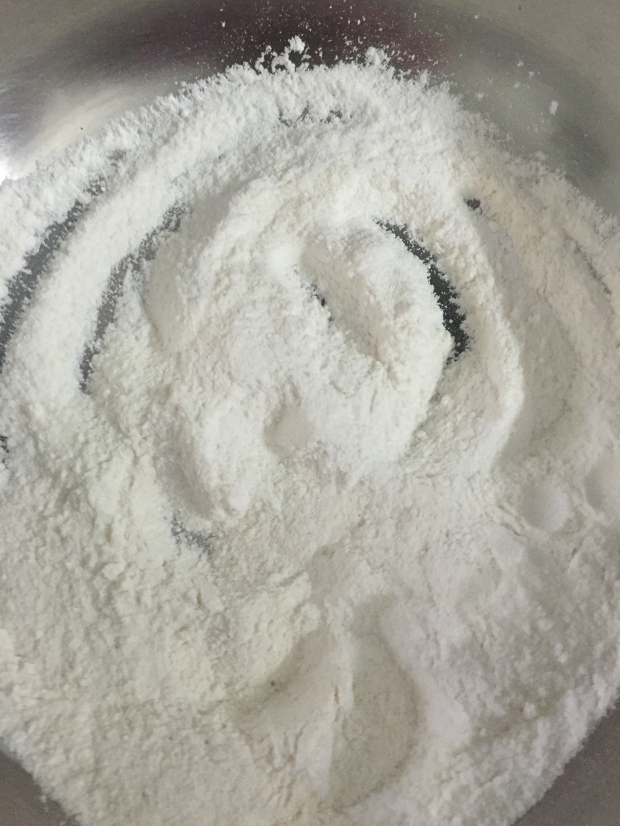
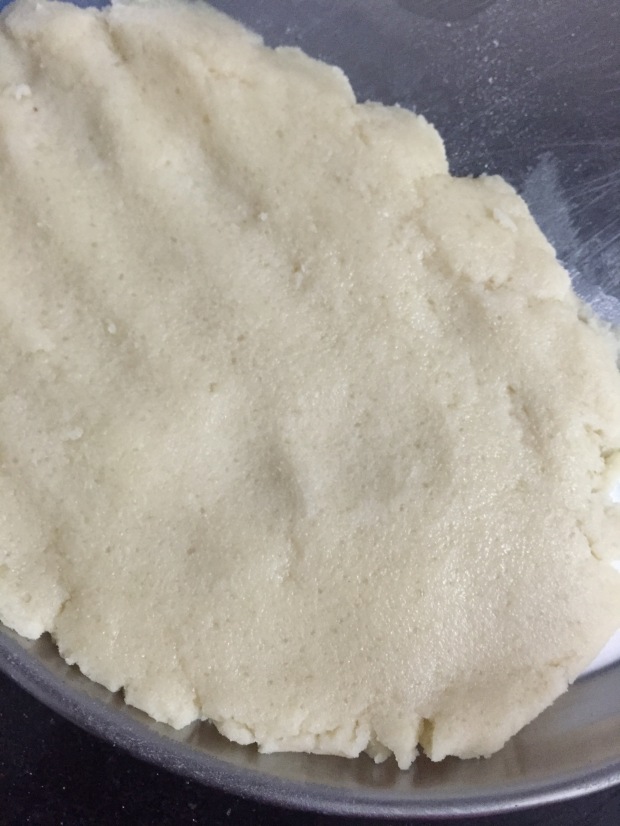
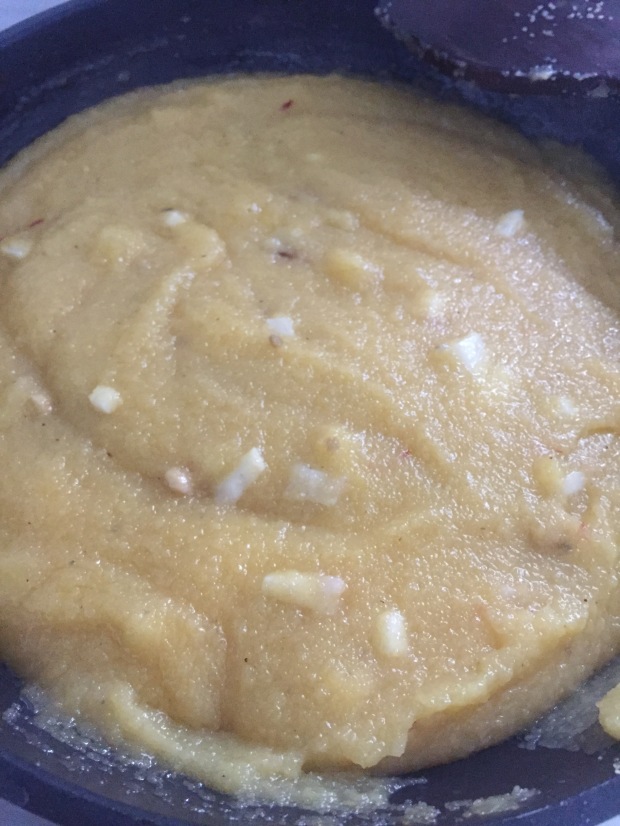
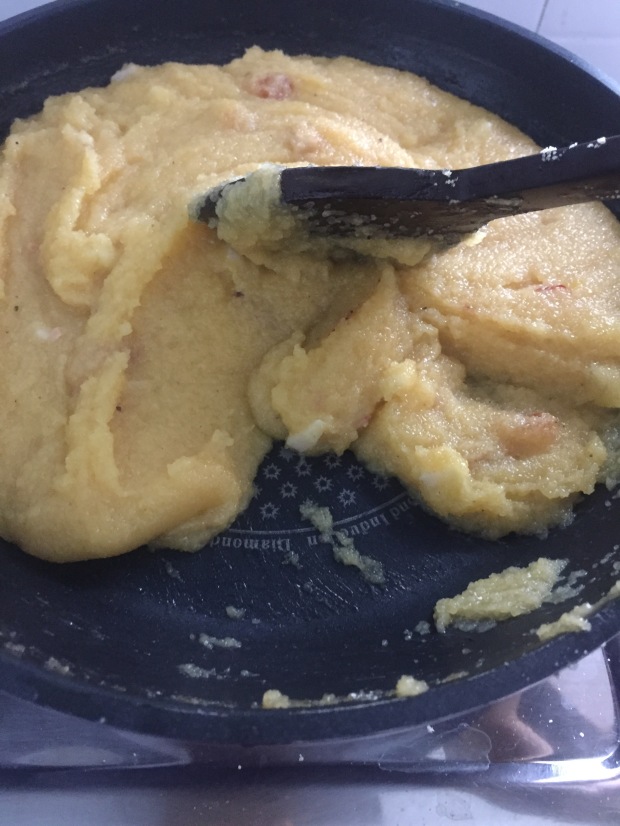
5. Slowly add ghee to make dough. Do not add any water. 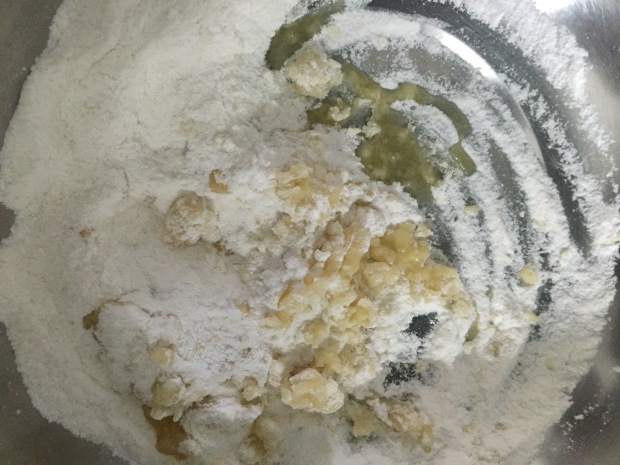
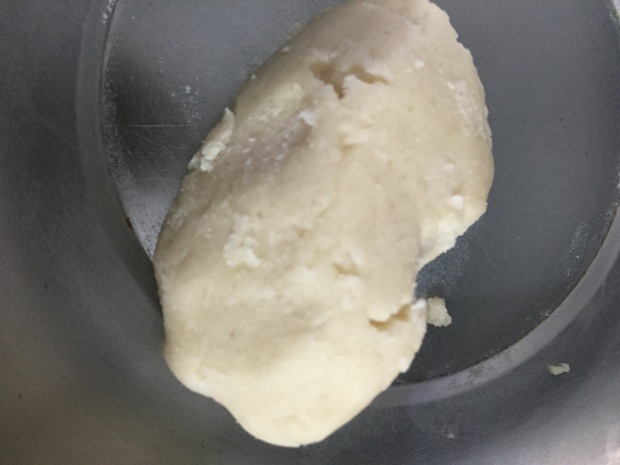
6. Take a plate and make the dough into thin like sheet either with rolling pin or Palm.
7. Now take a small round cup or glass and cut the thin sheet into crescent shape pieces.
8. Grease a steel plate with ghee and transfer the moon shaped dough pieces into it. Keep aside.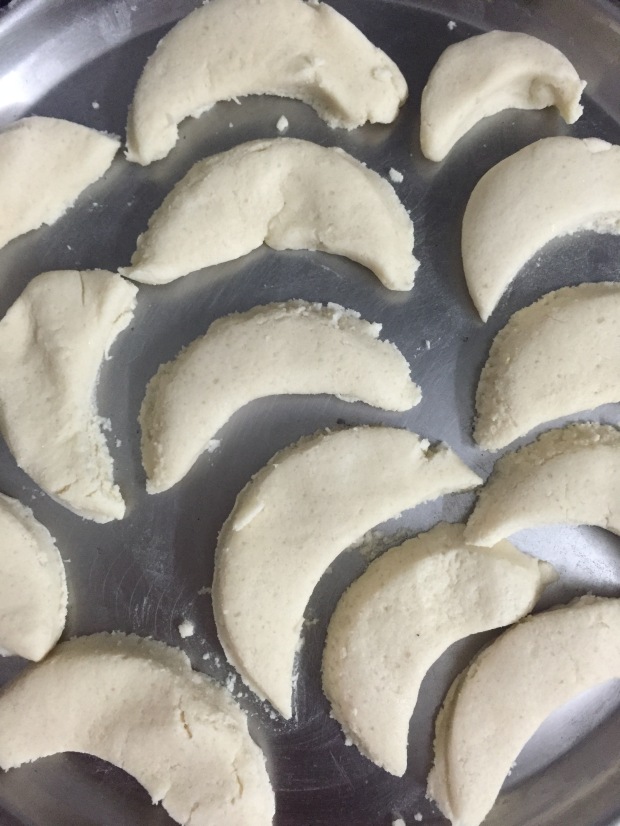
9. Now heat non stick Pan and pour good amount of table salt into it to create oven like atmosphere.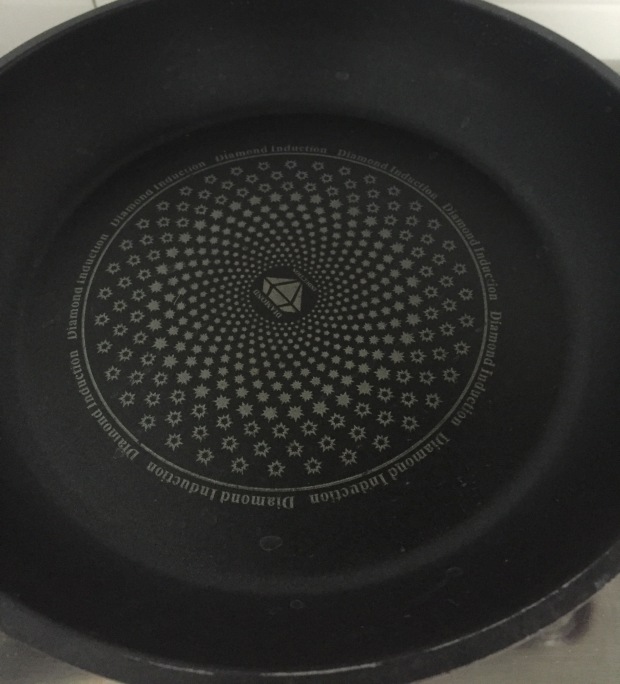
10. Heat the Pan with salt on low flame for 8-10 minutes keeping lid(Preferably Aluminium). If using steel it should be strong and heavy.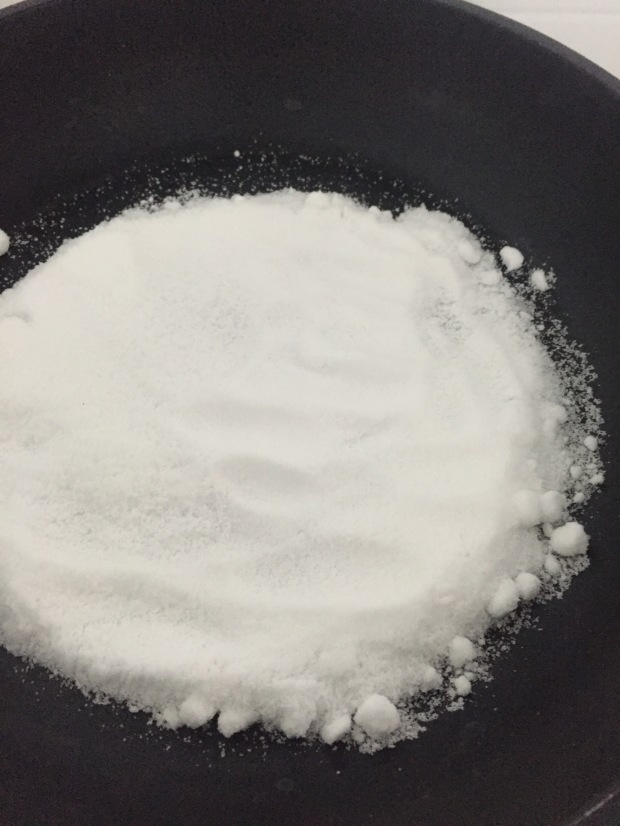
11. Now open the lid and keep the steel plate which has moon shaped dough pieces above the salt.
12. Close the lid again and bake the biscuits on low flame for 20- 25 minutes.
13. Check once after 20 minutes. If they are done nice aroma comes. Switch off the flame and leave for two minutes.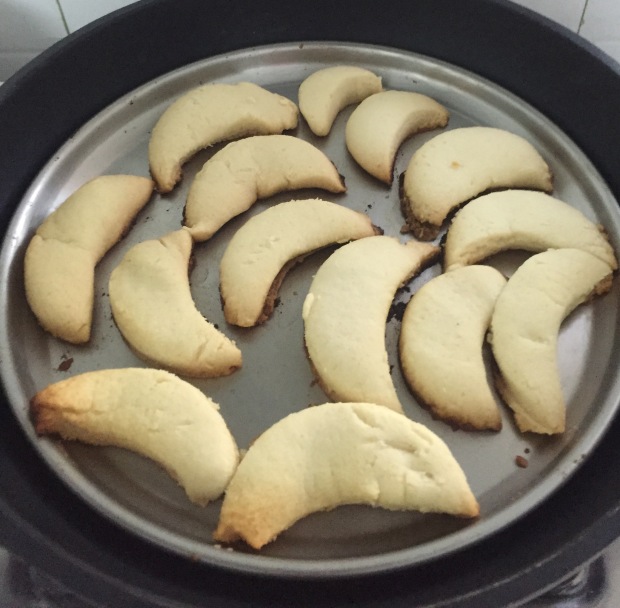
14. Open the lid and take the plate out of the pan.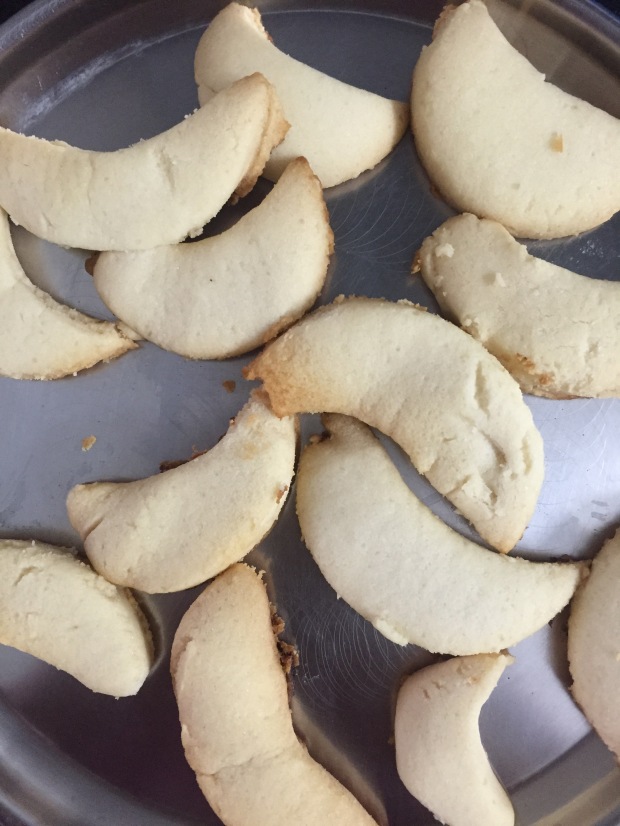
15. Carefully transfer the biscuits into a serving plate using a spoon or knife.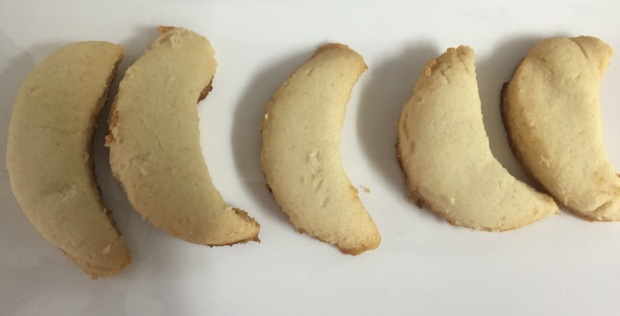
16. The top side of the biscuits are white in colour and the bottom side in light brown colour.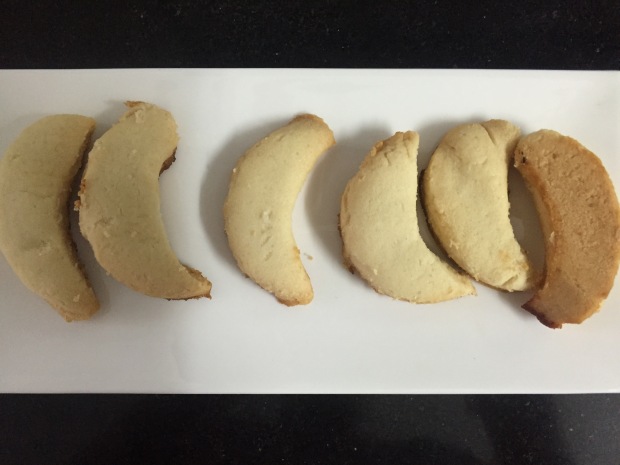
17. Now the mouthwatering and mouth melting Chand biscuits are ready to celebrate the occasion.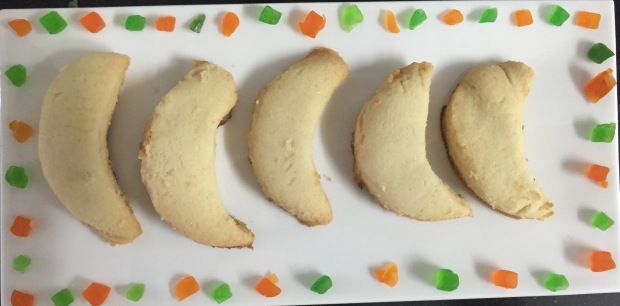
18. They taste awesome when served with a cup of cardamom tea as an evening snack.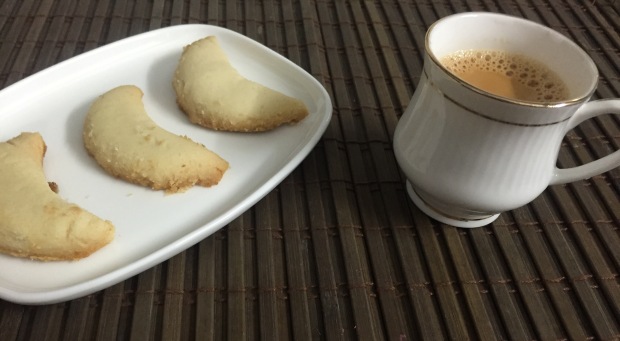
19. The Chand biscuits are stored in an airtight box and can be used for 15-20 days.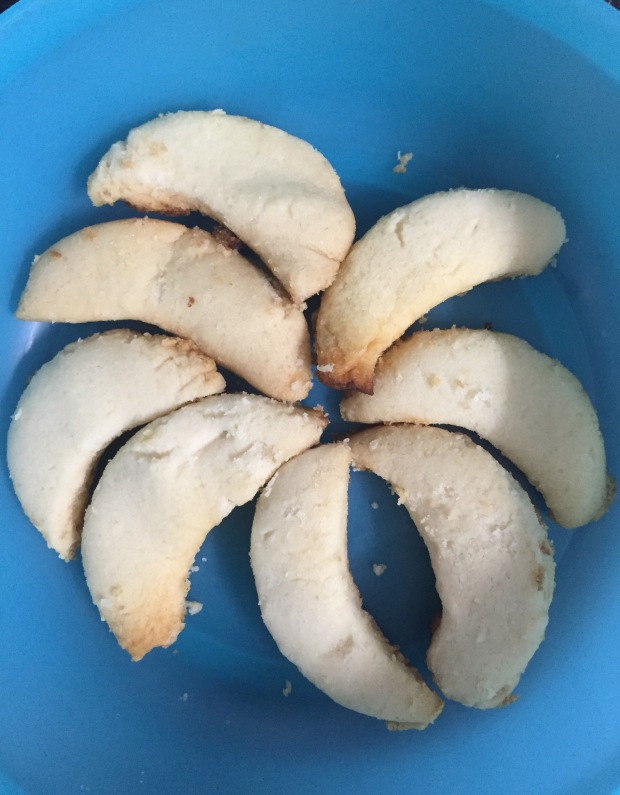
Tip:
1. I’ve added melted ghee to prepare the dough, instead you can add unsalted white butter too. Vanilla essence or cardamom powder can also be added to enhance the flavour.
2. The biscuits can be prepared in an oven too. Preheat oven at 180 c for five minutes and bake them 10-15 minutes approximately. The baking time slightly varies depending on the oven.
3. Instead of salt, sand can be used. The salt used for heating can be recycled to make rangoli.
Thank you for visiting akshayakumbham and leaving comments. Your comments are really appreciated.
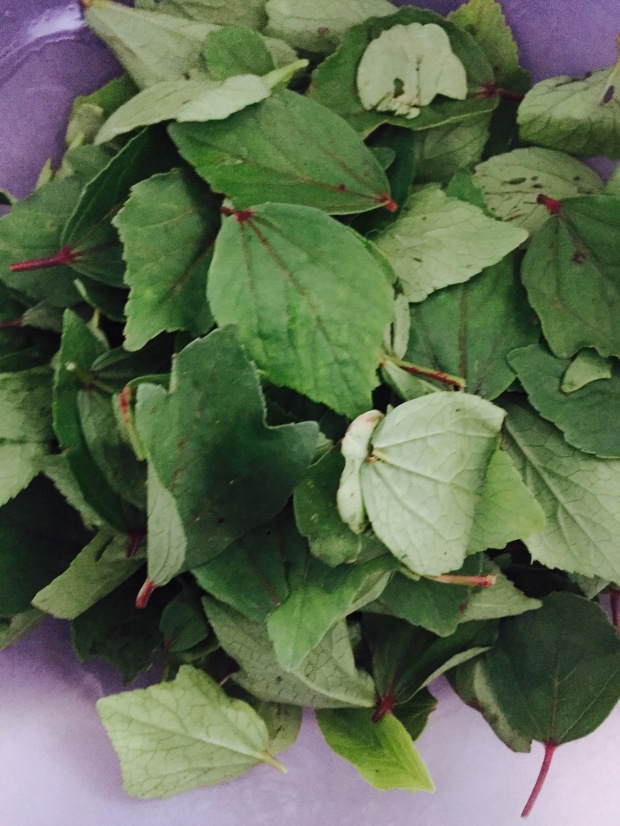
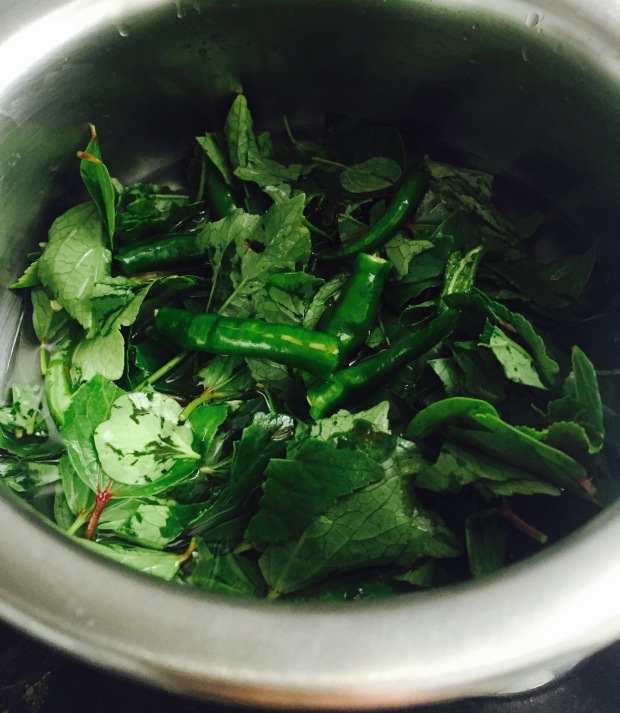
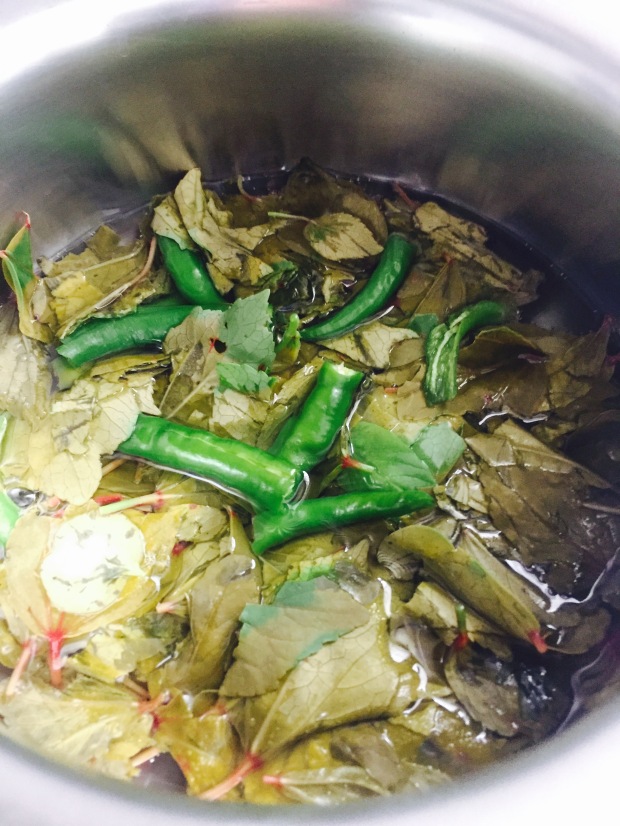
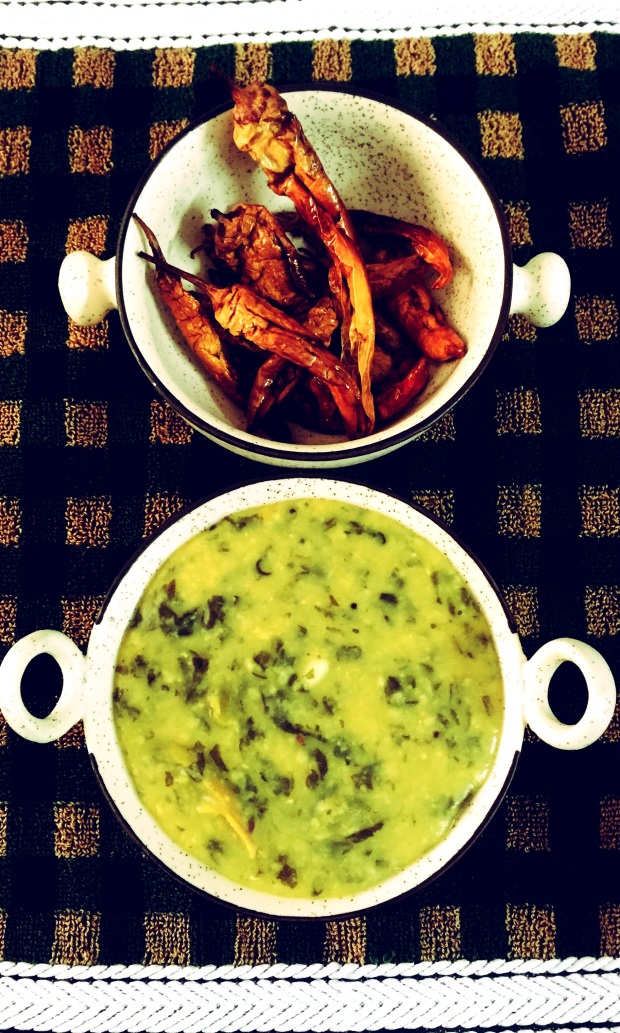
 Gongura pappu
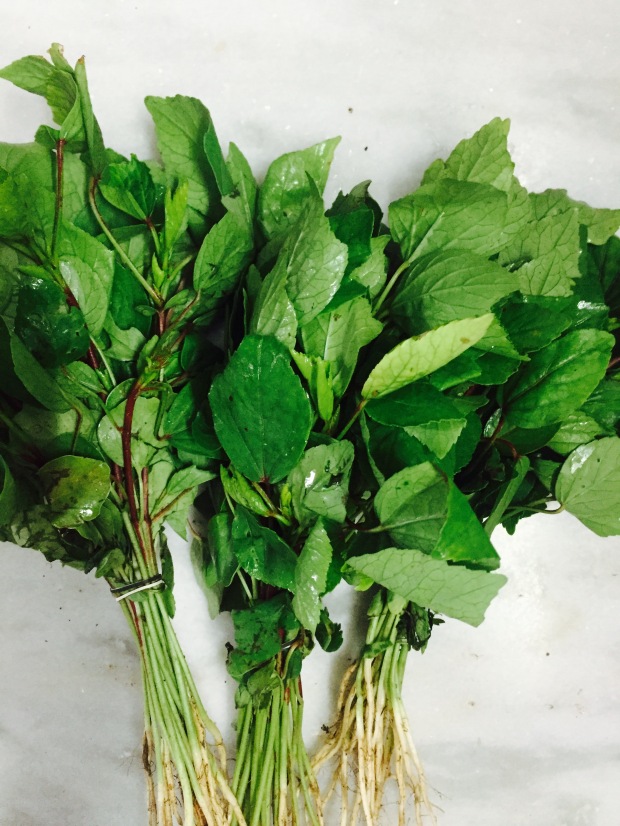


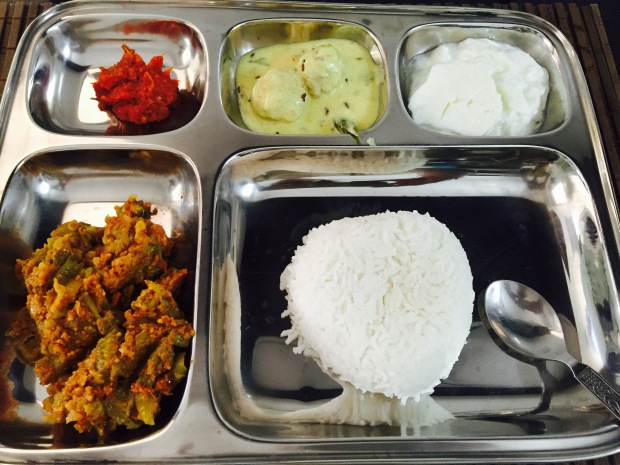 Lunch menu # 6
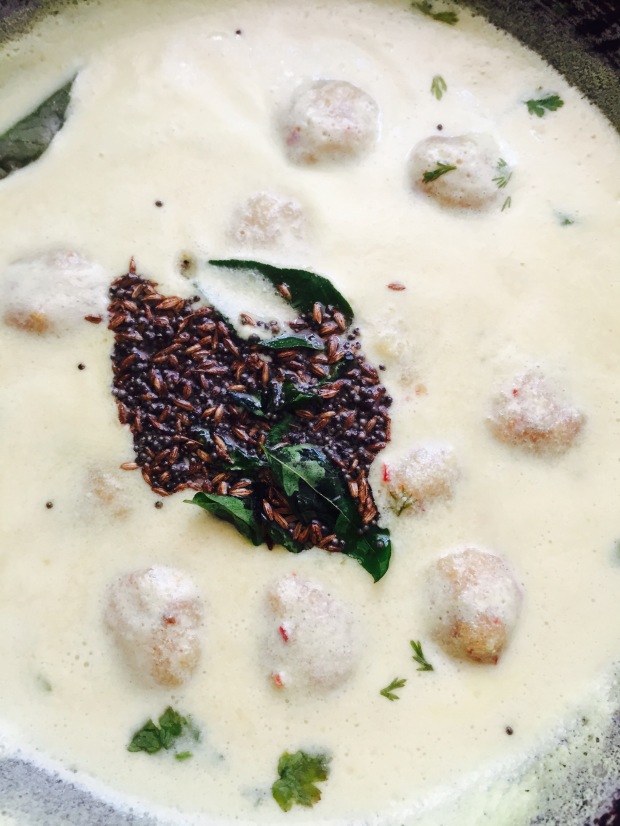
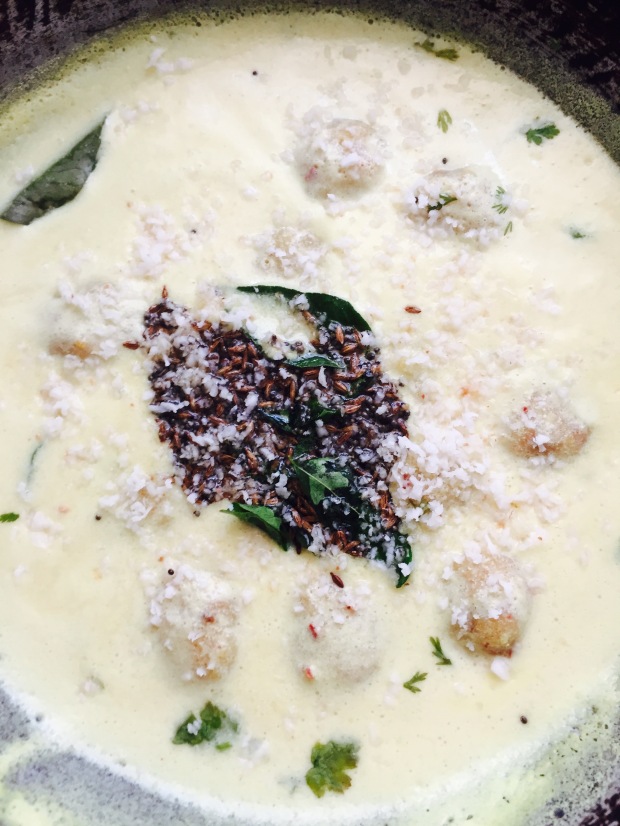
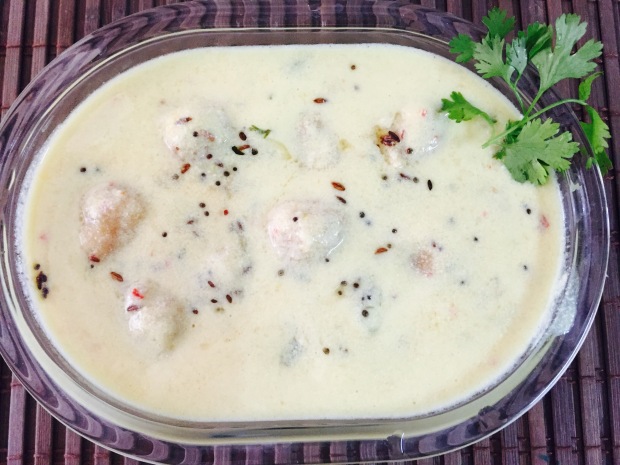 Vundala majjiga pulusu
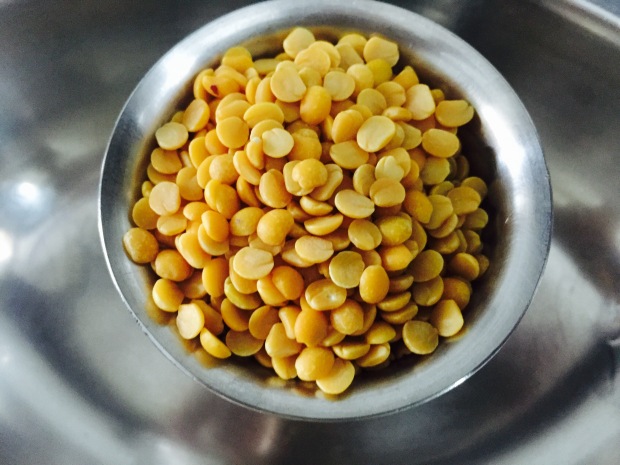


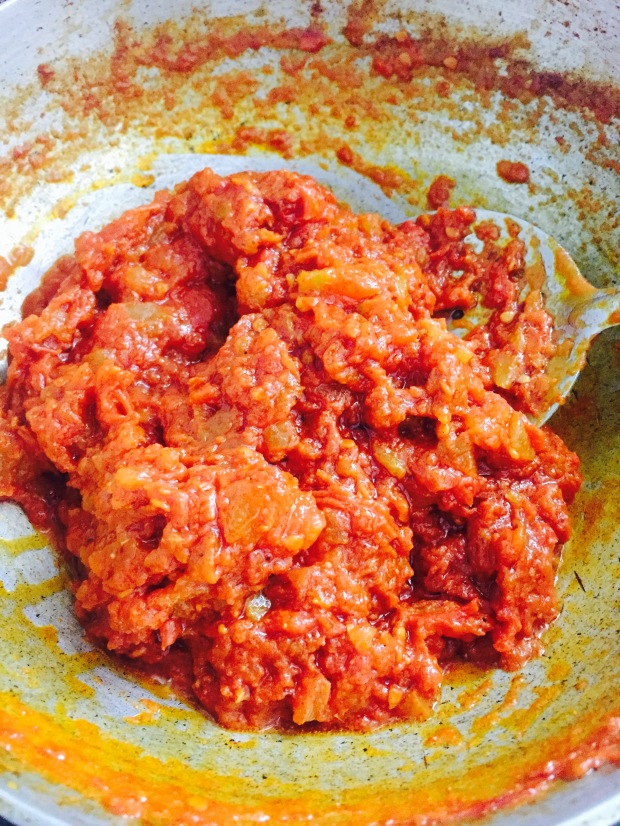
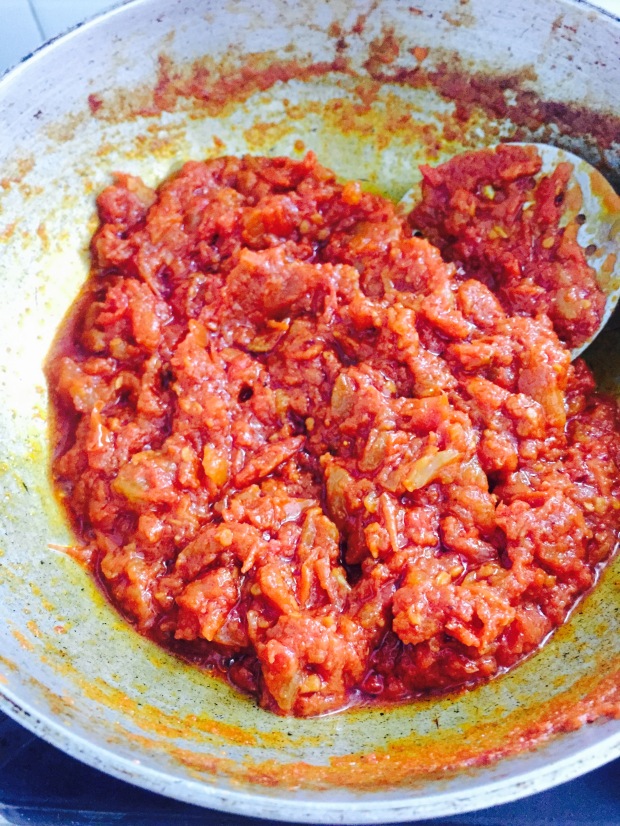
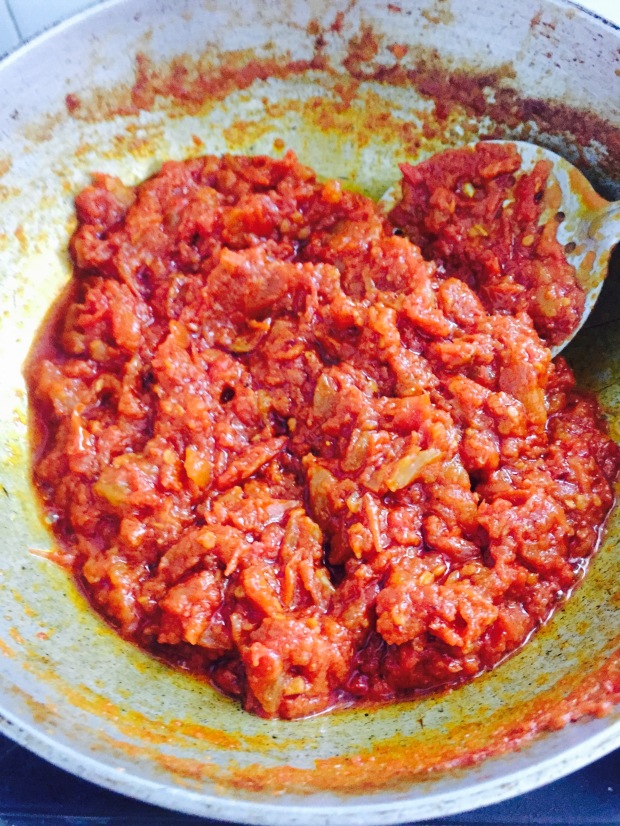
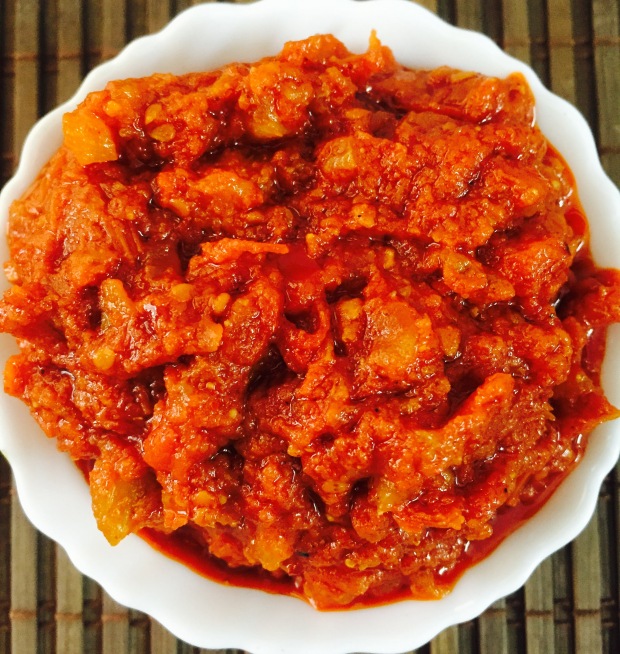 Instant tomato pickle
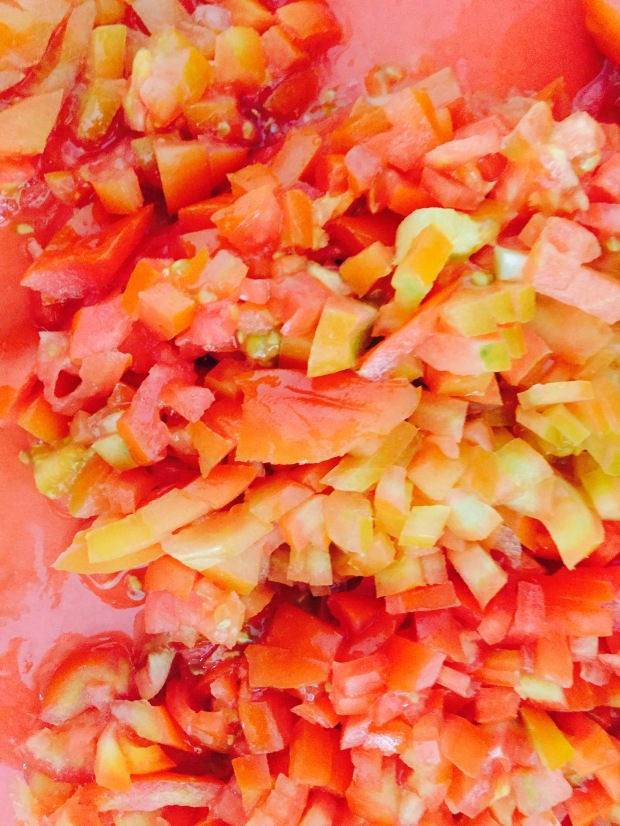

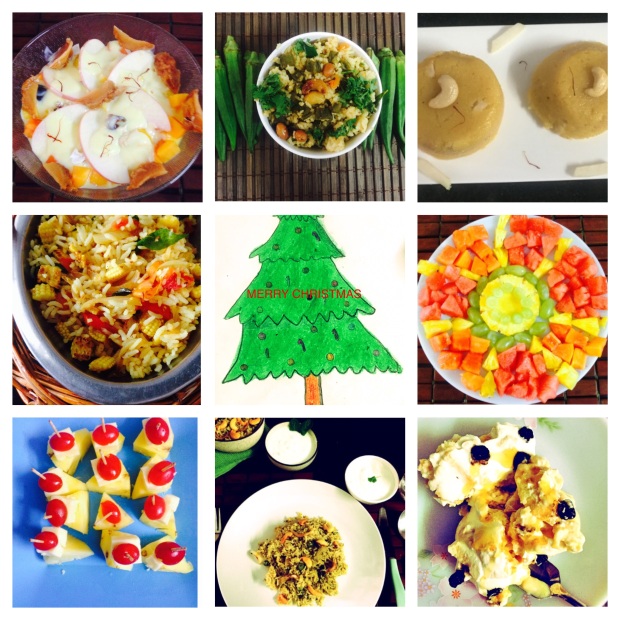 Christmas recipes
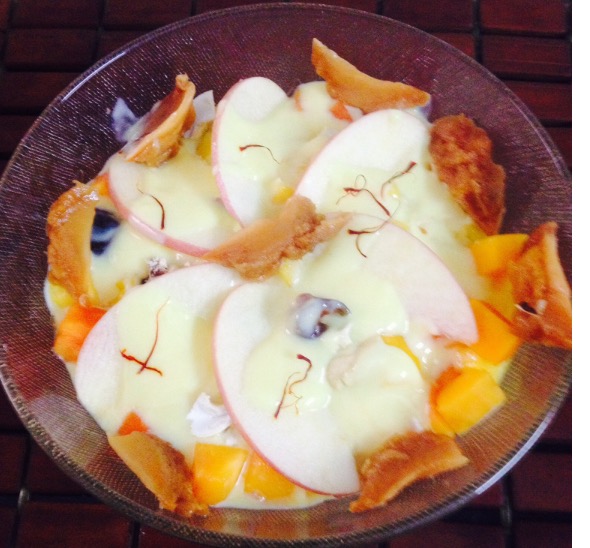
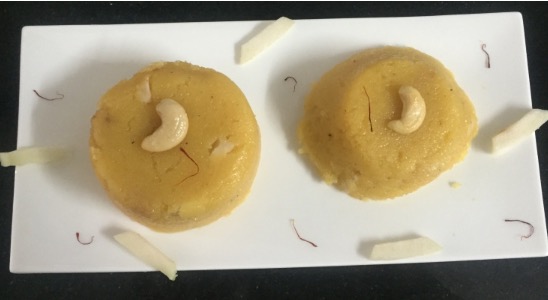
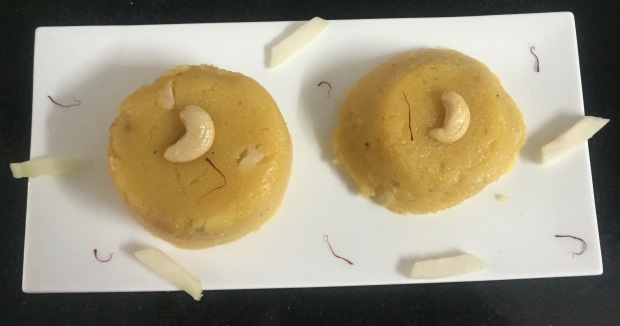 Guava kesari


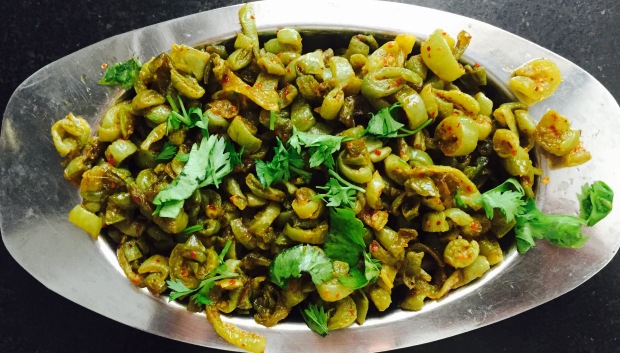 Potlakaya vepudu
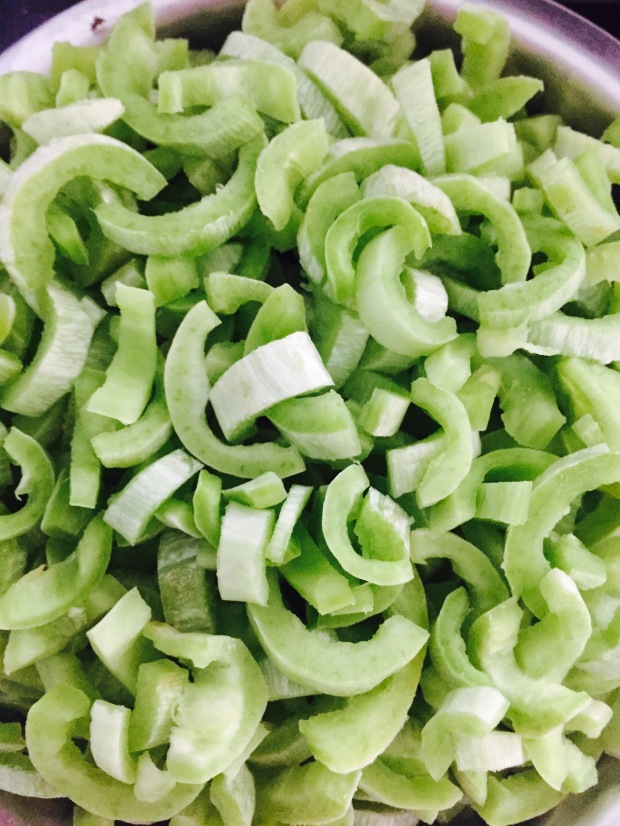


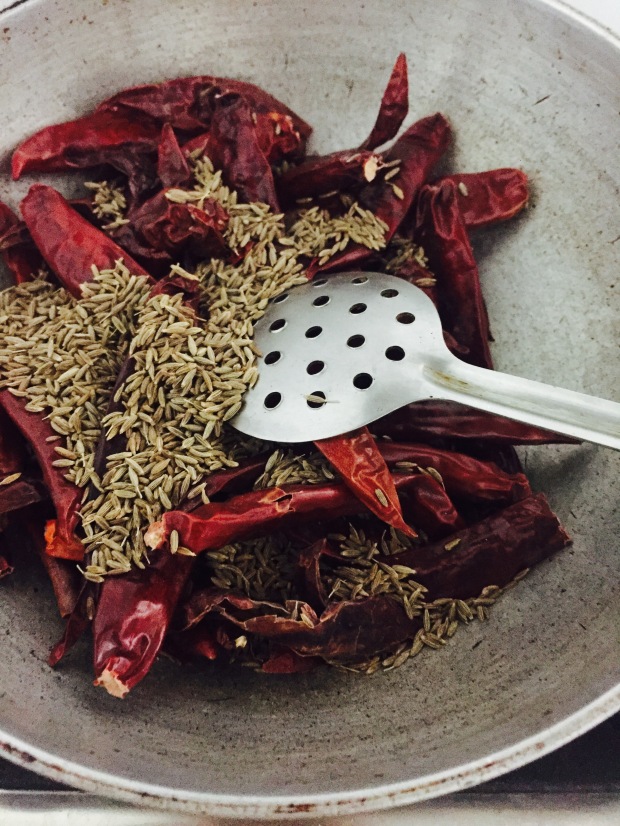
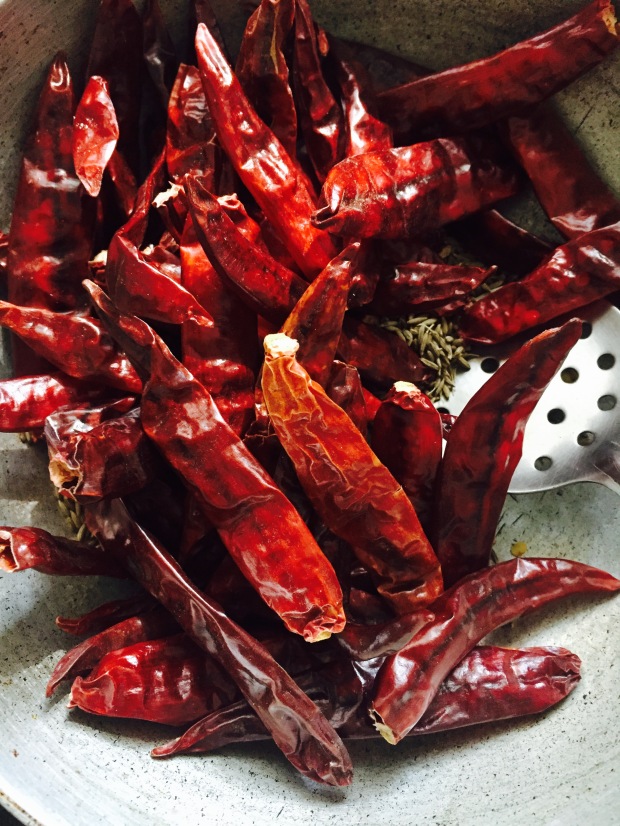
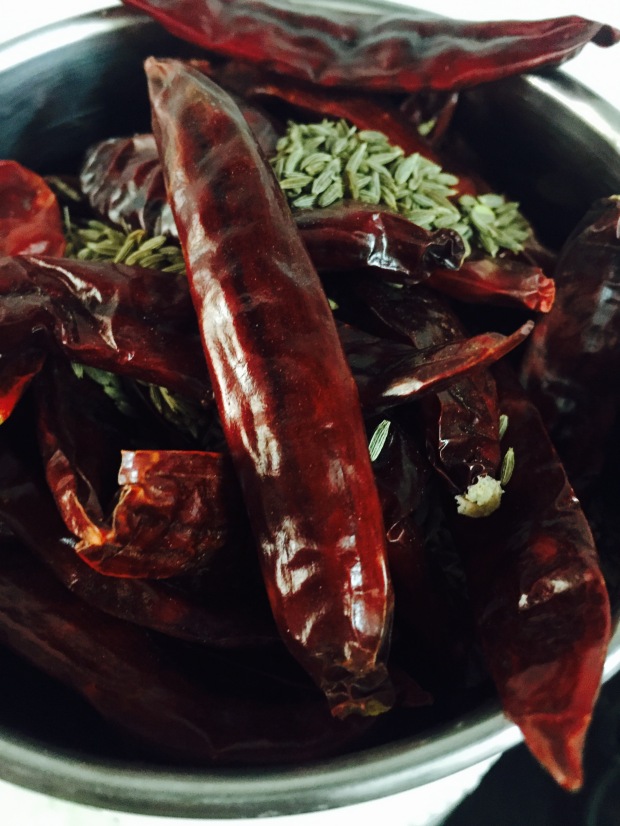
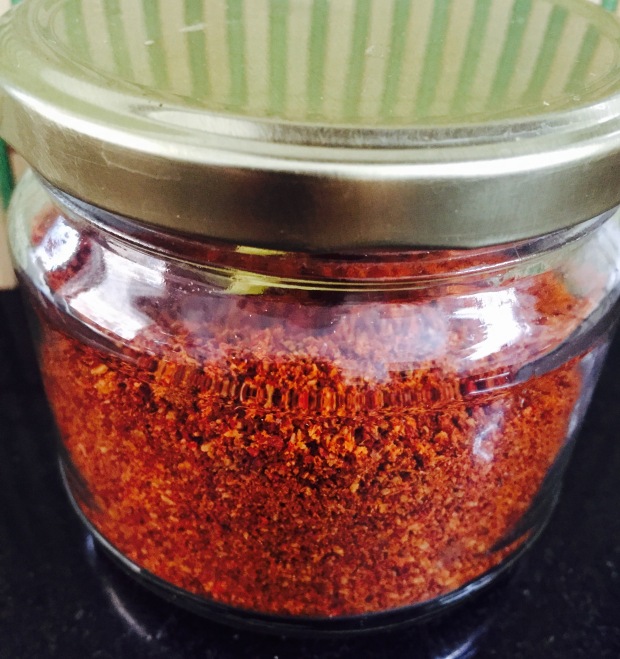
 Jilakara karam

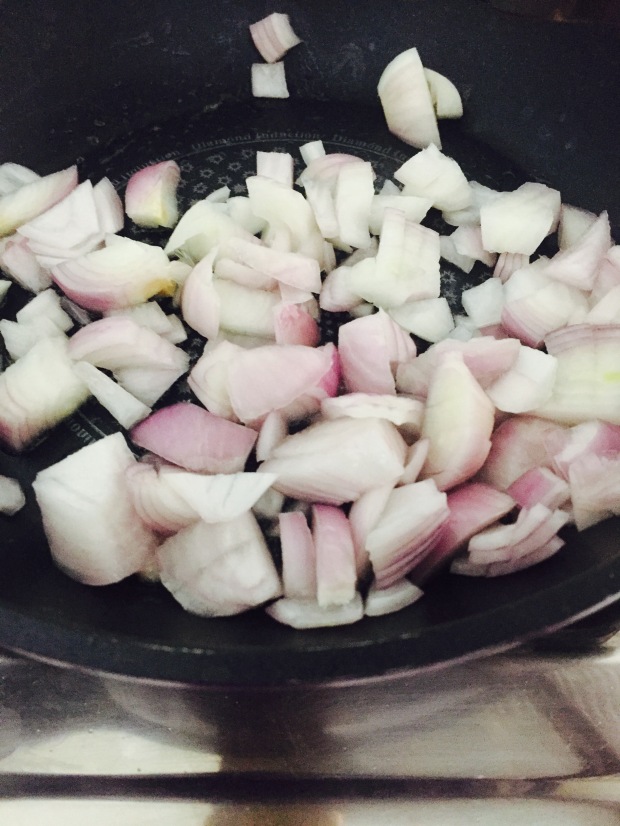
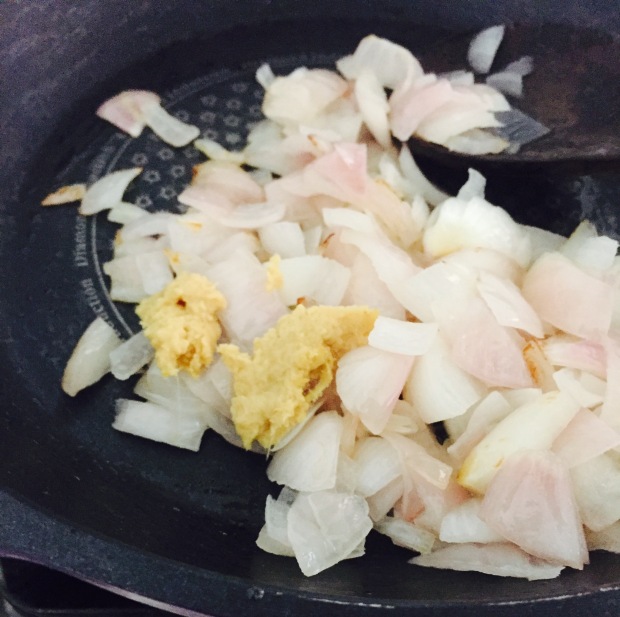
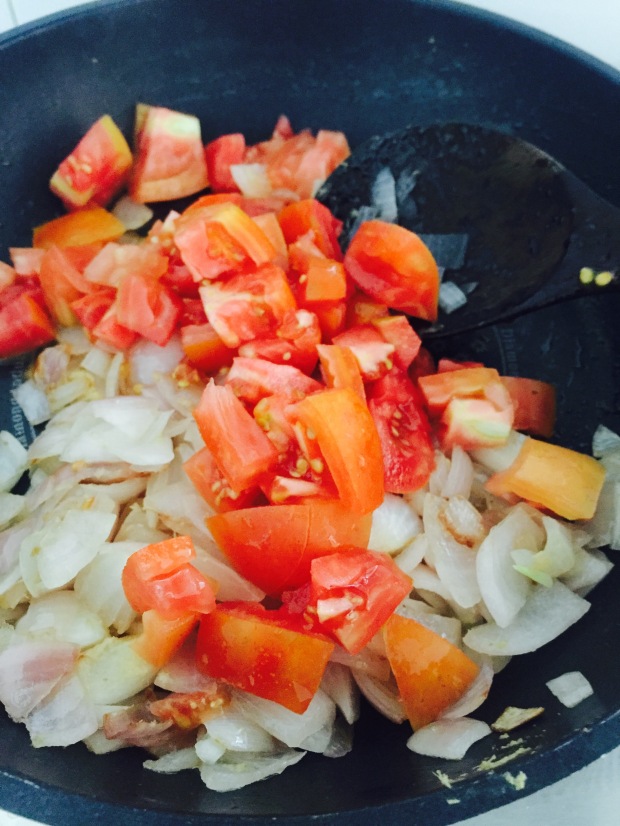
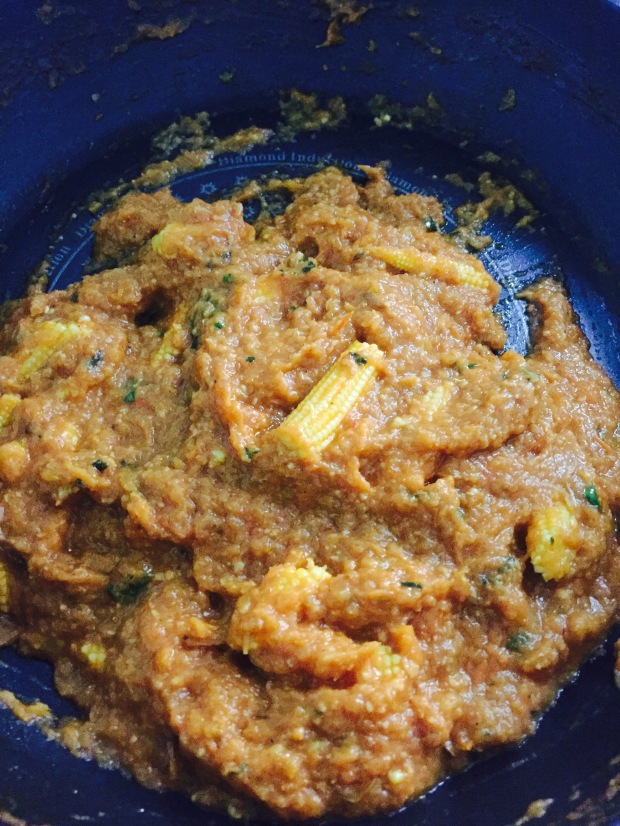
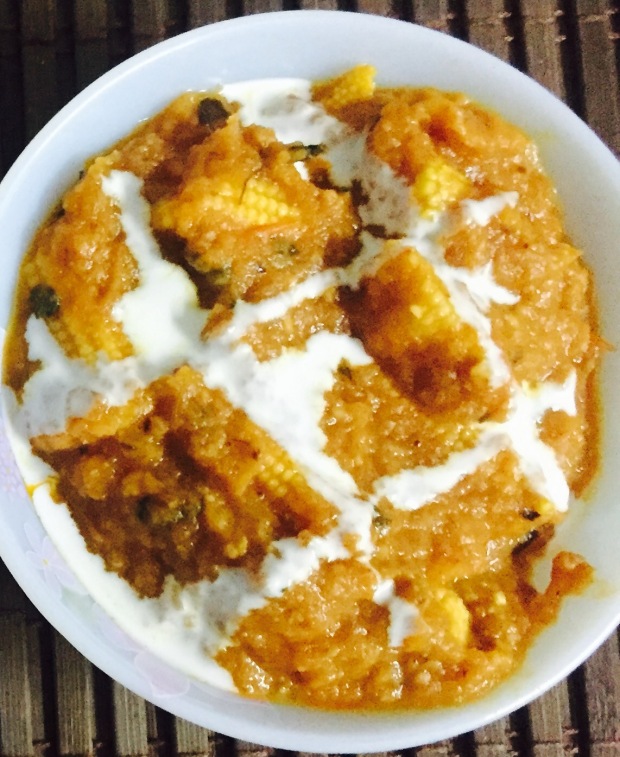
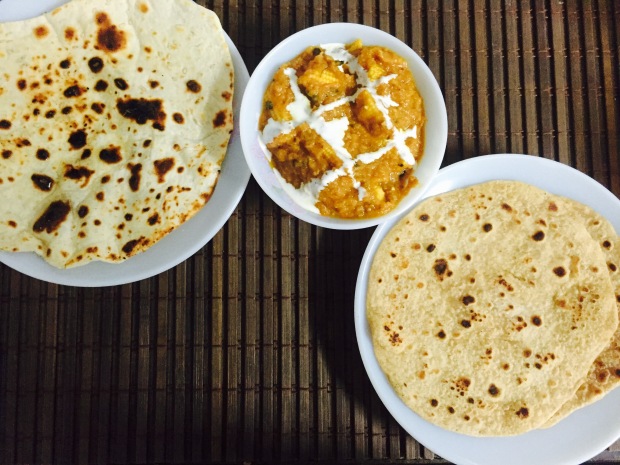
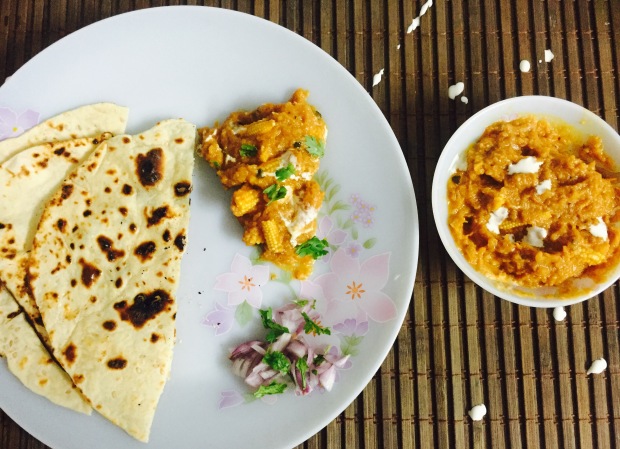
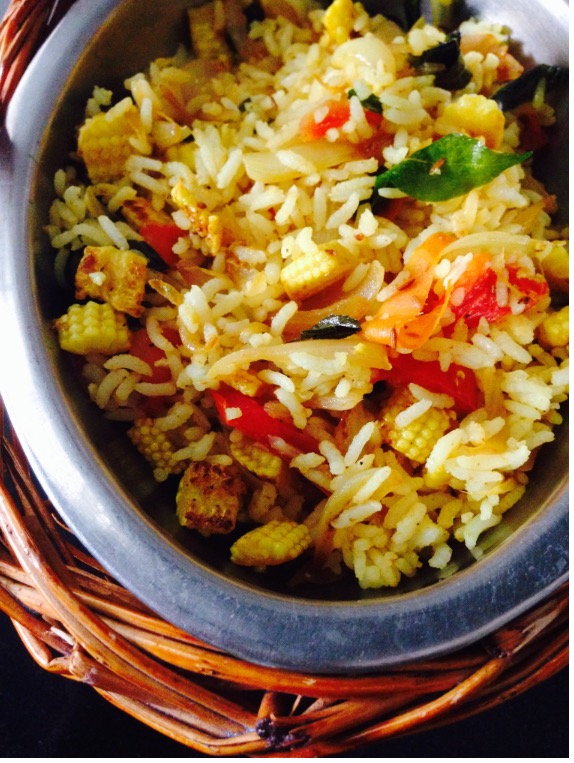
 Baby corn masala curry
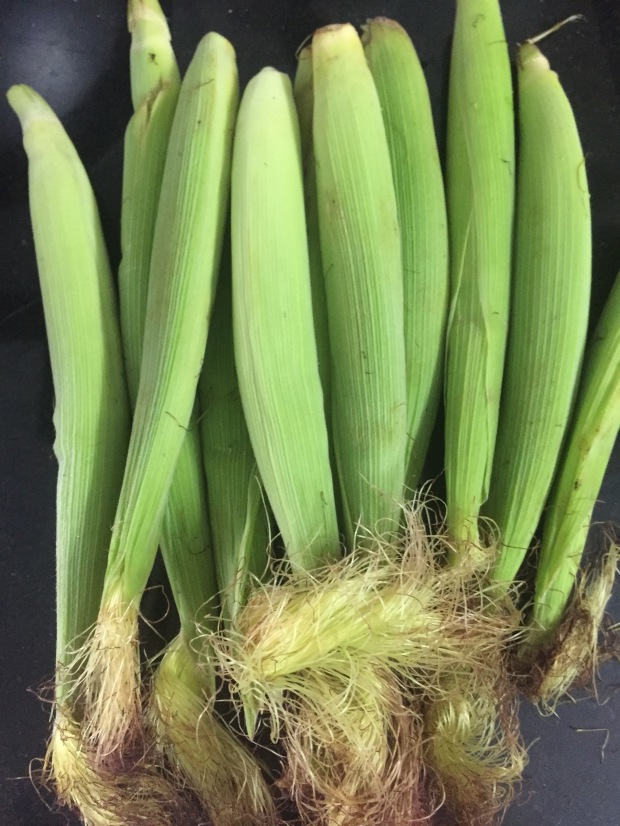
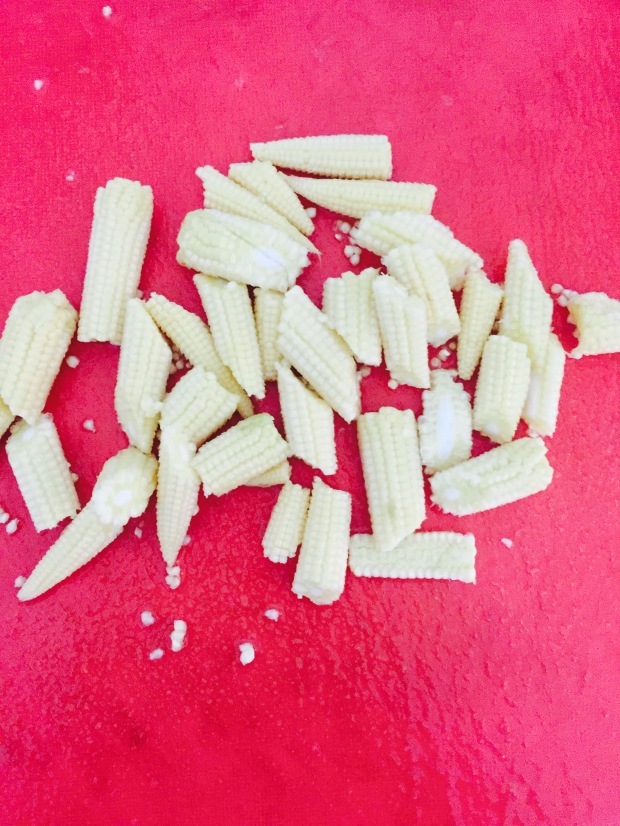
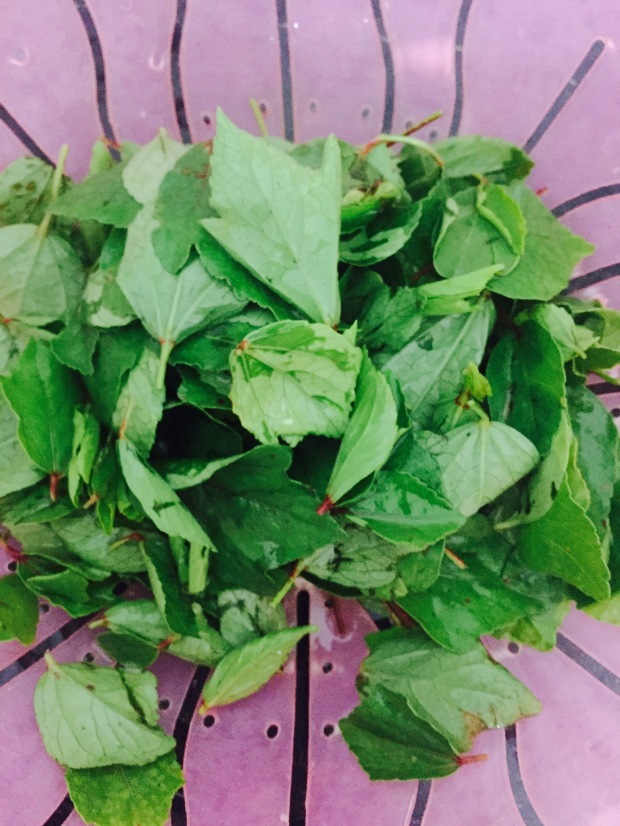
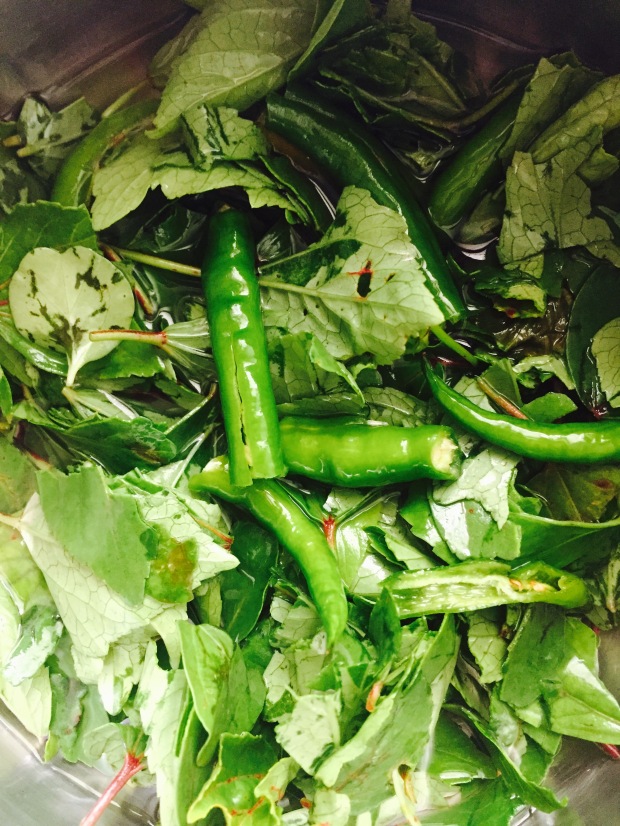
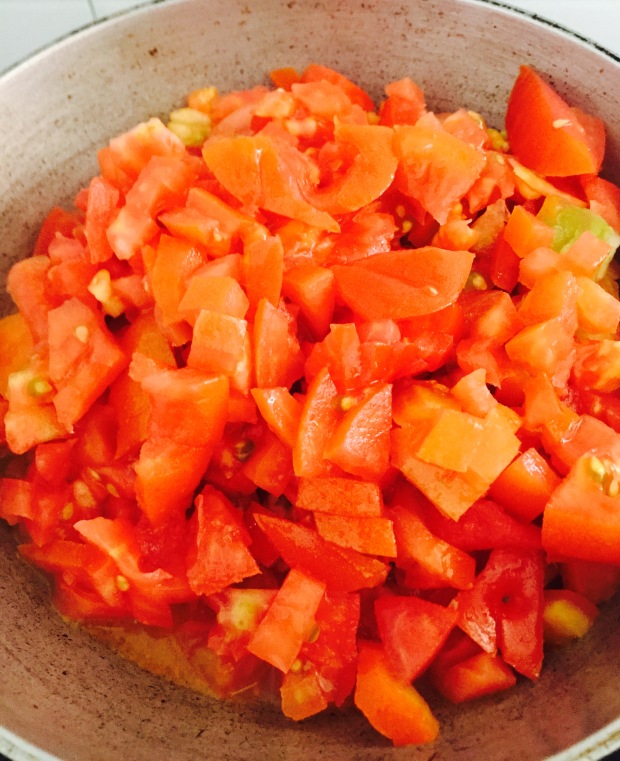
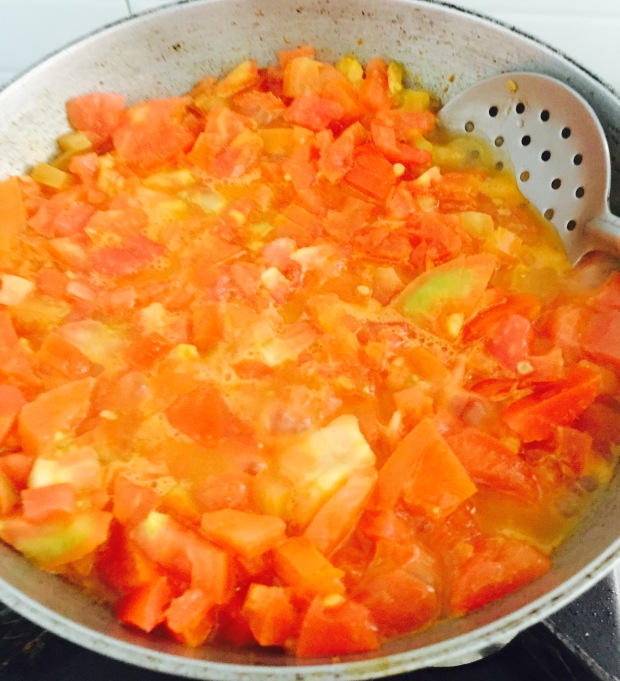
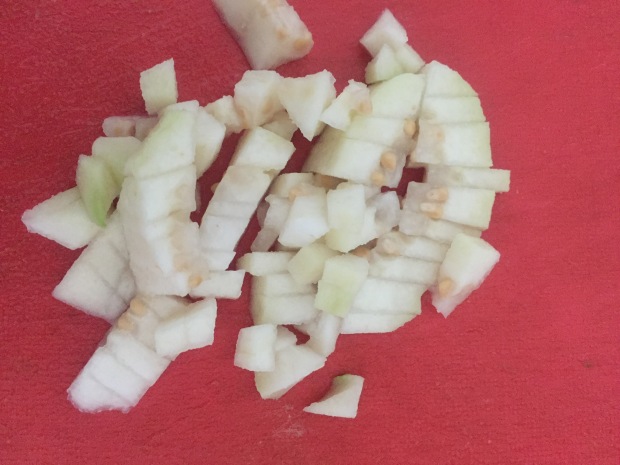
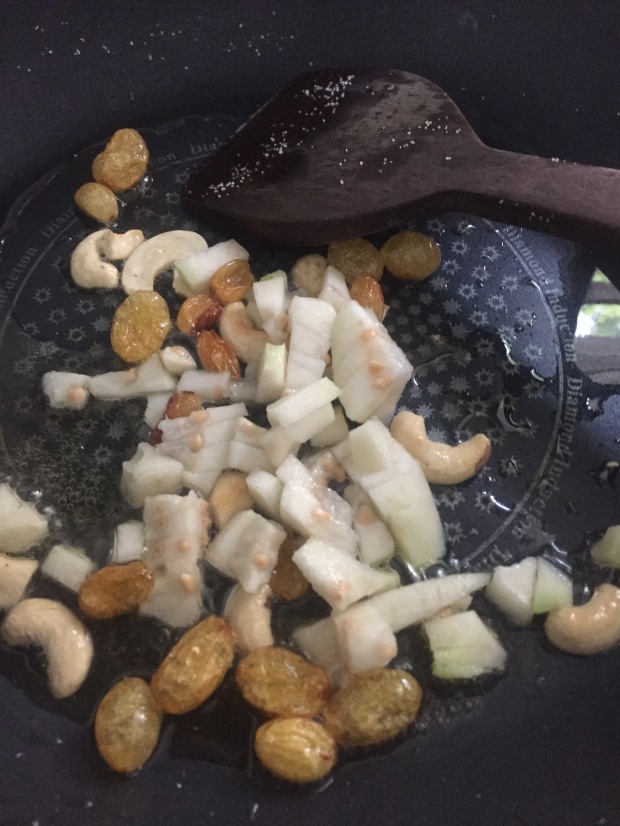
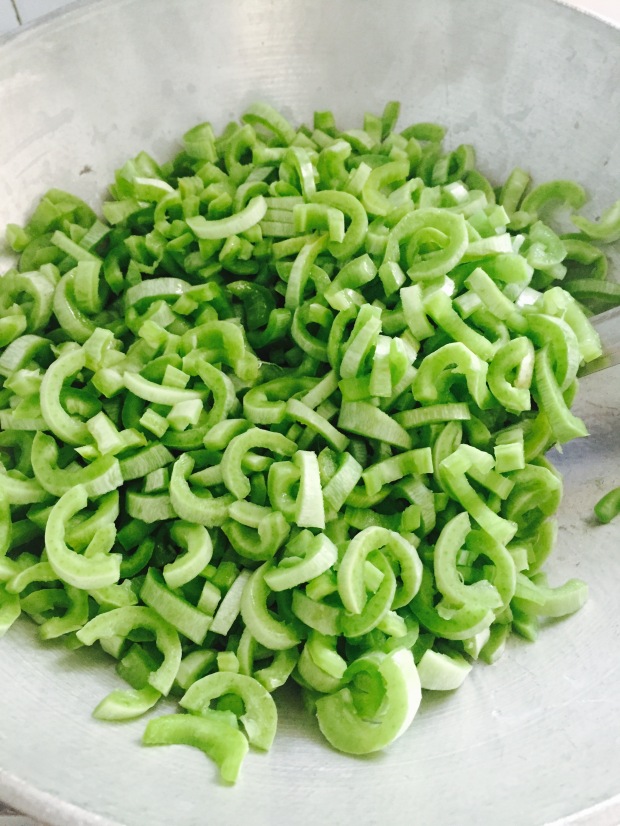
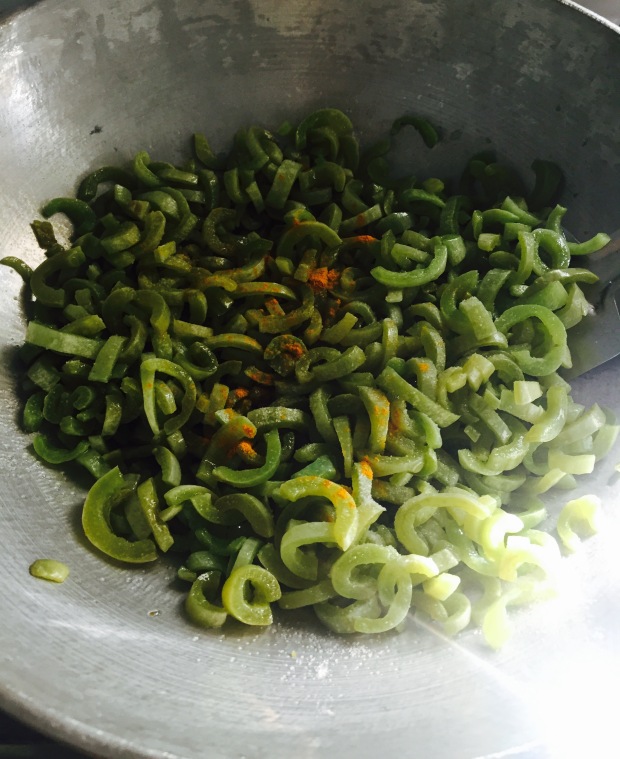
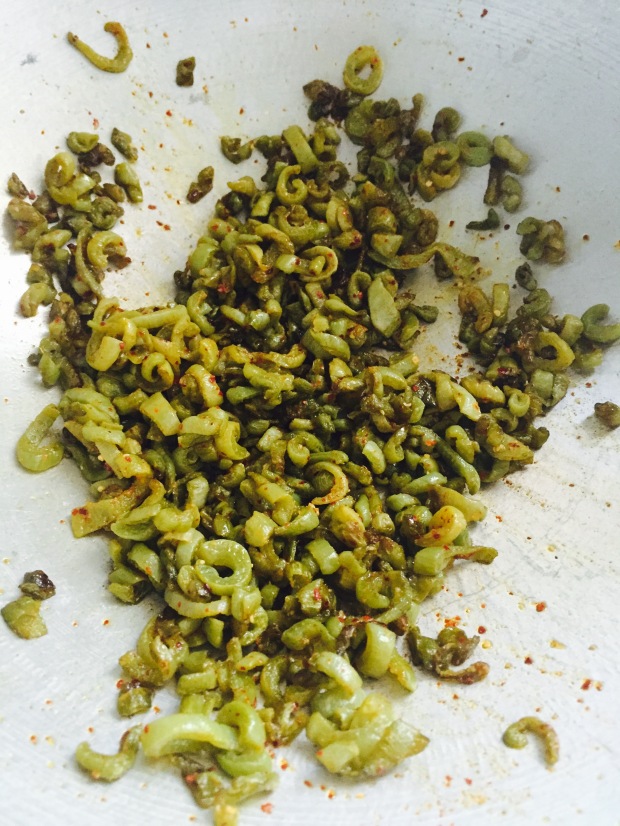
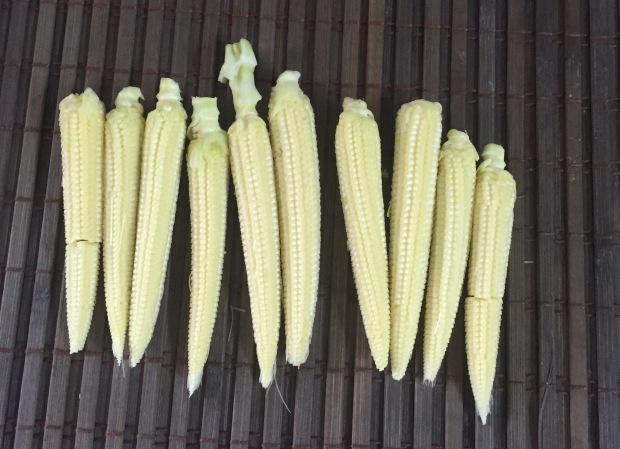 2. Rinse well with water, remove the edges and chop them into bite size pieces and keep aside.
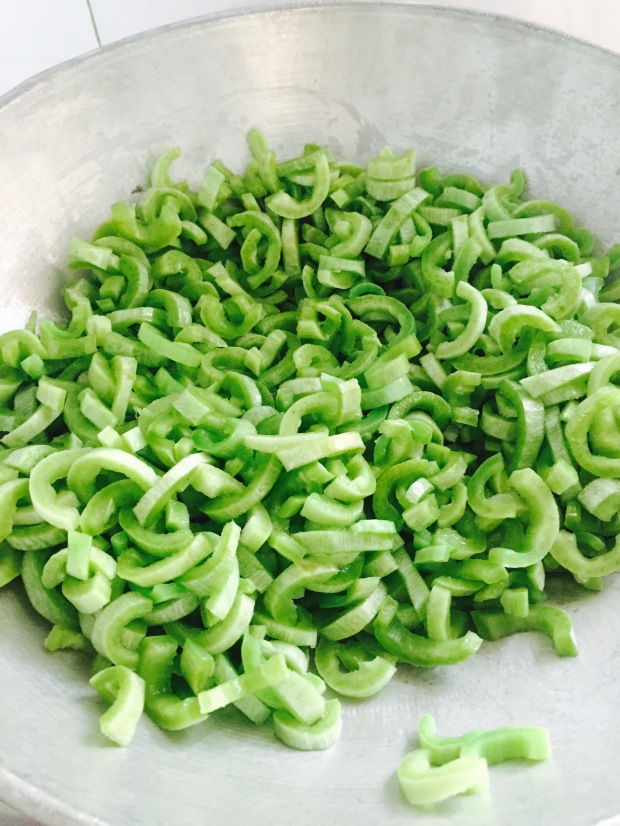