Mango cup cake
Hurry up before the mango season ends. Here comes spongy, moist and mouth watering dessert to enjoy this season. Mango cup cakes are prepared with mango pulp. Any variety of mango which has good amount of pulp can be used to prepare this recipe. I’ve used dasheri variety mango. Maida, powdered sugar, vanilla essence, mango pulp, baking soda and baking powder are added. Dried cranberries are mixed with the batter. Curd, neutral oil and mango pulp are whisked thoroughly. Dry ingredients are added and folded gently. The prepared batter is poured into the cup cake moulds and tapped slightly. They are baked in a preheated oven @180 degrees for 15-20 minutes. Here I present delectable dessert mango cup cake to relish anytime. Njoy Cooking, Serving n Savoring!
Author: Akshayakumbham
Course: Cakes
Cuisine: International
Servings: 6
Ingredients:
Maida: 1 cup + 2 tbsp
Powdered sugar: Half cup
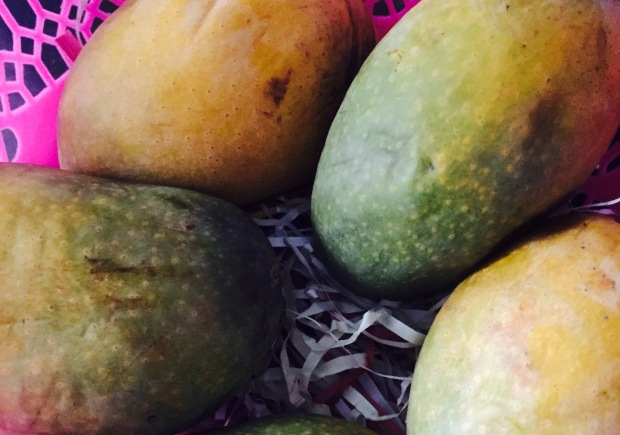
Mango(Dasheri variety): 1 no.(You can use Alphonso or banginapalli
Variety) or one fourth cup mango pulp
Curd: One fourth cup
Neutral oil: Little less than one fourth cup
Vanilla essence: Few drops
Baking powder: 1 tsp
Baking soda: One fourth tsp
Salt: A pinch
Dried cranberries: 1-1 1/2 tbsp(Optional).
Method of preparation:
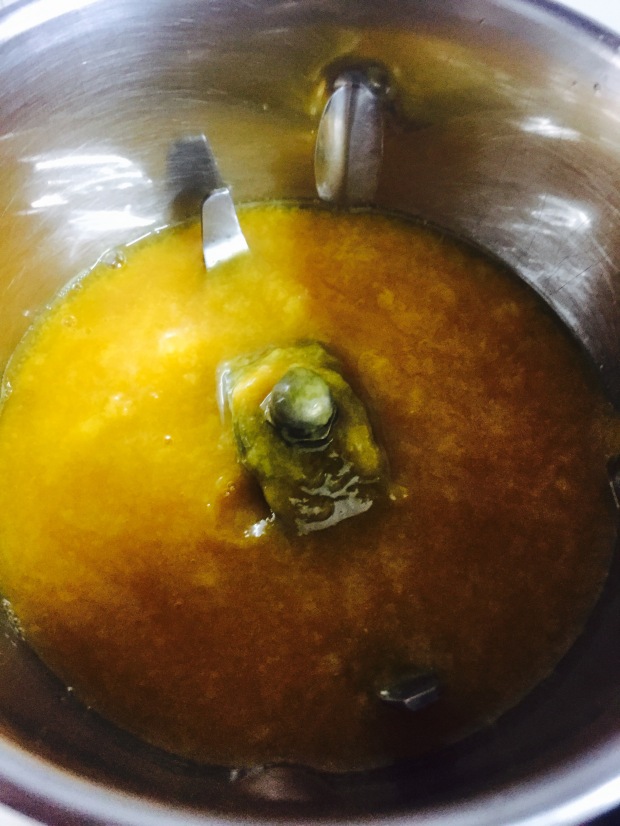
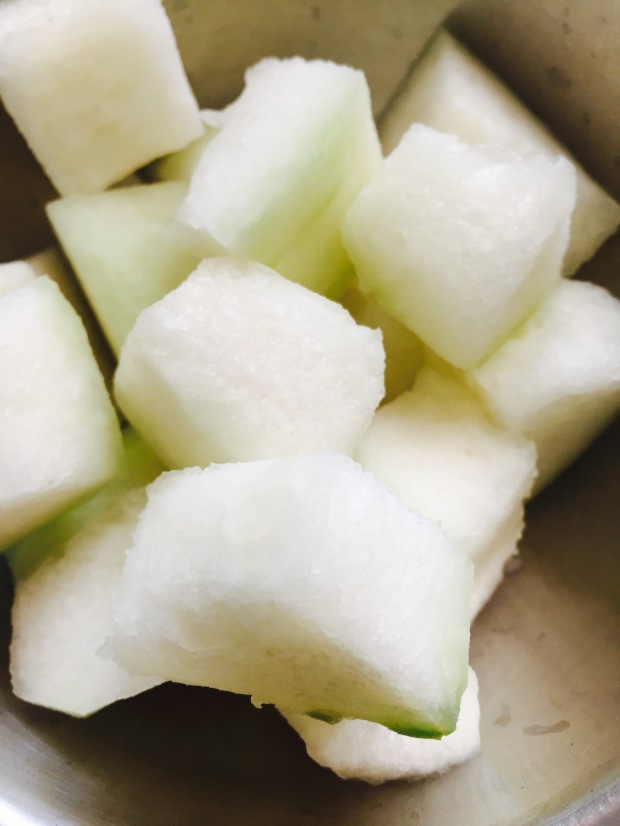
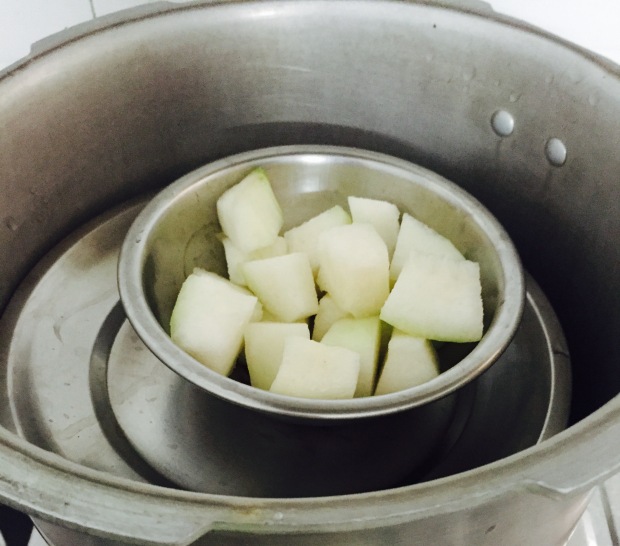
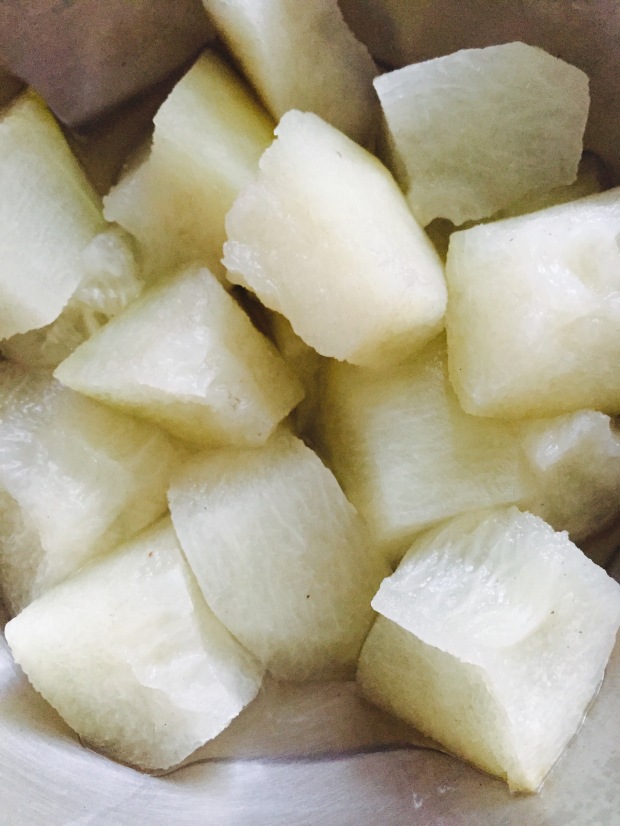
1. Take one dasehri mango, rinse well and extract the pulp.
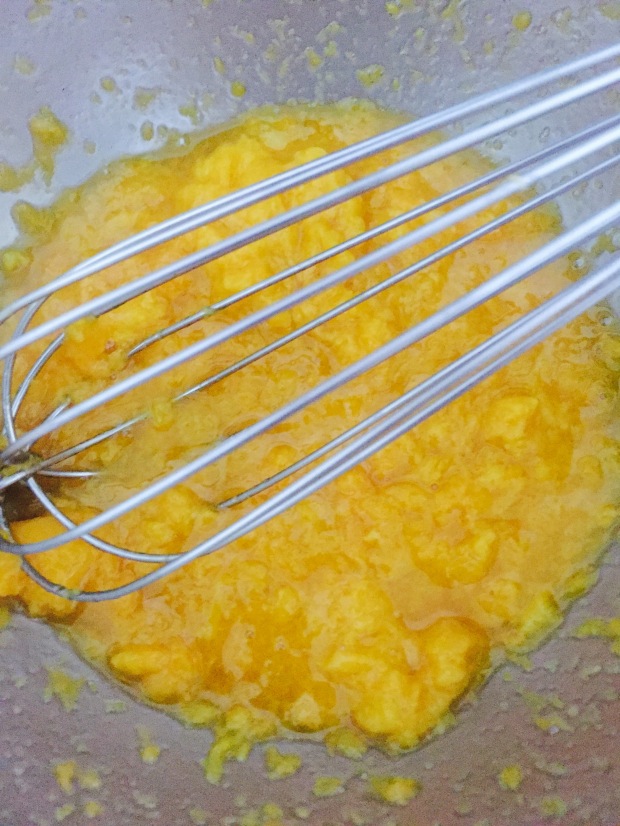
2. Transfer the extracted pulp into a mixer grinder and grind to get uniform texture.
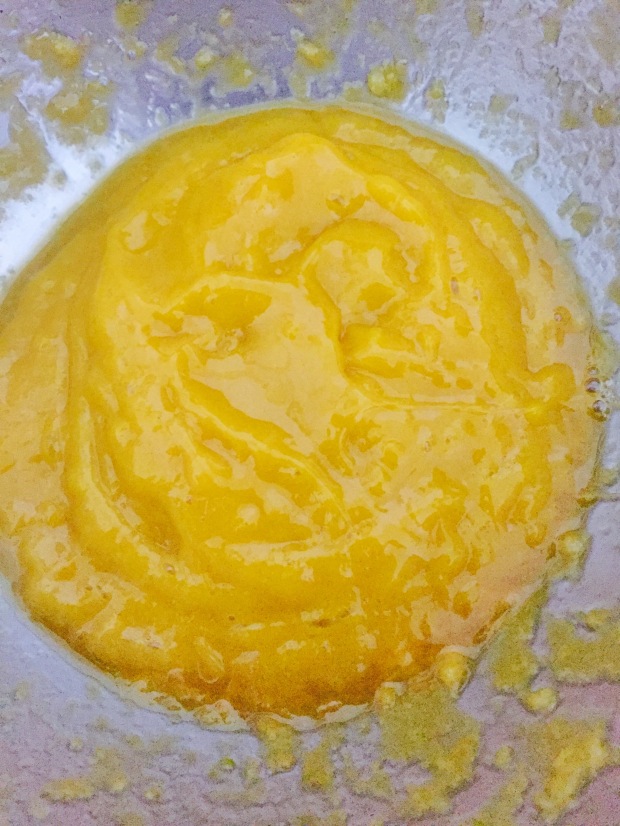
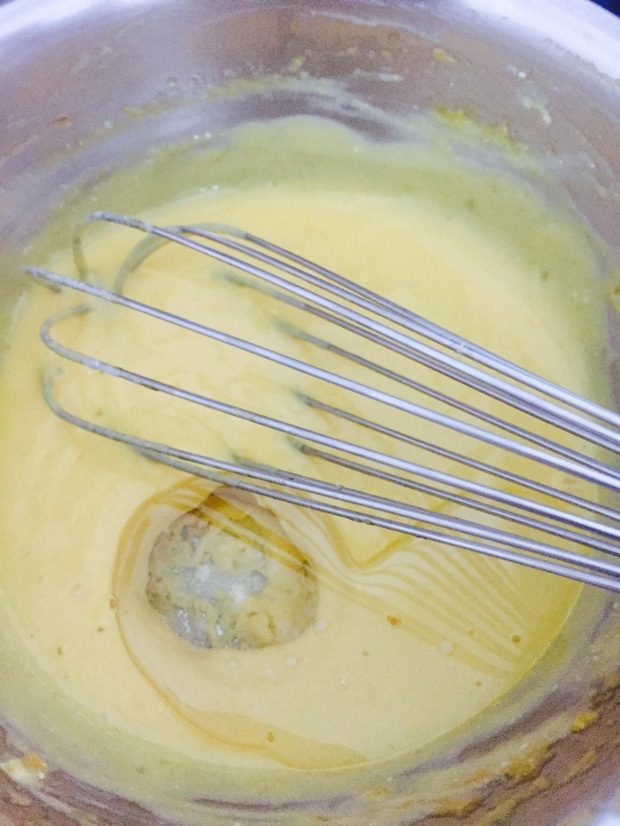
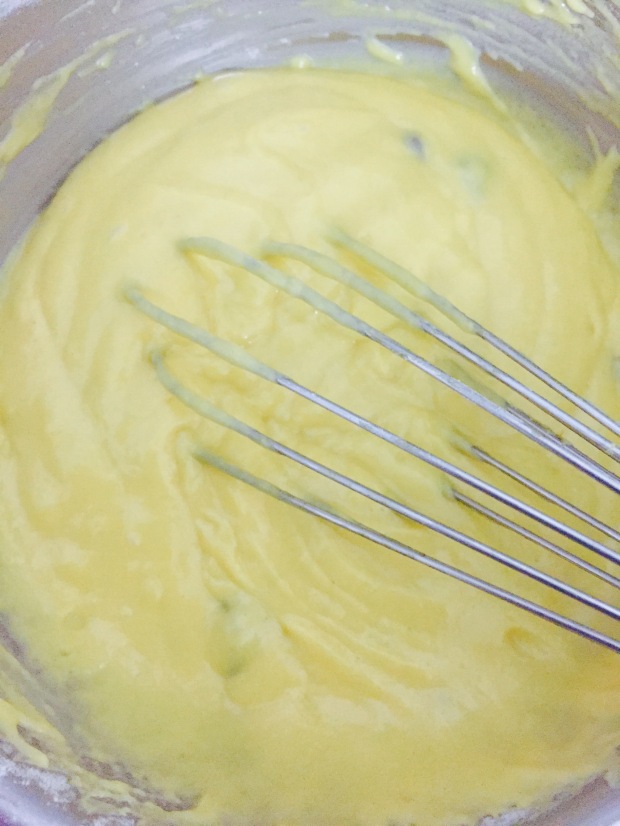
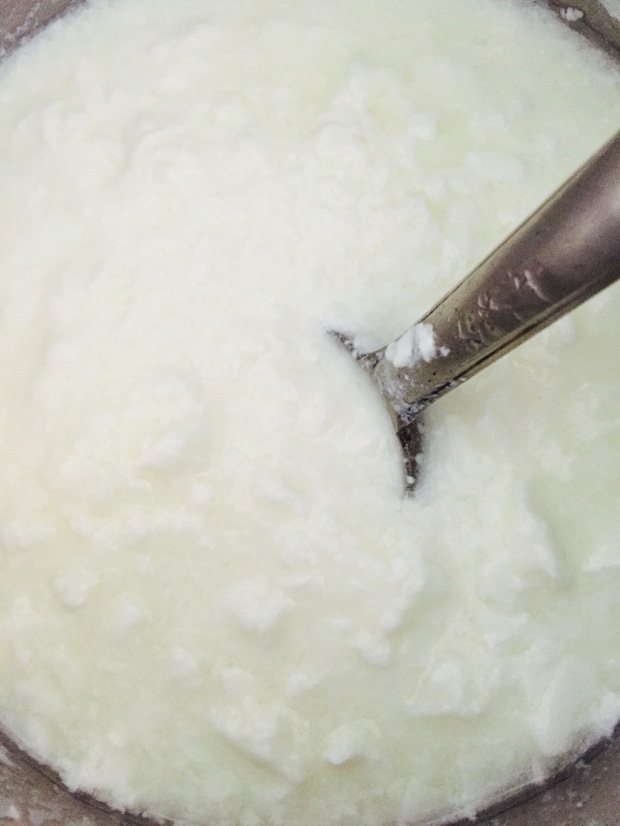
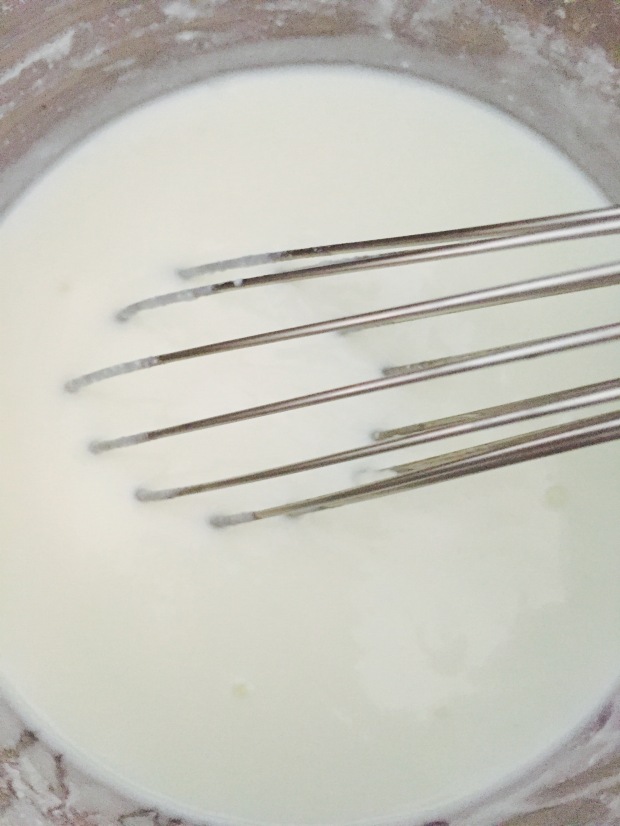
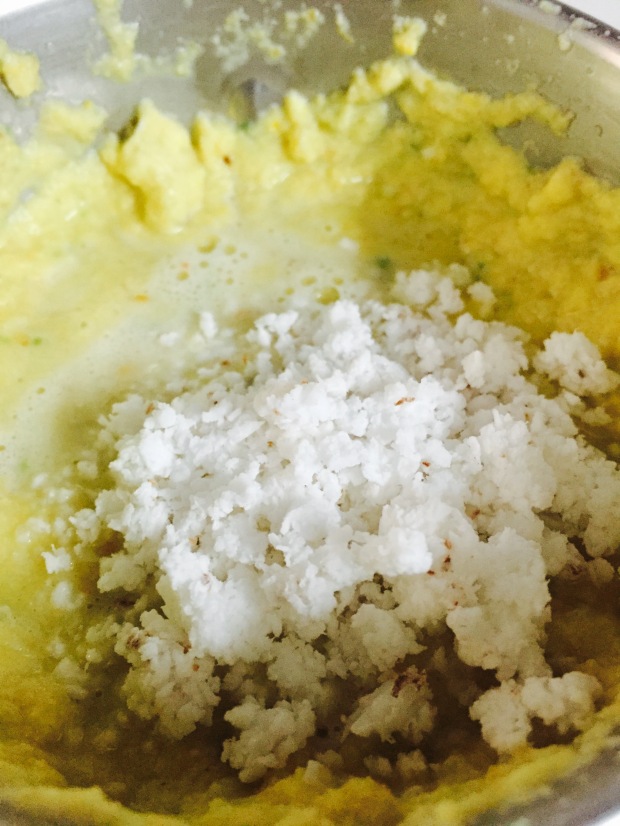
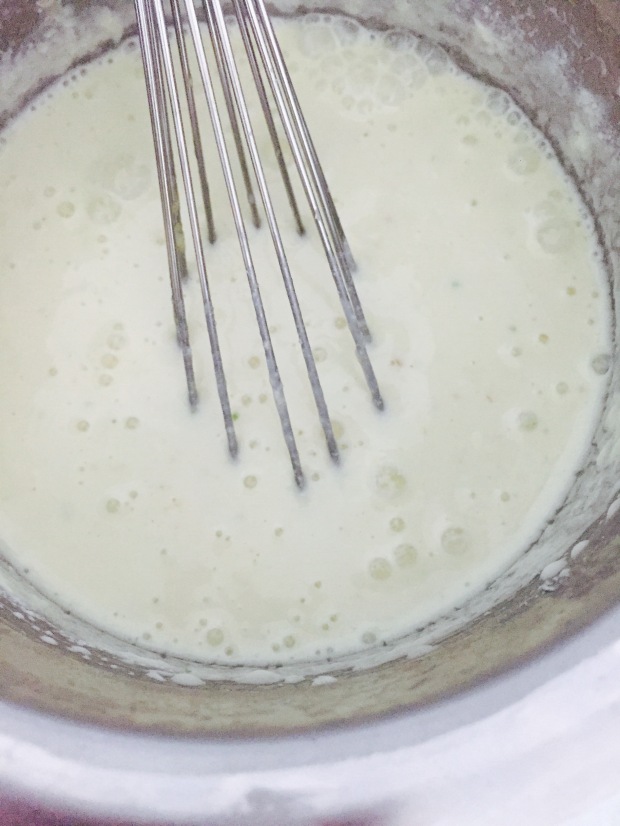
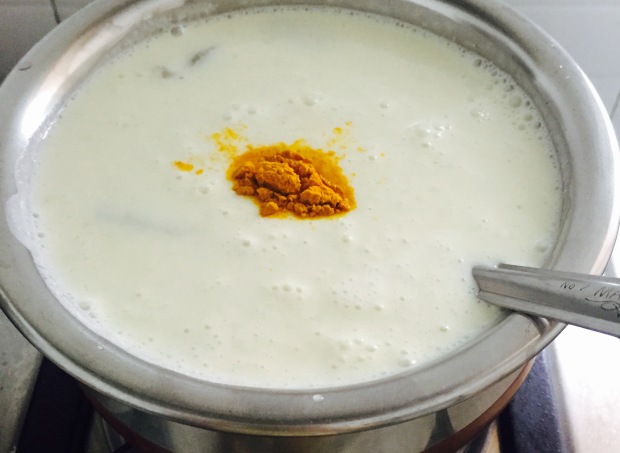
3. Transfer the pulp into a bowl. Add required amount of curd and vanilla essence too. Whisk well for three minutes to get smooth texture.

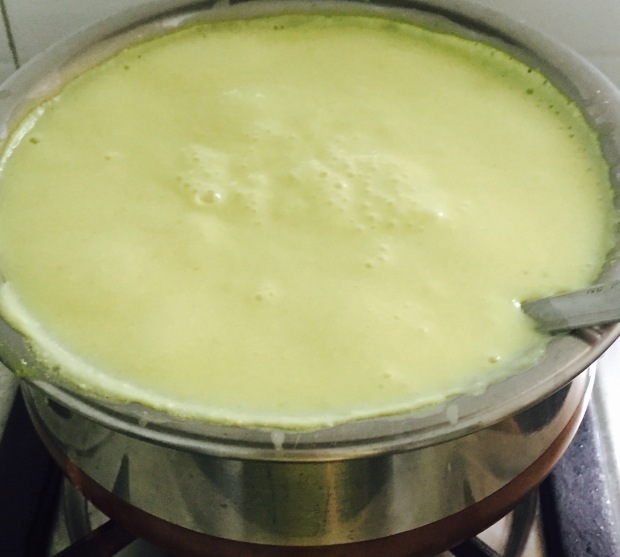
4. Now add neutral oil and mix vigorously for two more minutes.
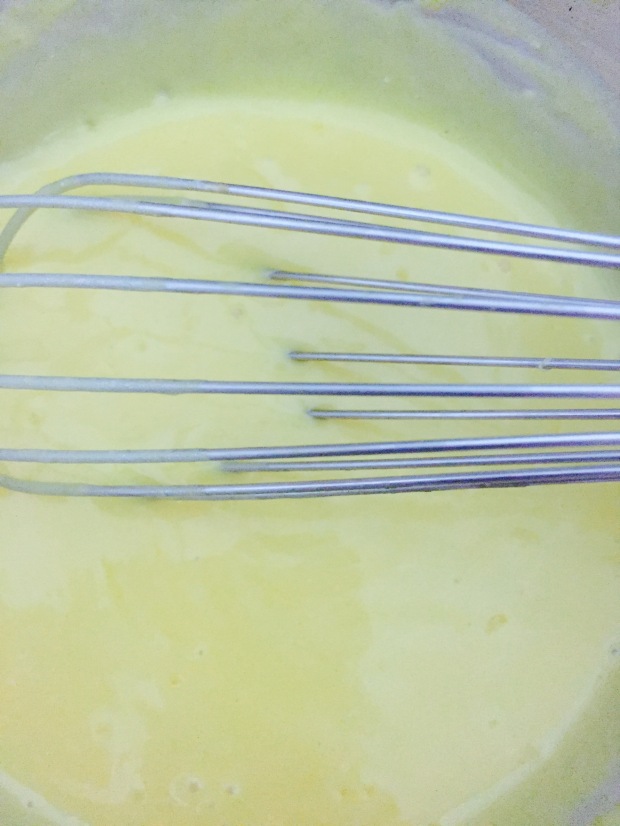
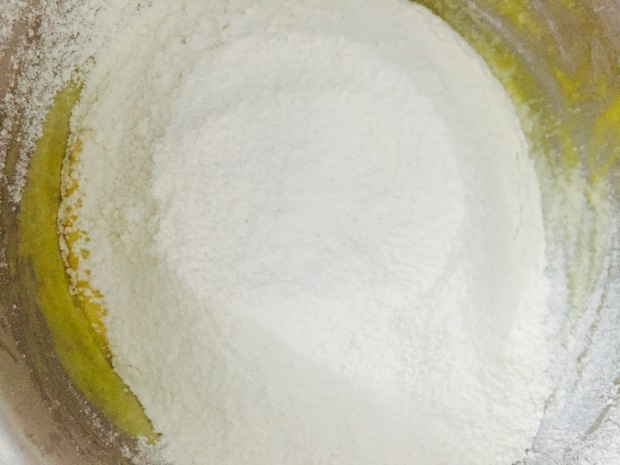
5. Now sift maida, powdered sugar, baking powder, baking soda and a pinch of salt.
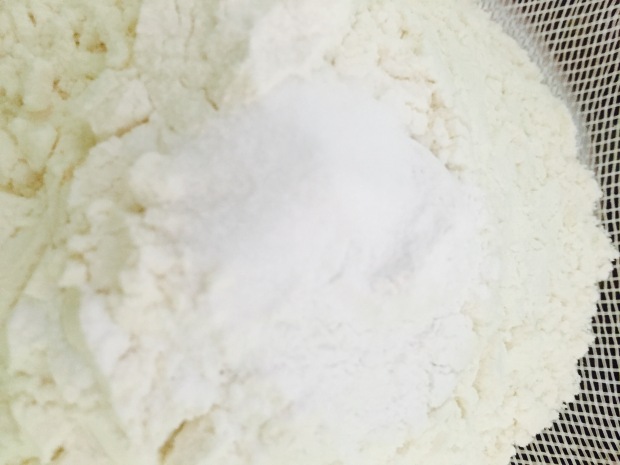
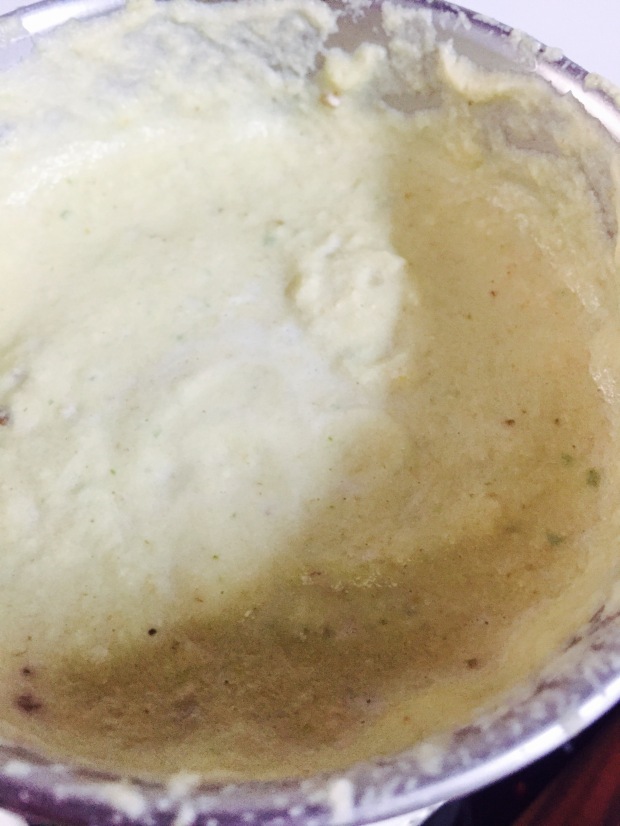
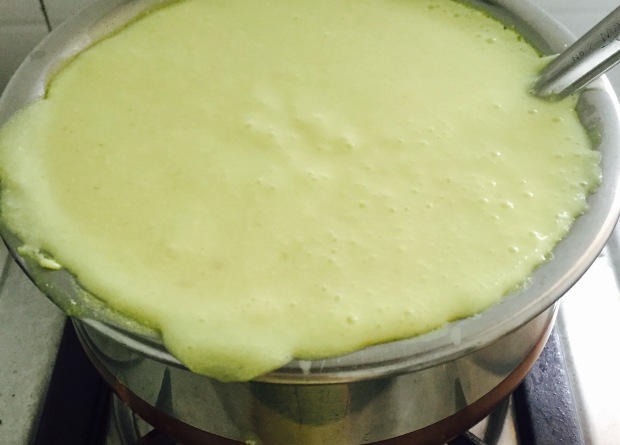
6. Gently fold the mixture to get cake batter.
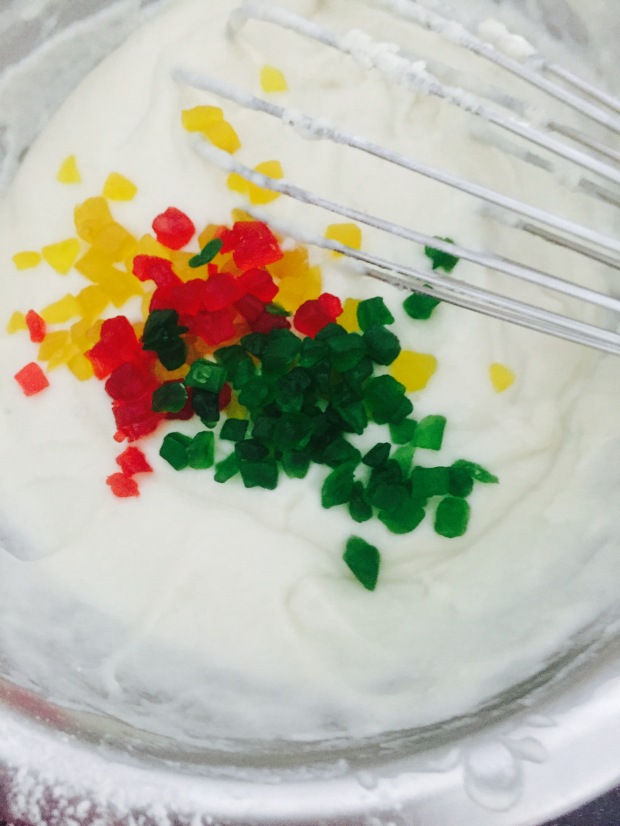
7. Now add cranberries and mix well. Now the cake batter is ready.

8. Meanwhile preheat oven@180 degrees for 10 minutes.
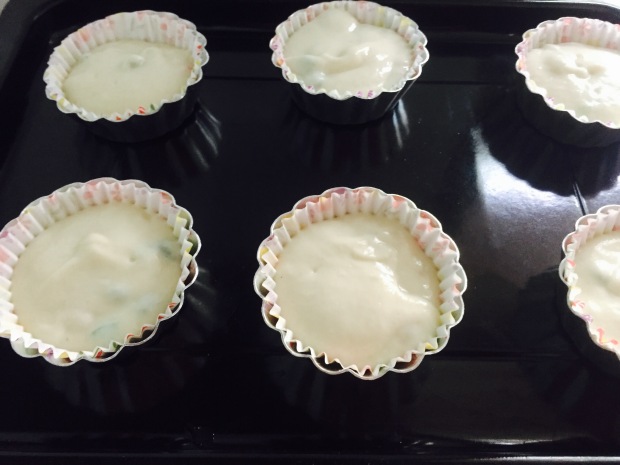
9. Take cup cake moulds and place cup liners into them. Grease the cup liners with little oil.
10. Now pour 2-3 tsp of cake batter into each mould. Gently tap the moulds.
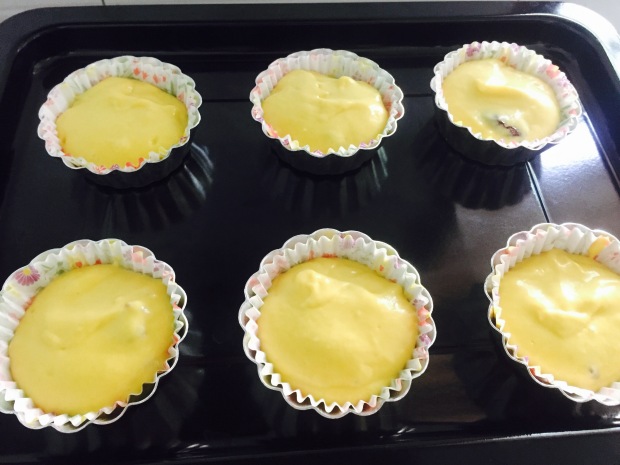
11. Now put one or two cranberries in each cup cake batter.
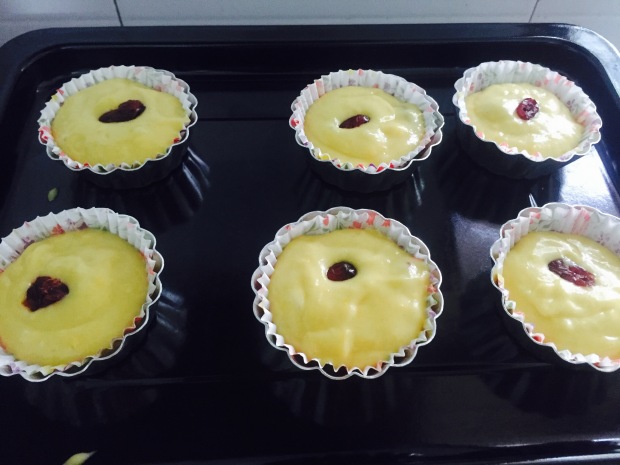
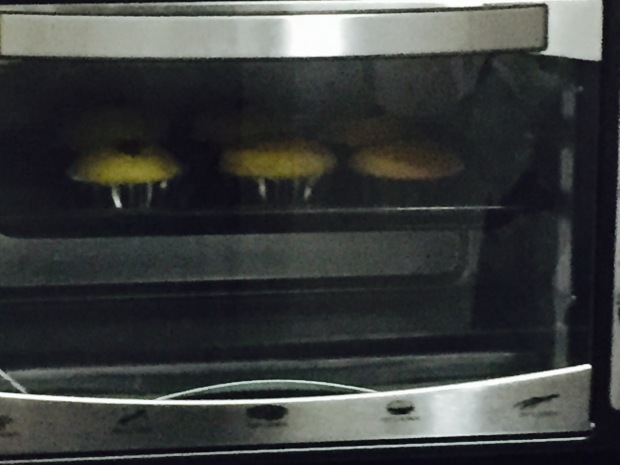
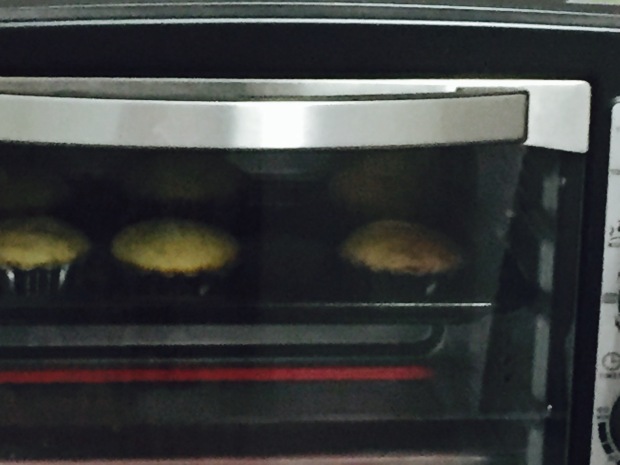
12. Keep them in oven/OTG and bake@180 degrees for 15-20 minutes heating only bottom element. It took approximately 18 minutes to bake the cup cakes. Insert the toothpick to check the doneness of the cake. The toothpick should come out clean if inserted into the cake.
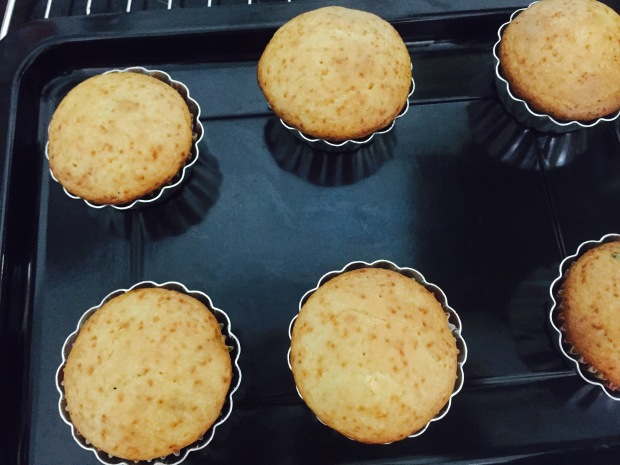
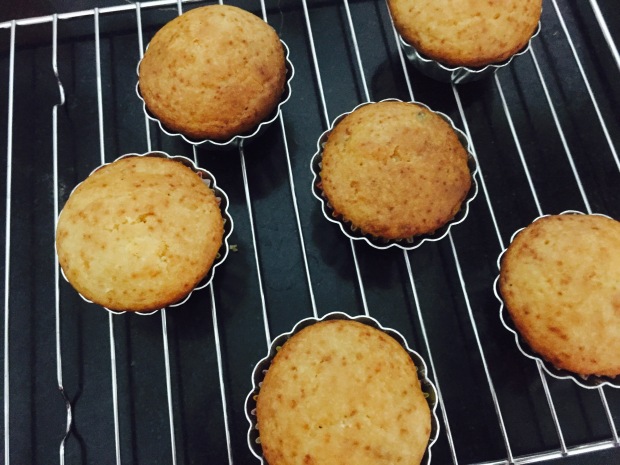
13. Take the cup cakes out of the oven and keep them on a wired rack to come down to normal temperature.

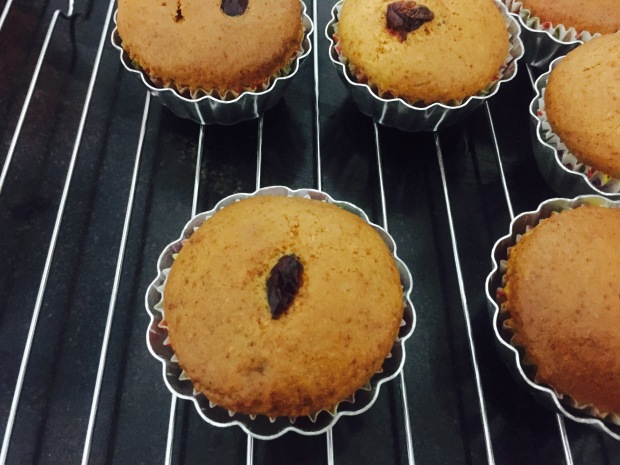
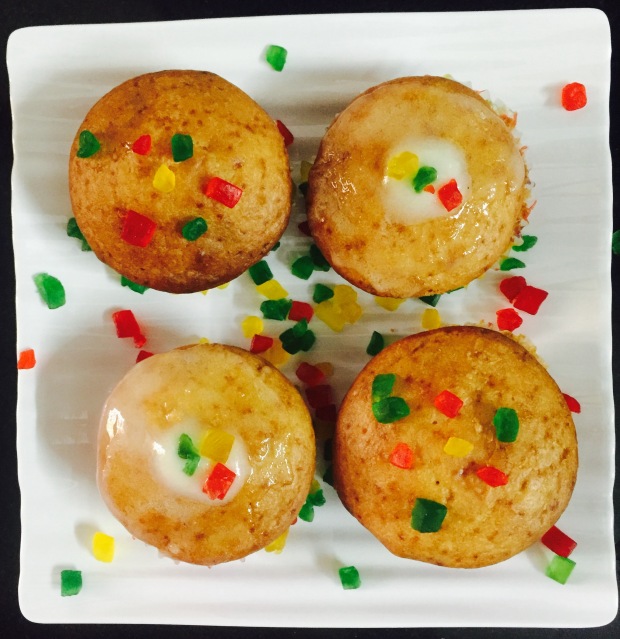
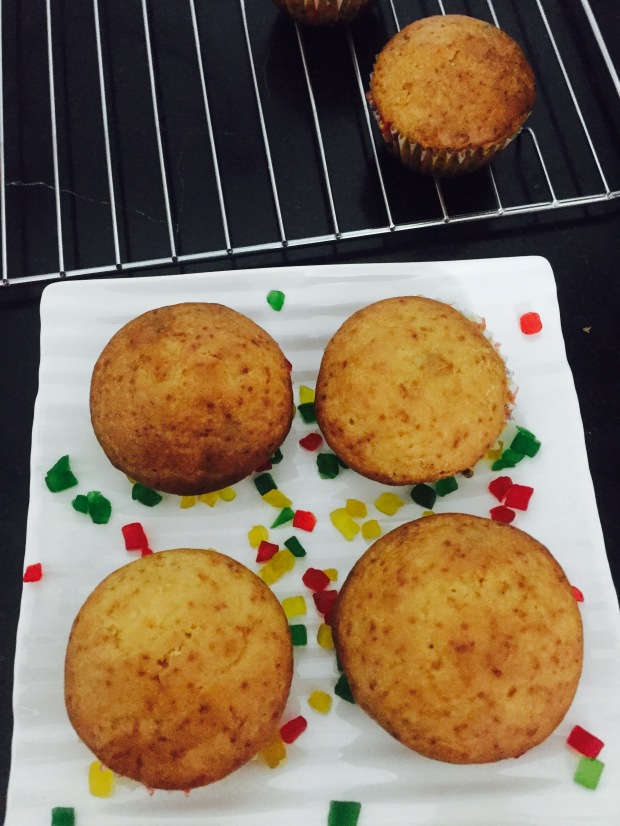
14. Now the delicious dessert mango cup cake is ready to serve.
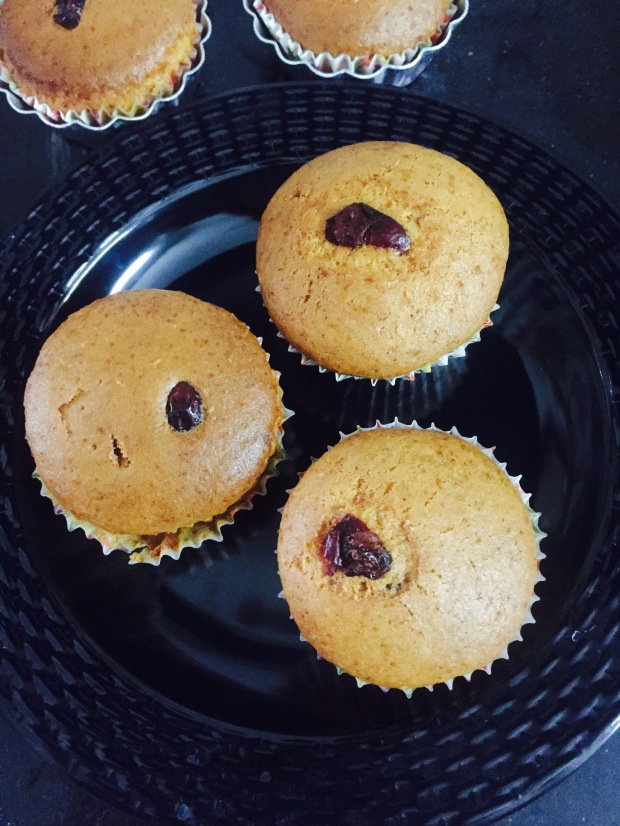
15. Transfer them onto a serving plate and enjoy.

Thank you for visiting akshayakumbham and leaving comments. Your comments are really appreciated.
 Tutti fruitti cup cake
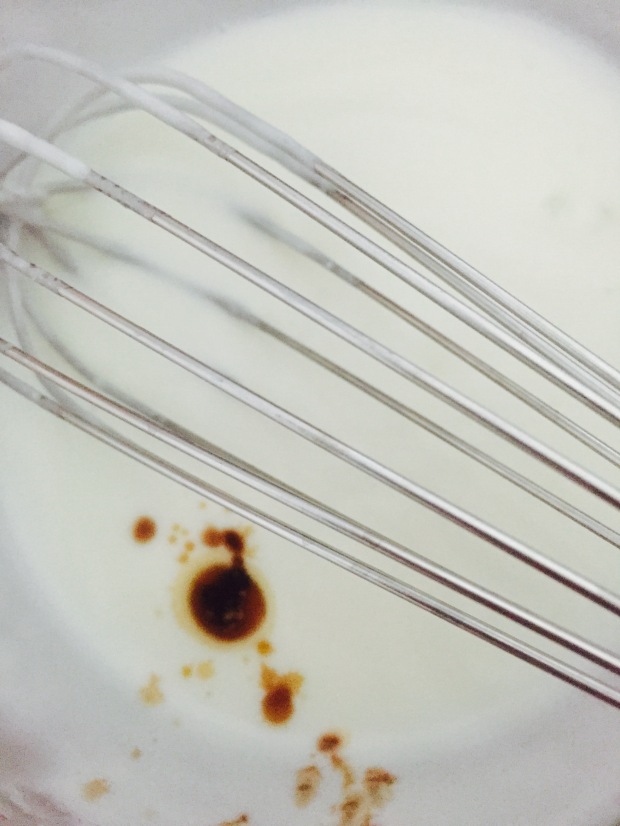

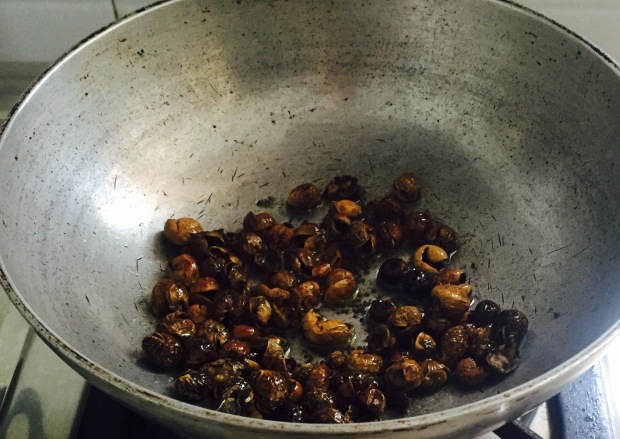
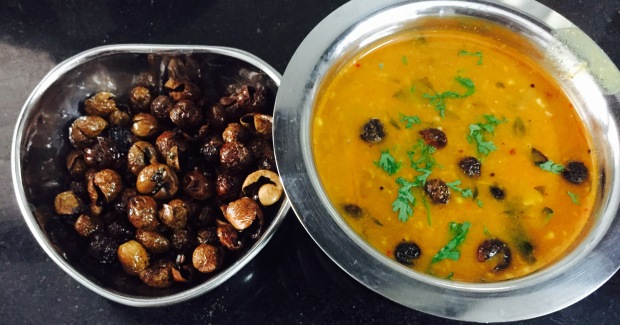
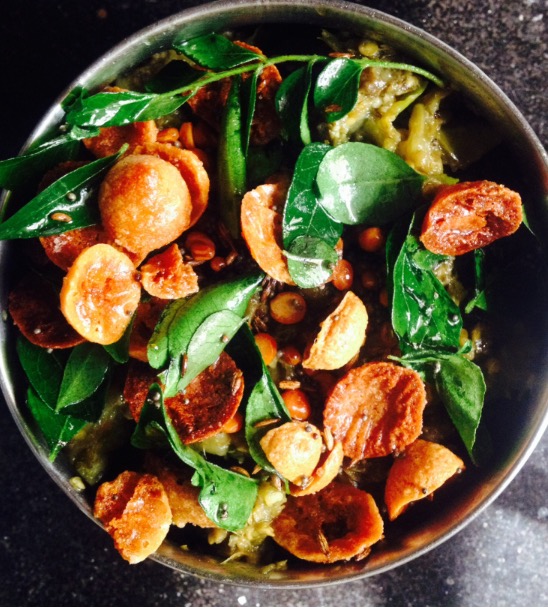
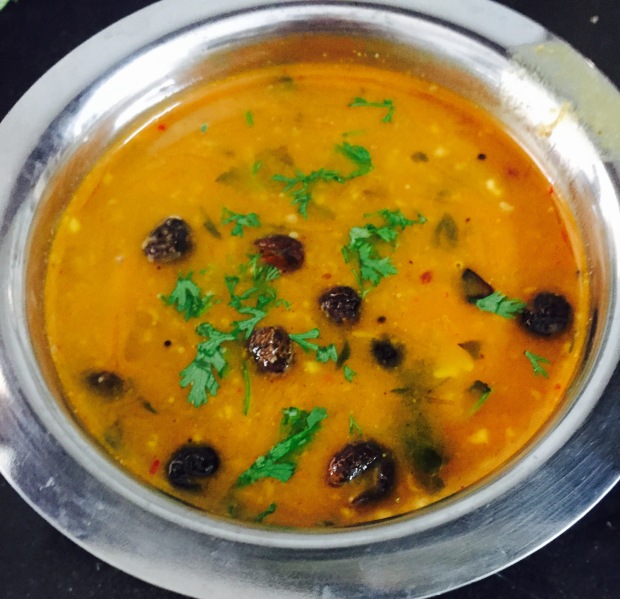 Sundakkai vathal kara kuzhambu
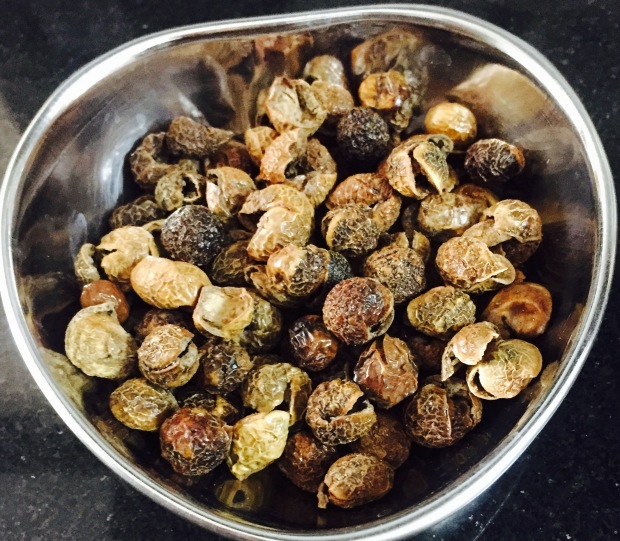
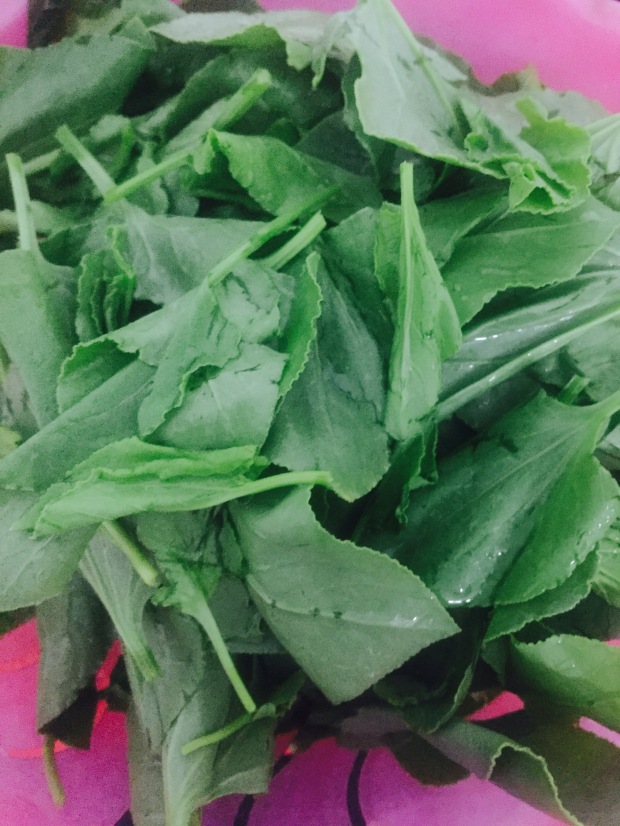
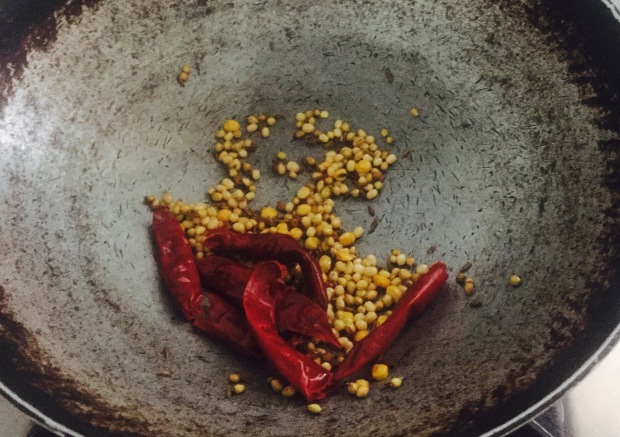
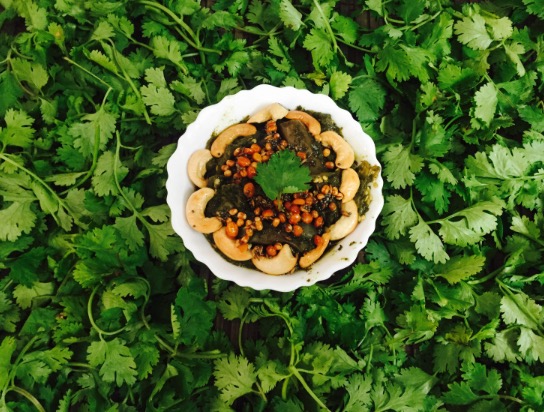
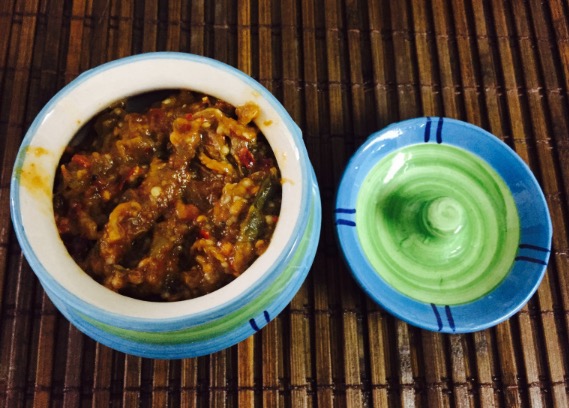
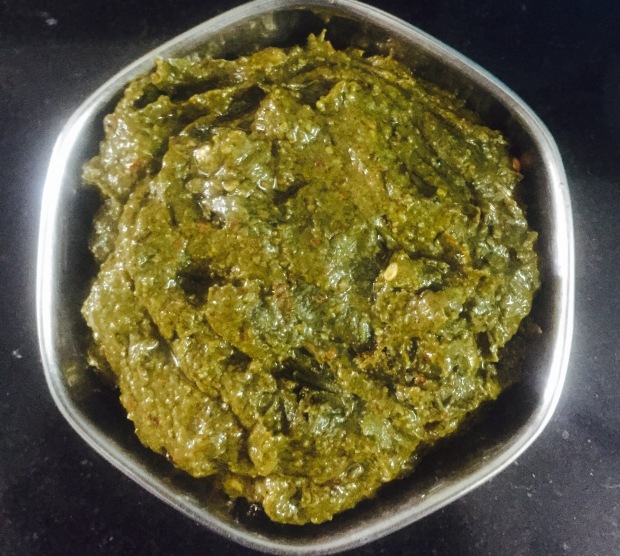 Chukkakura pachadi


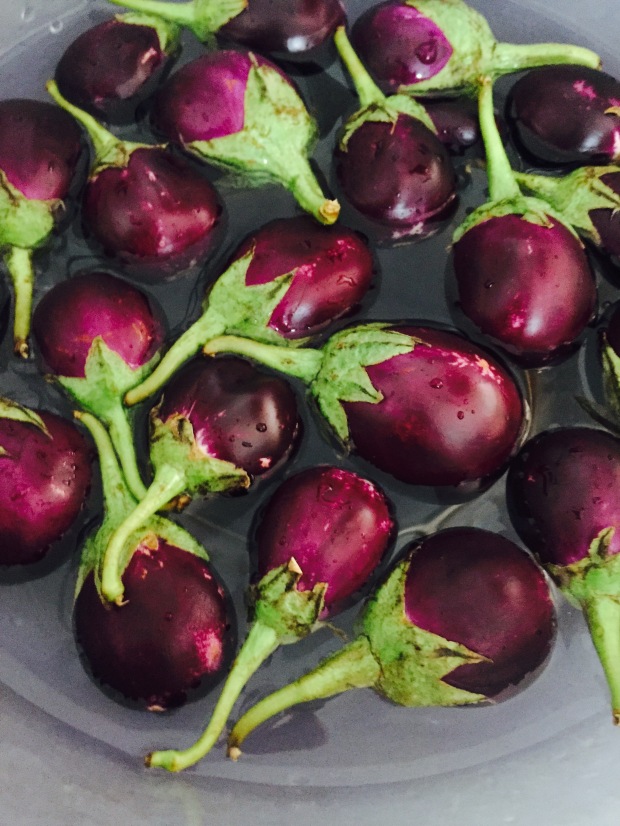
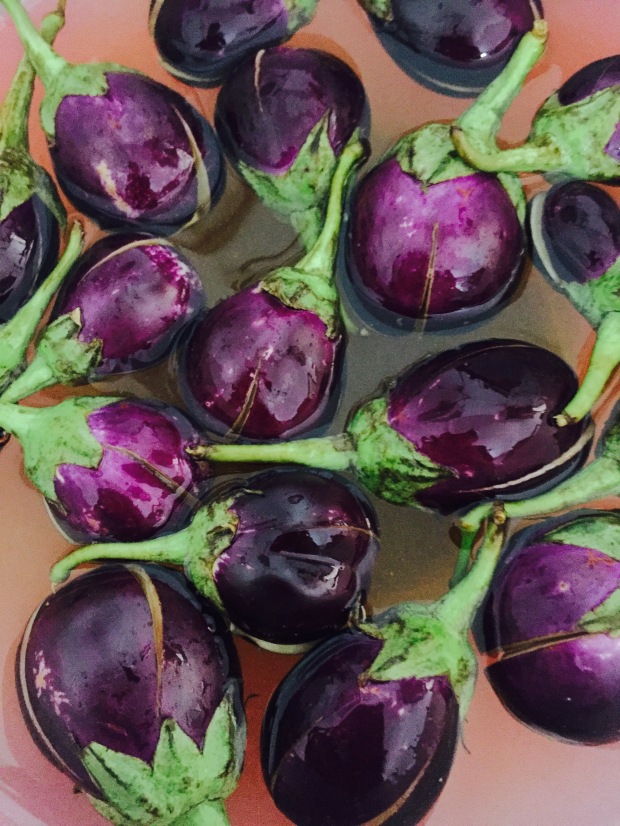
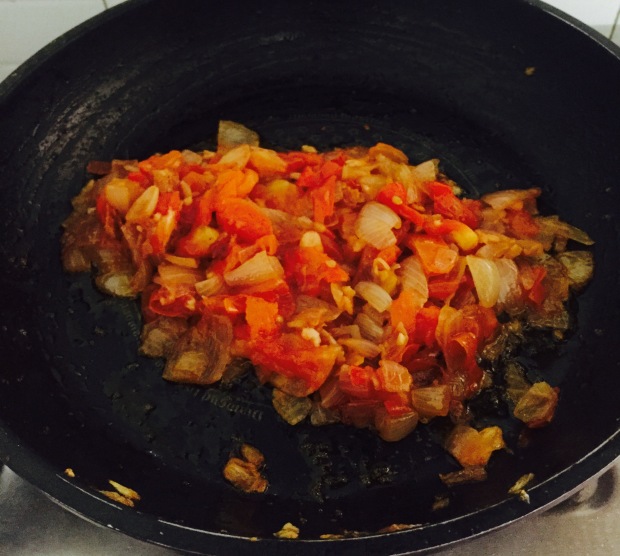
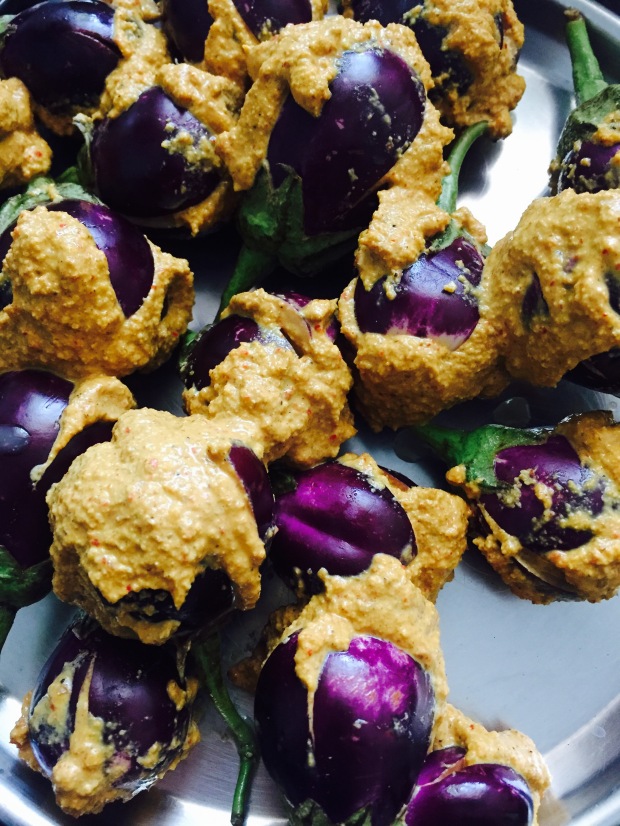
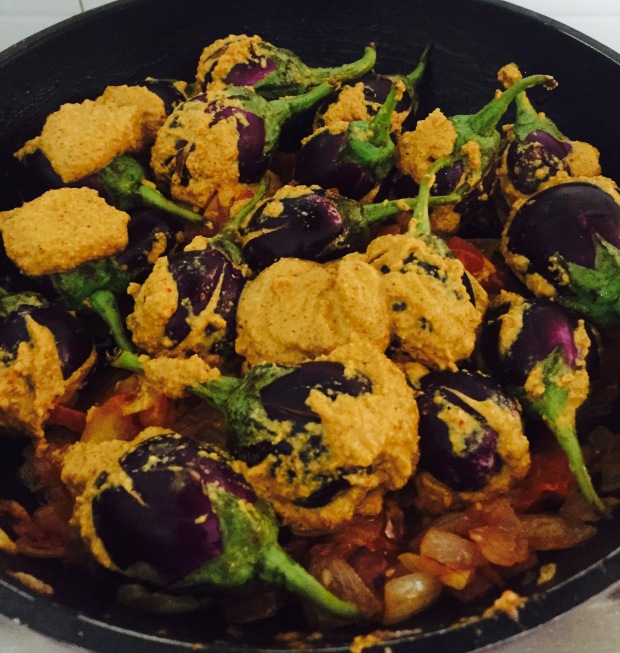
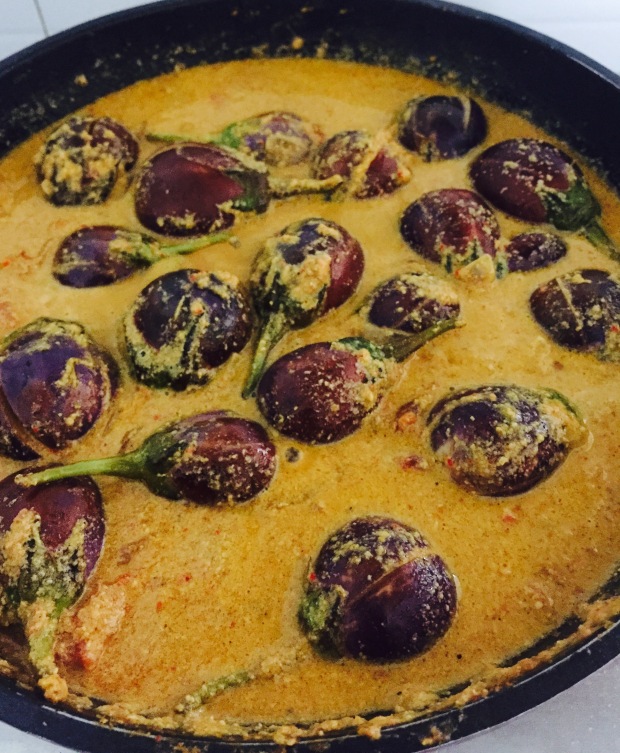
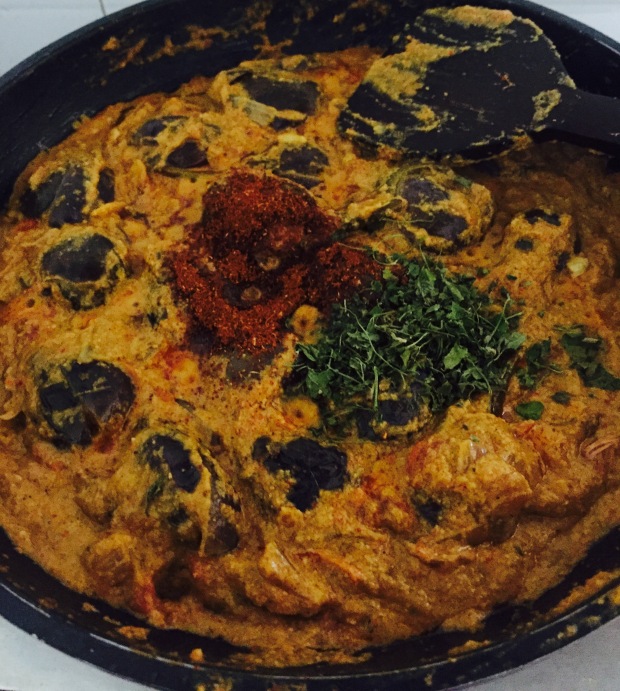
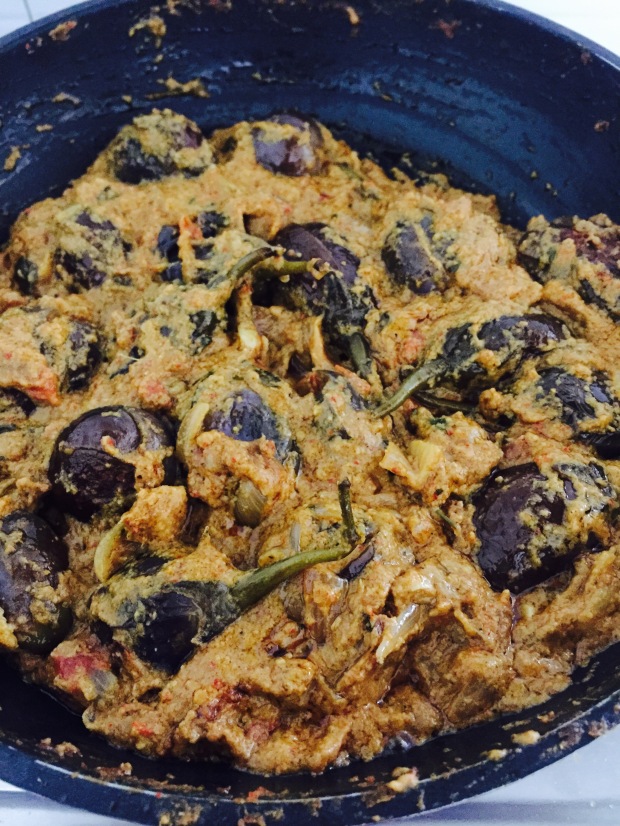
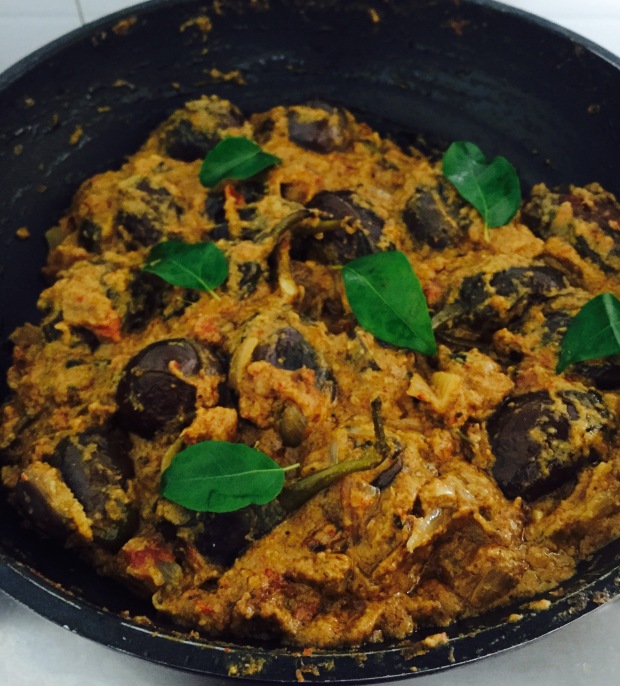
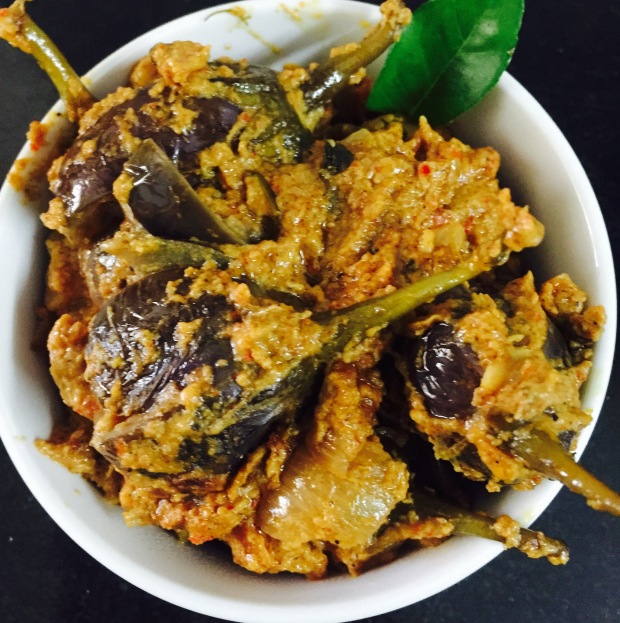
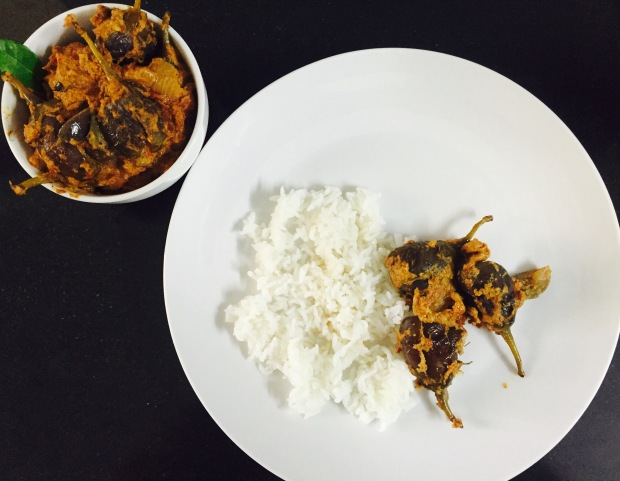
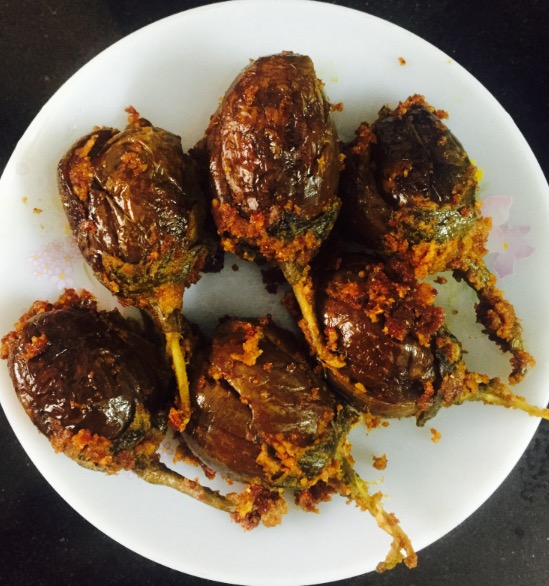
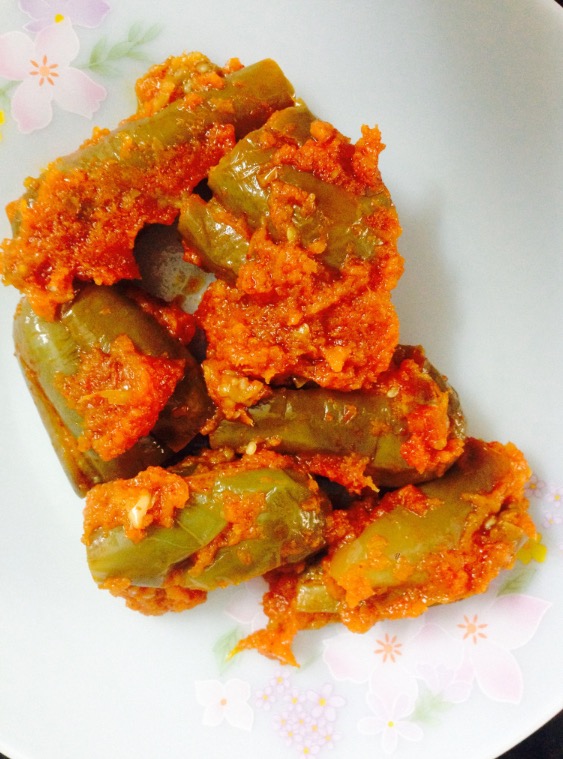
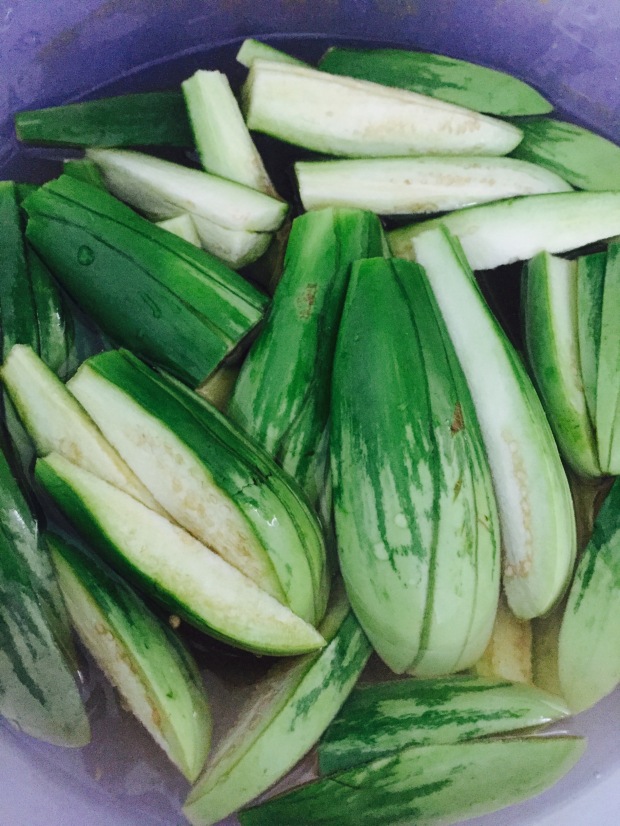
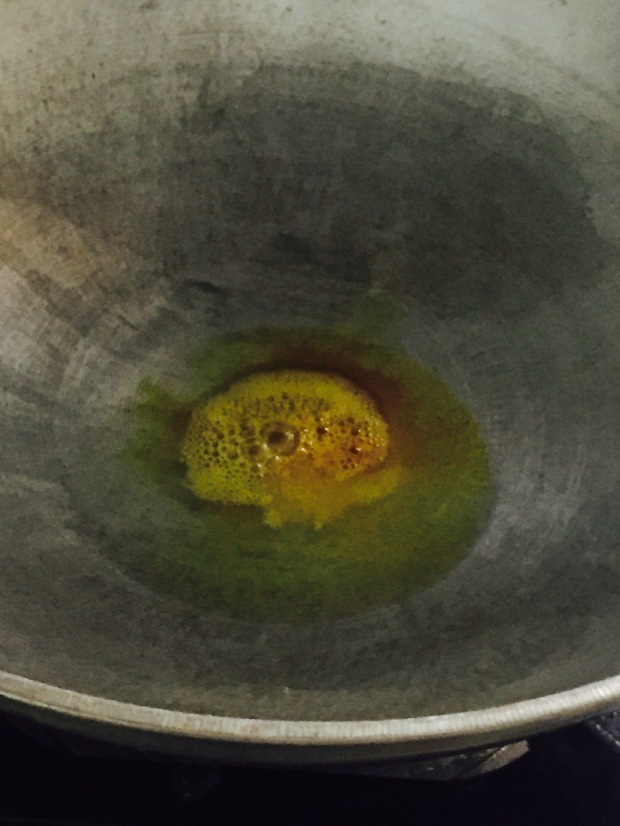
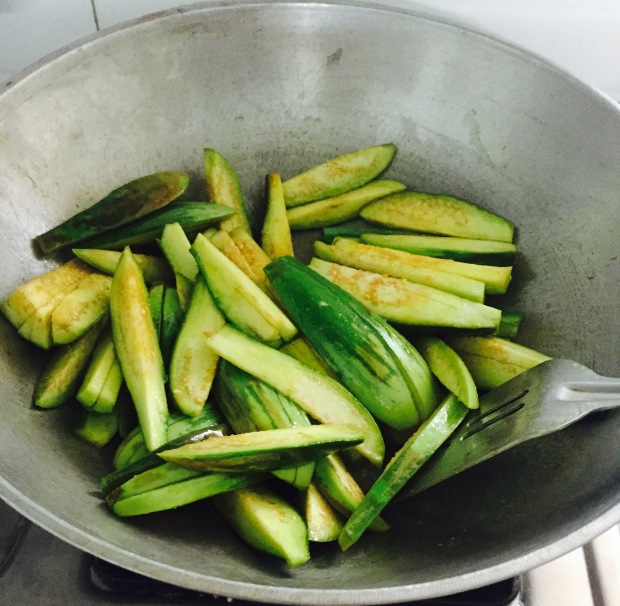
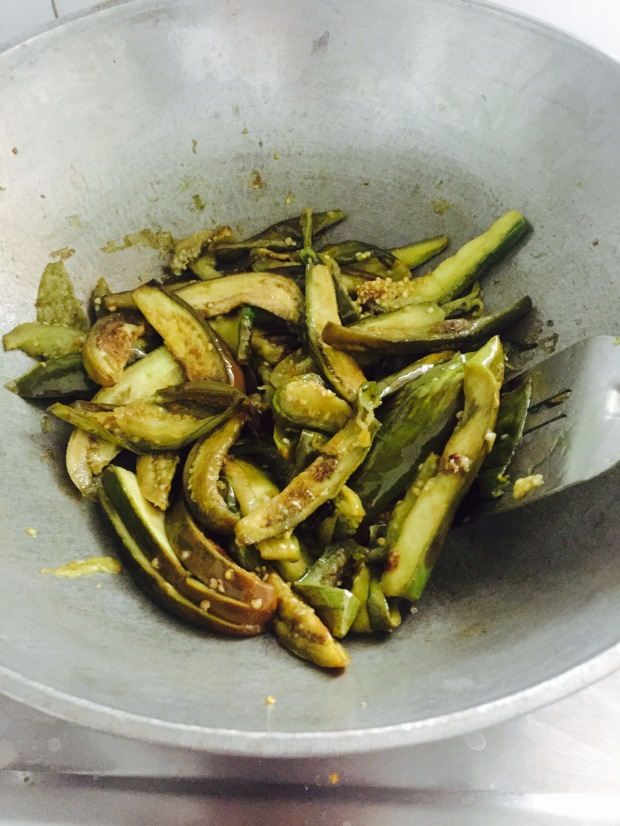
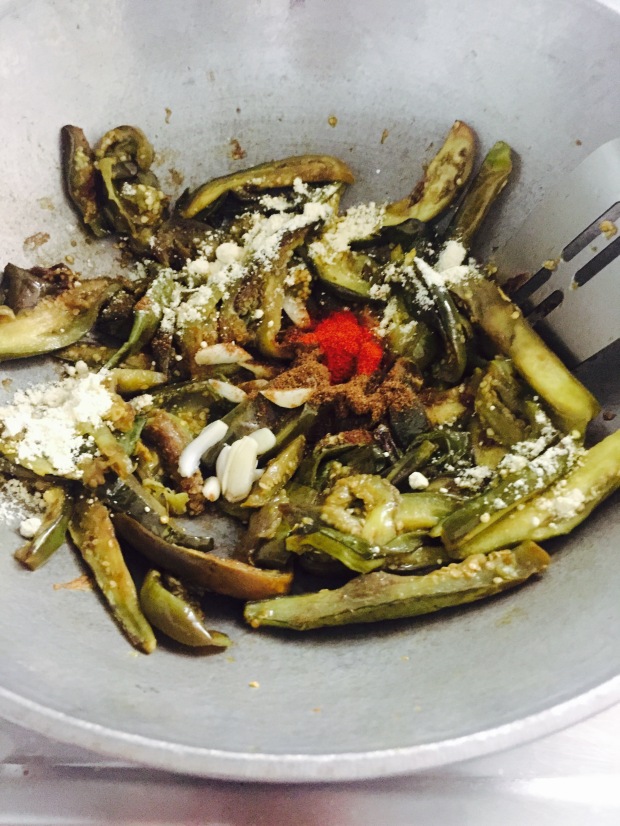
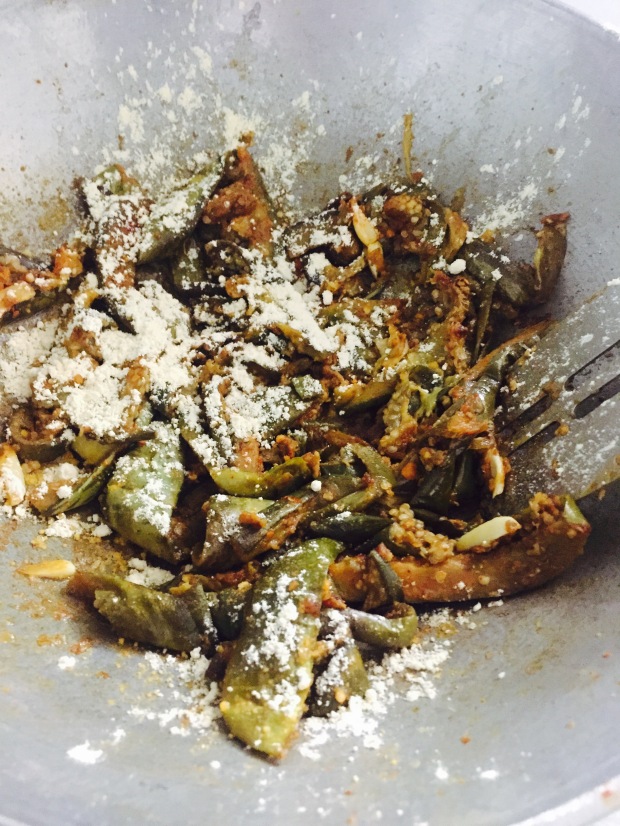
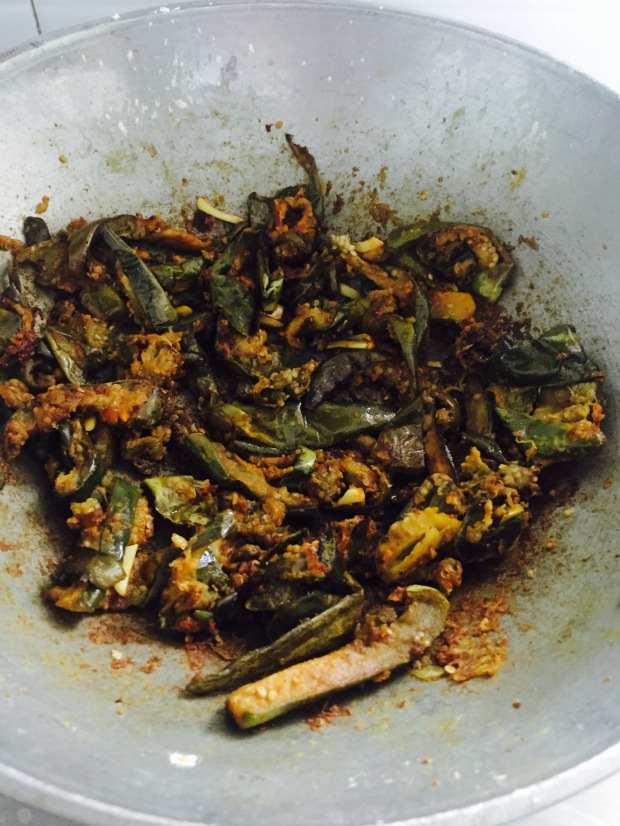
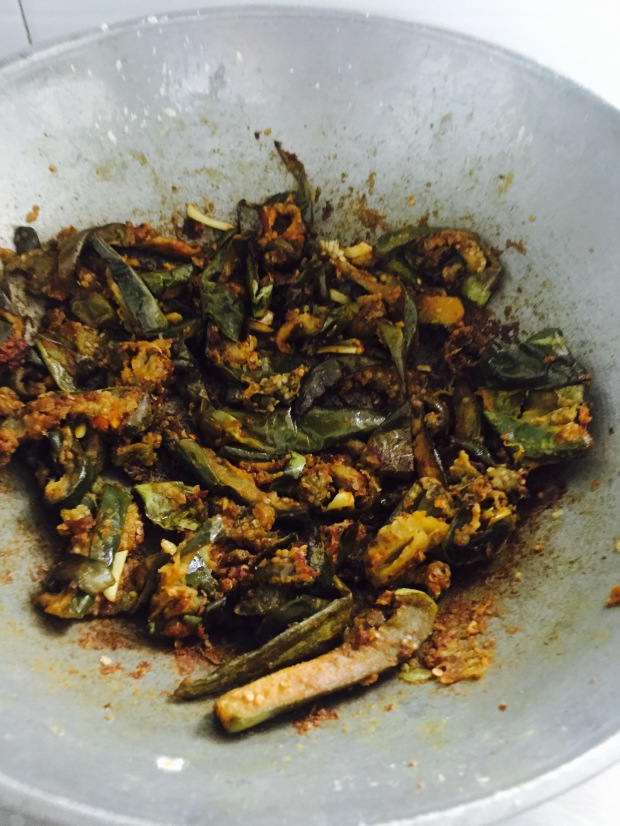
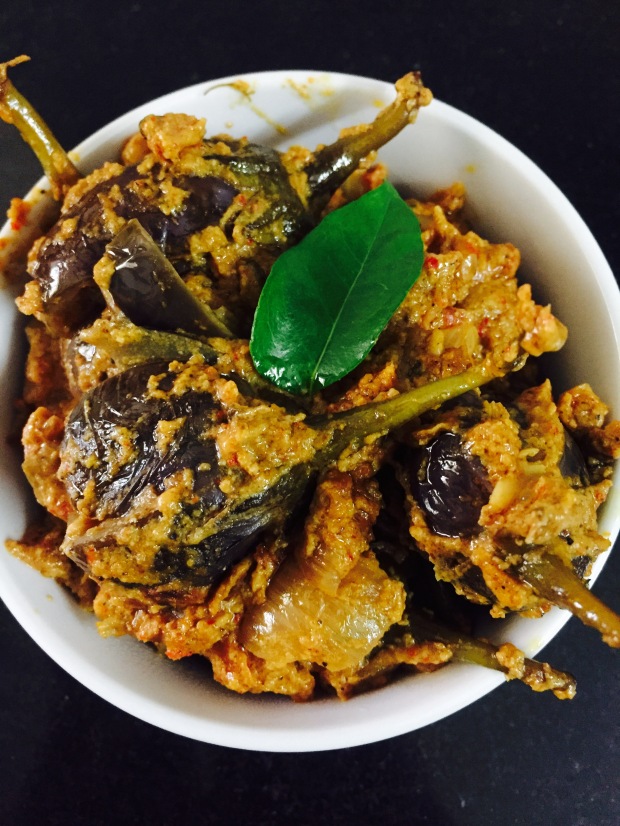 Stuffed Brinjal curry with melon seeds


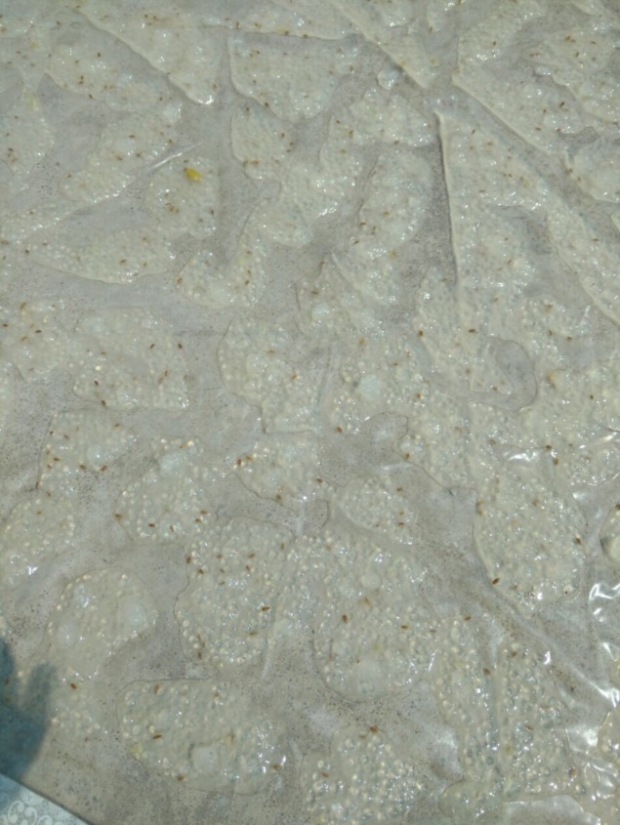
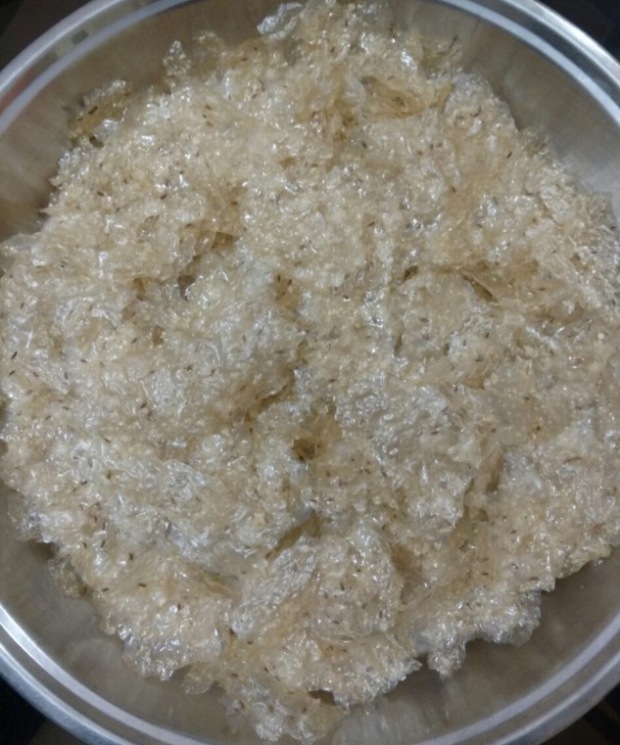
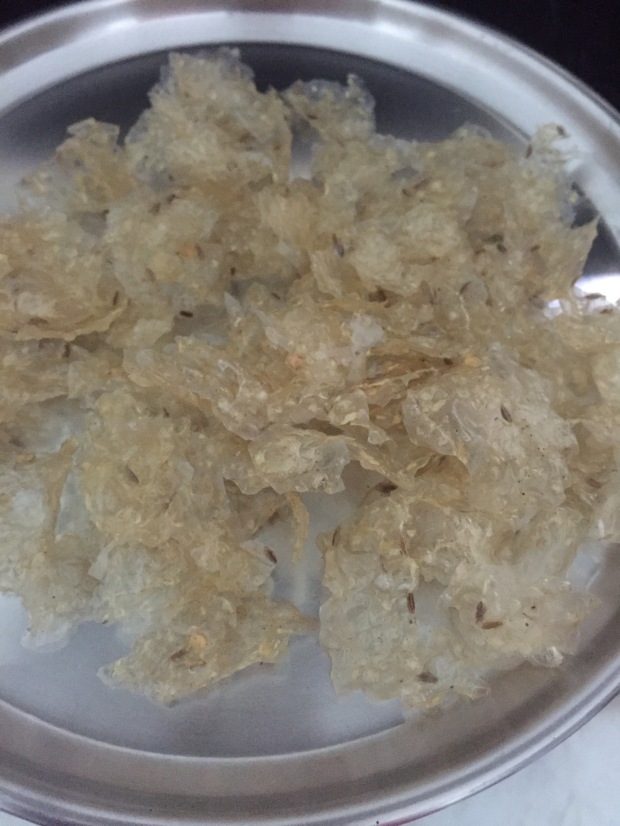
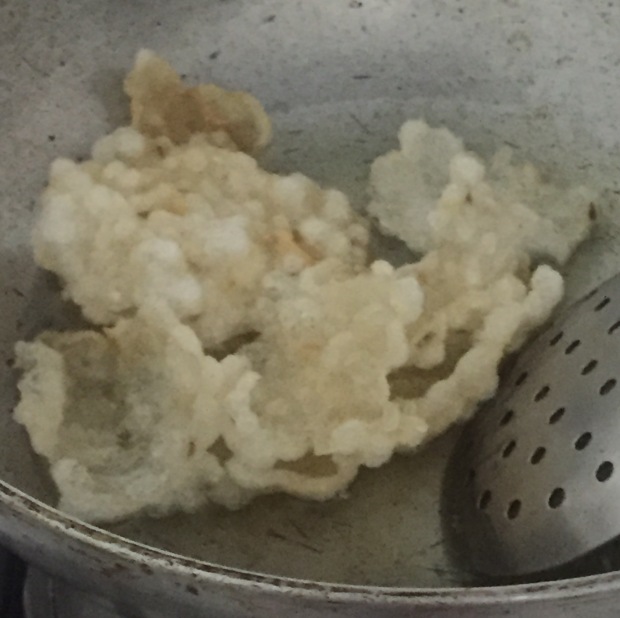
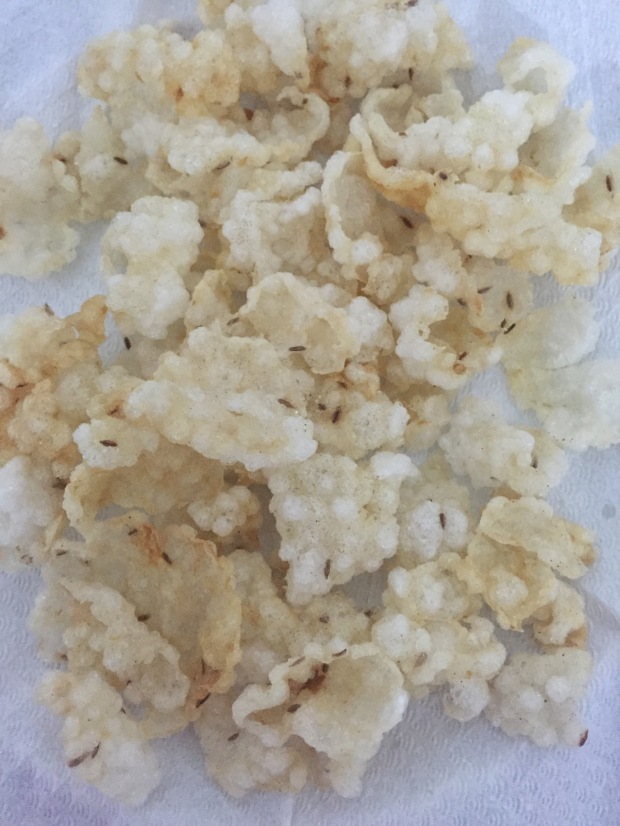
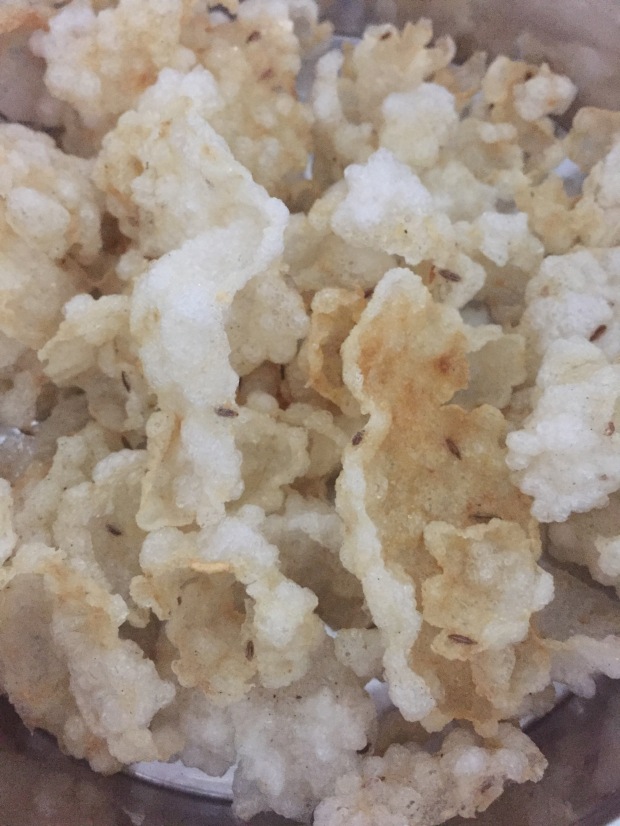
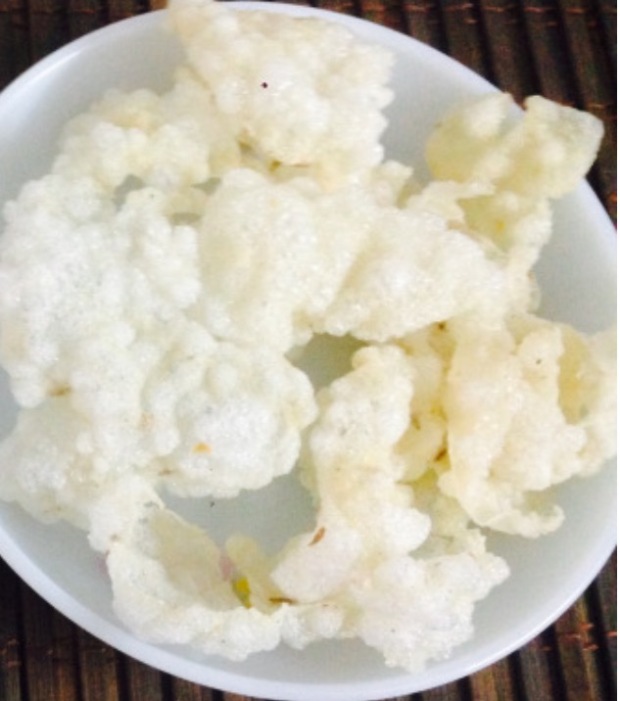 Saggubiyyam vadiyalu

 Lunch menu # 14
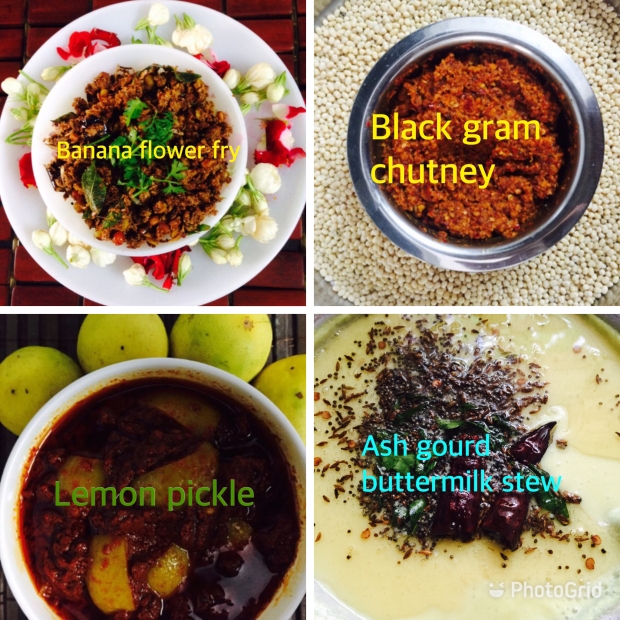
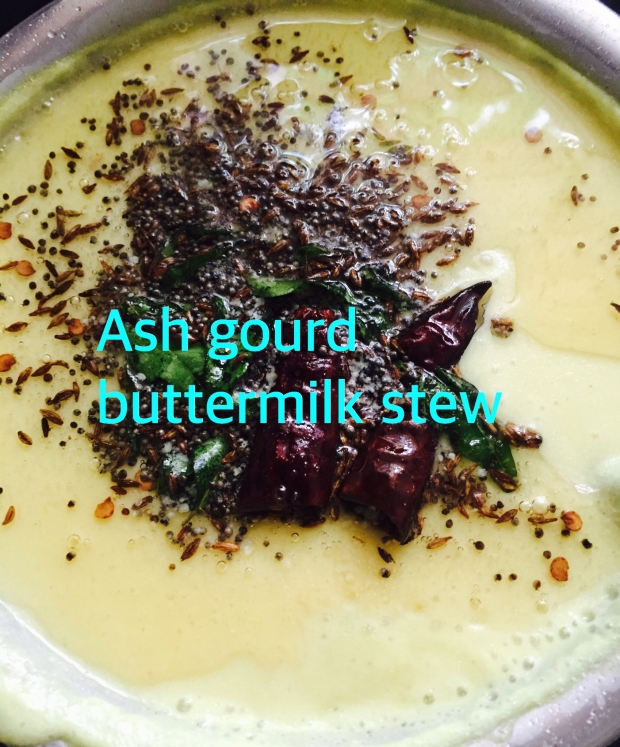

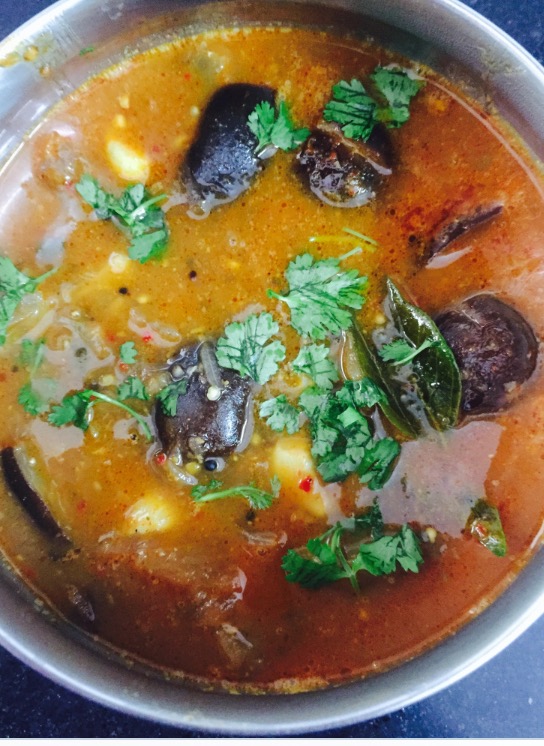
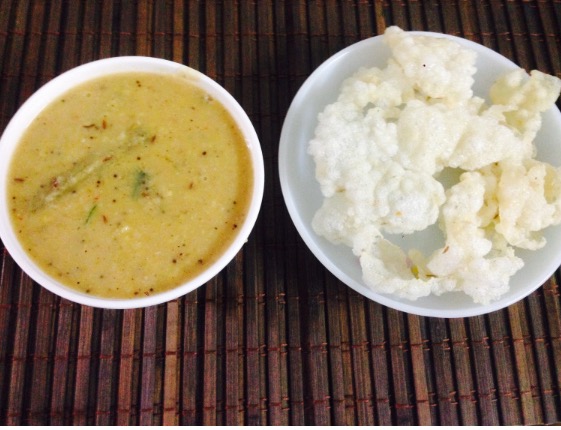
 Budidha gummadikaya majjiga pulusu


 Instant kobbari podi