 Tawa pulao
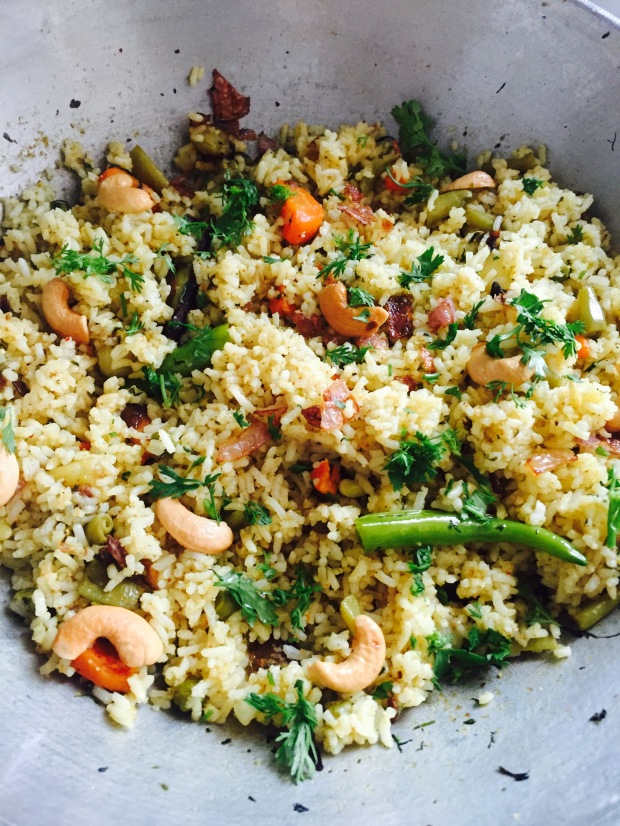
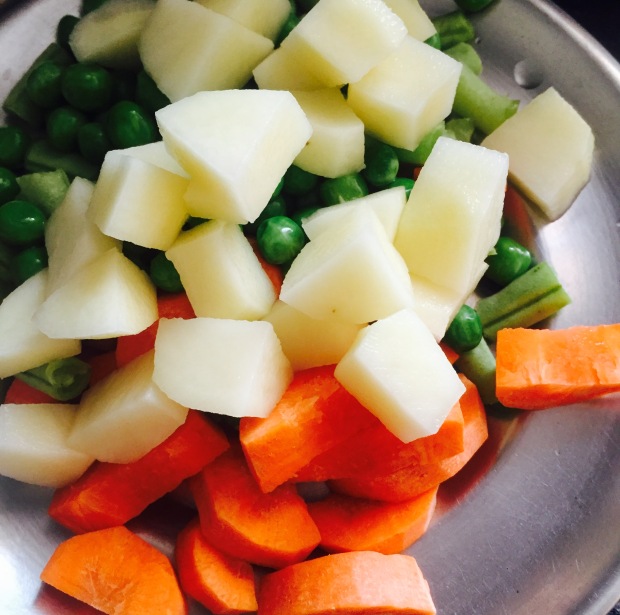
Tawa pulao is a simple and quick one pot meal which can be prepared during any busy day. The Tawa pulao can be prepared for any special occasion too. Today I’ve prepared Tawa pulao using my kids favourite veggies. I’ve added potato, carrot, beans and frozen peas. The veggies are steamed and sautéed in oil along with onion adding few spices. The prepared veggie masala is mixed well with steamed rice. Tawa pulao is garnished with roasted cashews, caramelised onions and finely chopped coriander leaves. Here I present comforting and easy Tawa pulao recipe which can be served with onion raita. Njoy Cooking, Serving n Savoring!
Author: Akshayakumbham
Course: Main
Cuisine: North Indian
Servings: 4
Ingredients:
Sona masoori rice: 1 1/2 cups
Water: 3 3/4 cups(Approximately)
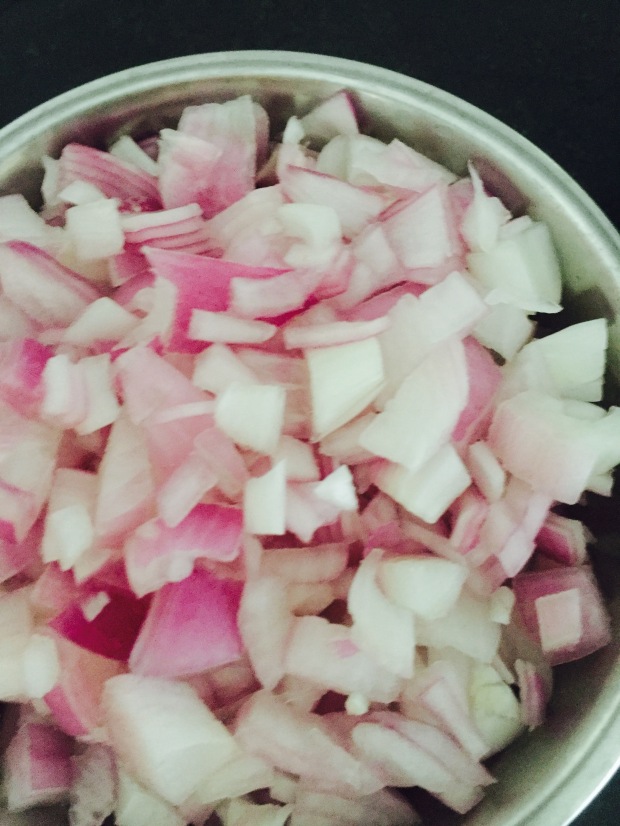
Onion: 1 no. Large
Cashews: 1 tbsp
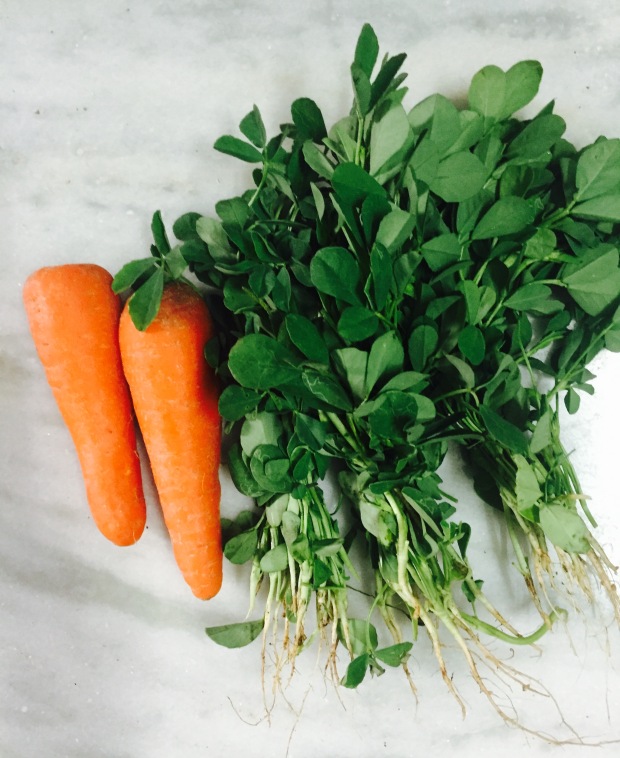
Carrots: 2 nos.
Potato: 1 large no.
Beans: Few or 100 gms.(Approximately)
Frozen/fresh beans: One fistful
Ginger: One inch piece
Garlic flakes: 5/6 nos.
Poppyseeds(Gassgasalu): 1 tbsp
Pav bhaji masala: 2 tsp
Turmeric: Generous pinch
Red chilli powder: Half tsp(Optional)
Coriander powder: 1 tsp
Cumin powder: 1 tsp
Green chillies: 1/2 nos.
Bay leaves: 2 nos.
Cardamom pods: 4 nos.
Clove: 2/3 nos.
Cinnamon stick: 1/2 nos.
Salt: As required
Oil: 1 tbsp
Ghee: 1 tbsp
Coriander leaves: Few
Method of preparation:
1. Take one and half cups of sona masoori rice. Rinse well with water and add 3 3/4 cups of water.
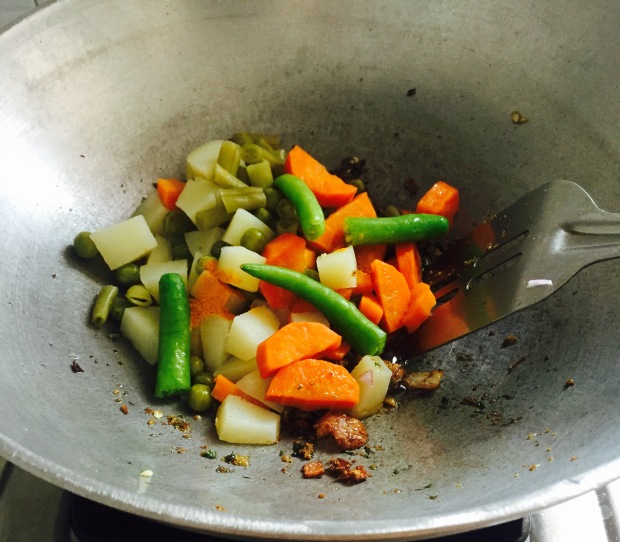
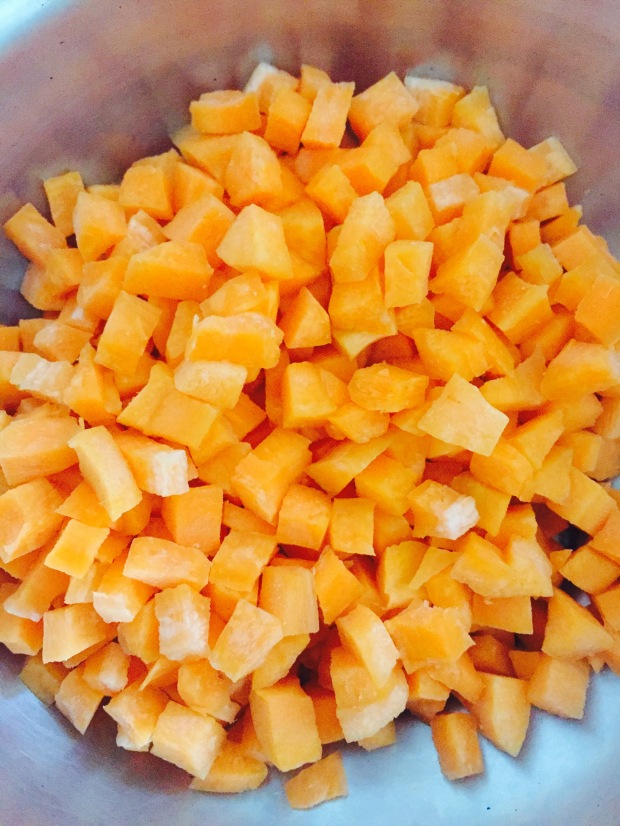
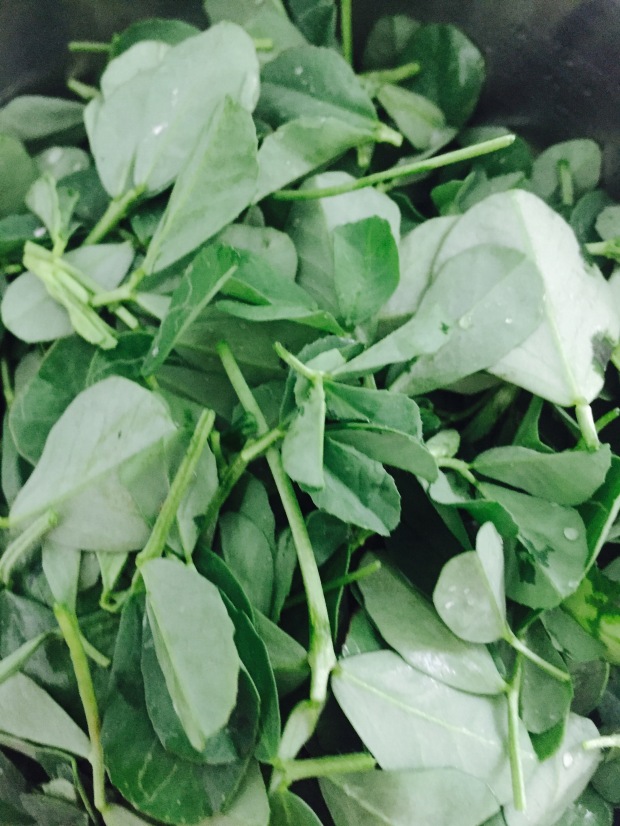
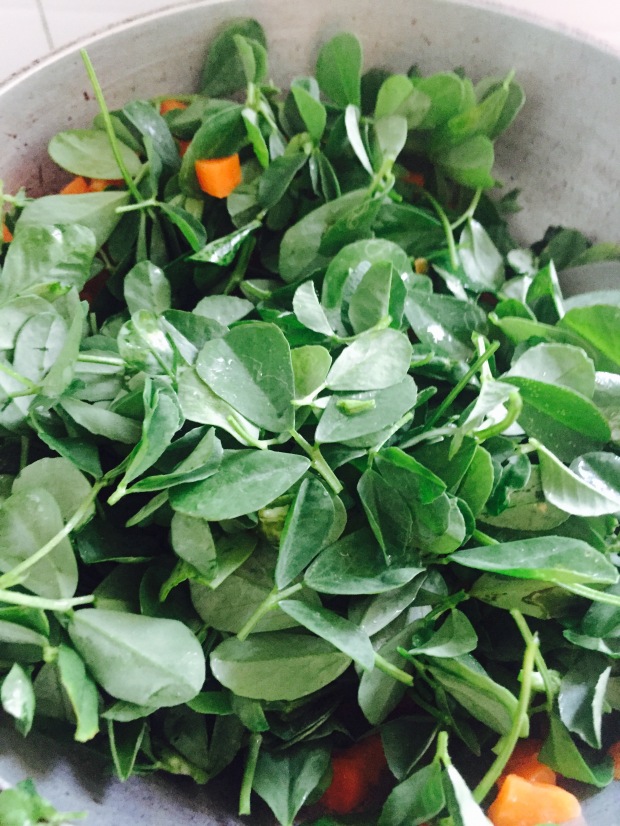
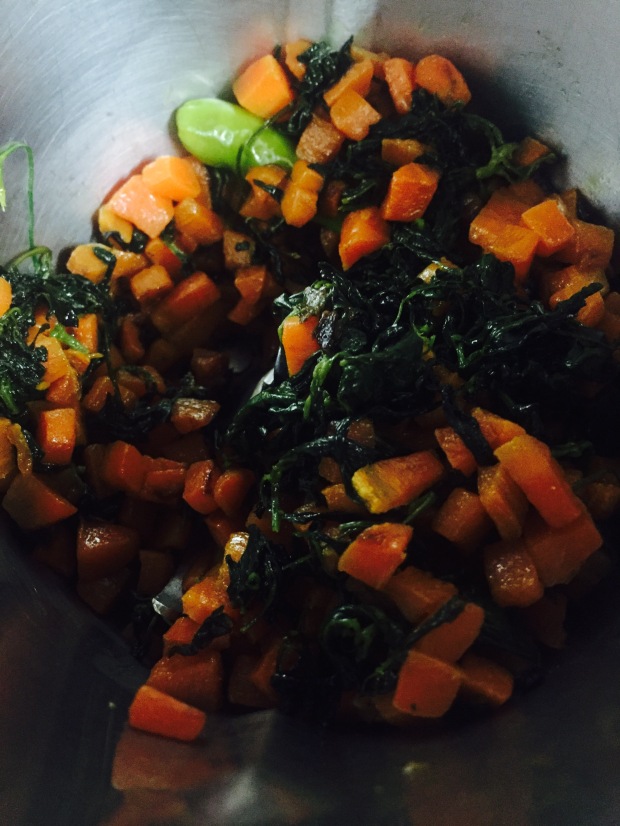
2. Rinse well all the veggies and chop them into required size and shape. Steam the rice and veggies in a pressure cooker for 5 whistles.
3. Meanwhile prepare Tawa masala.
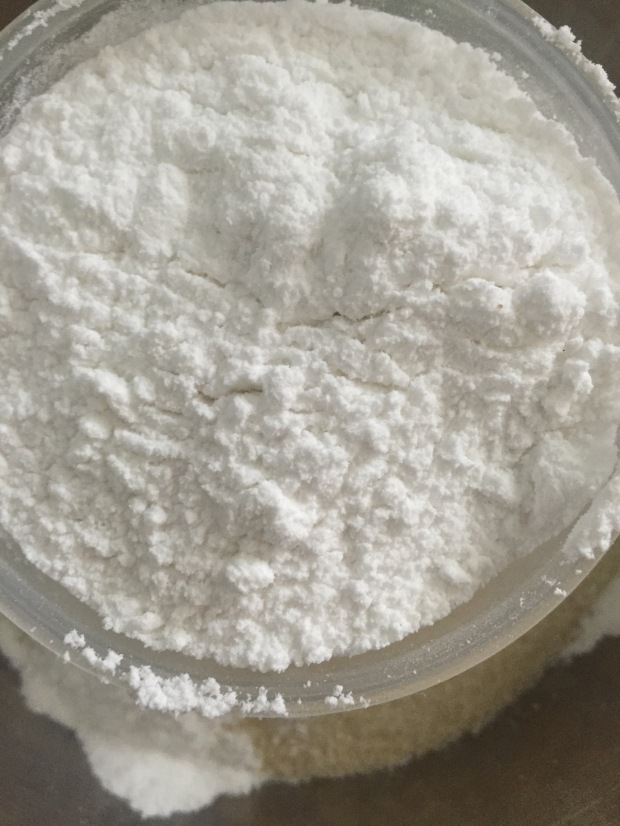
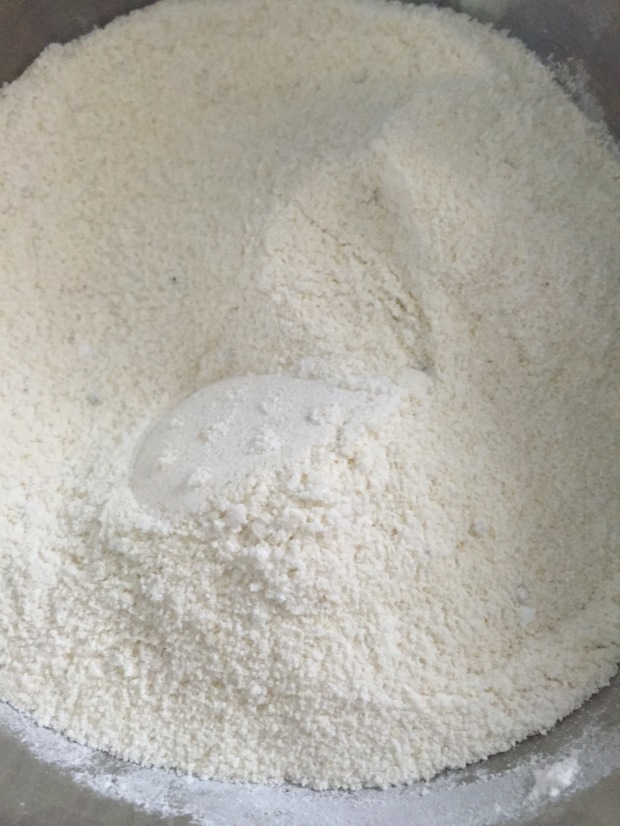
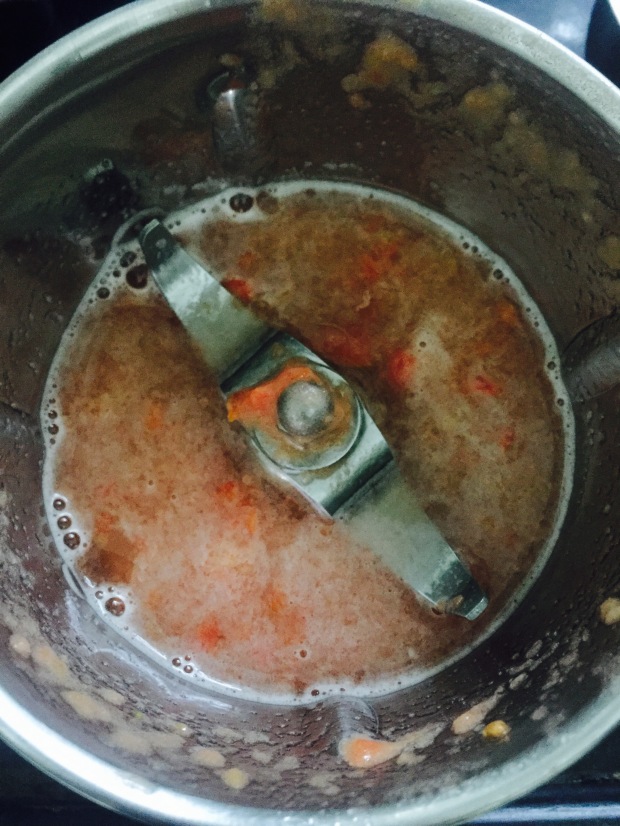
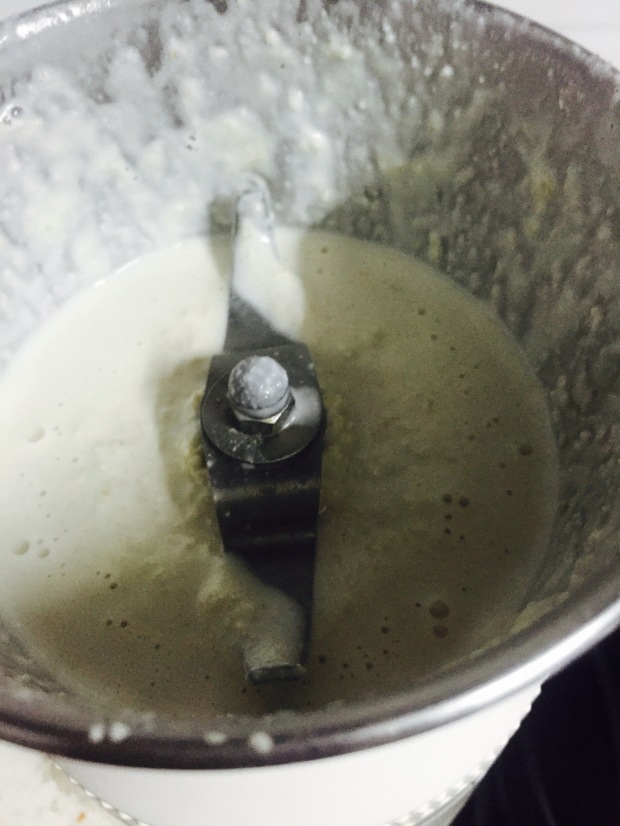
4. Roast one tbsp of poppyseeds in a kadai. Transfer them into a stone mortar pestle. Crush the roasted poppyseeds into a fine powder.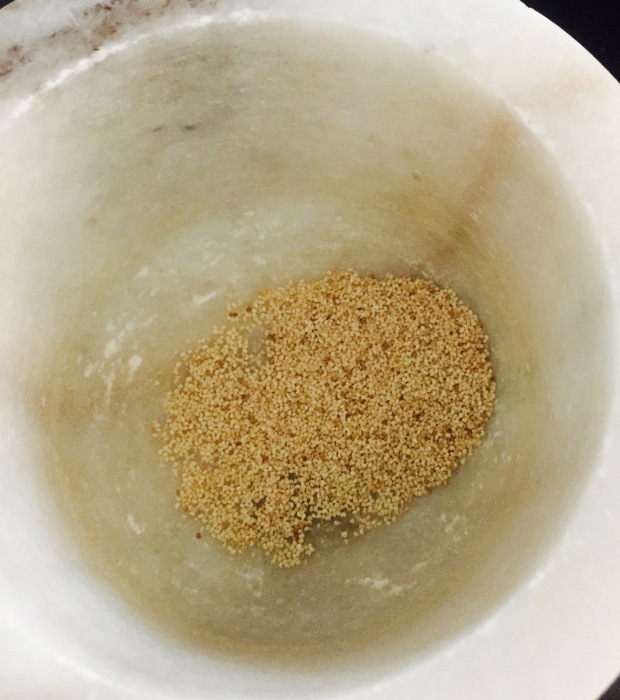
5. Now add chopped ginger and garlic into it.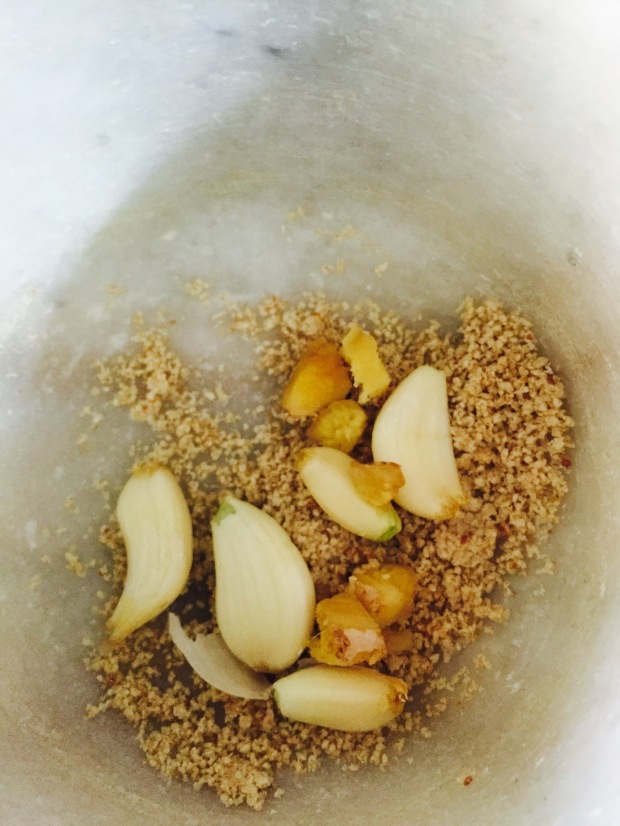
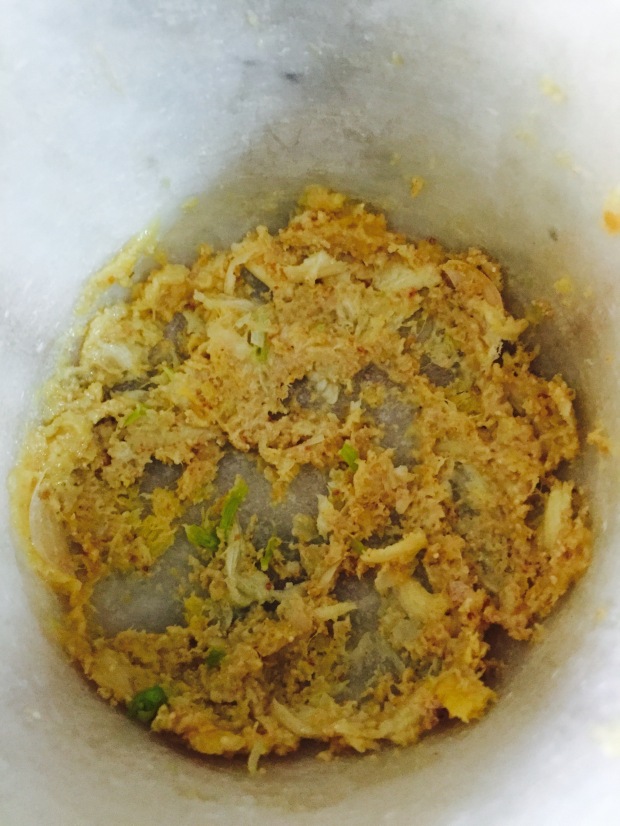
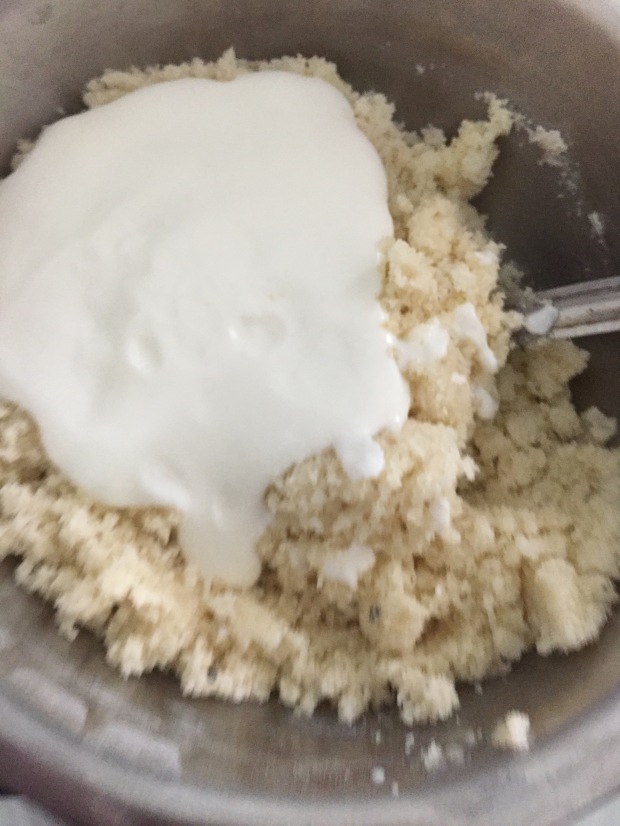
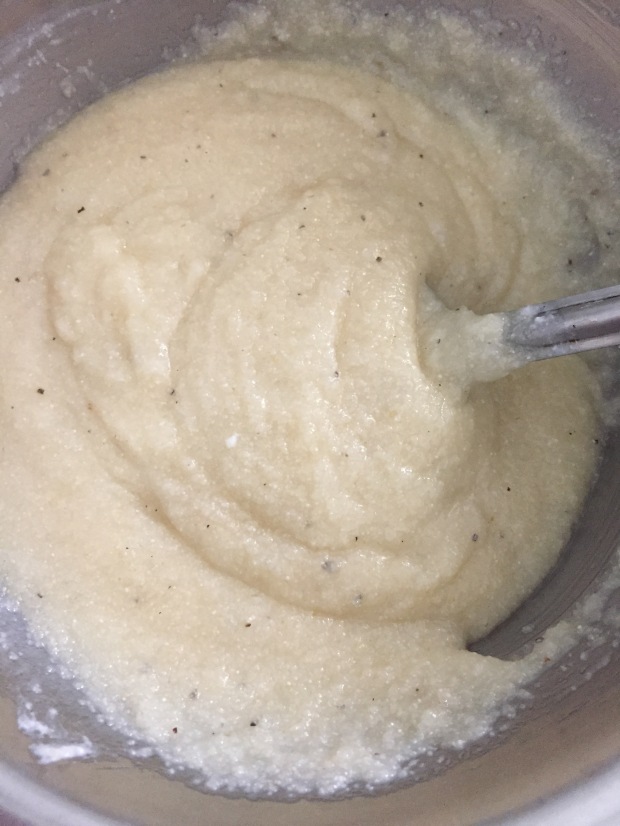
6. Crush them into a smooth and fine paste. Now add few coriander leaves and pound them too.

7. Now add coriander powder, Pav bhaji masala and cumin powder. Crush them and mix thoroughly. Keep aside. Add turmeric too.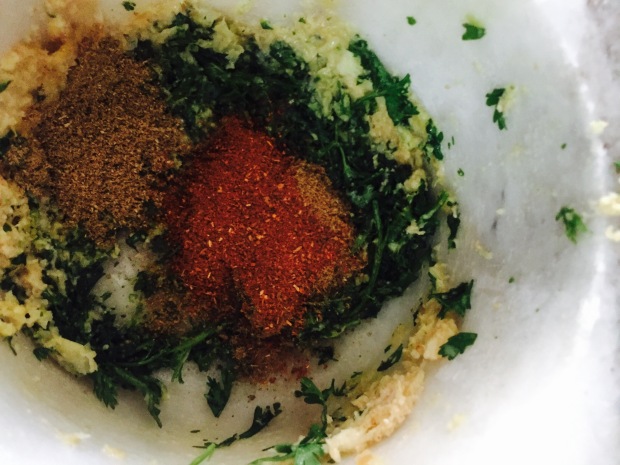

8. Now heat kadai/Tawa, pour oil and ghee. Roast few cashews in the oil and ghee mixture.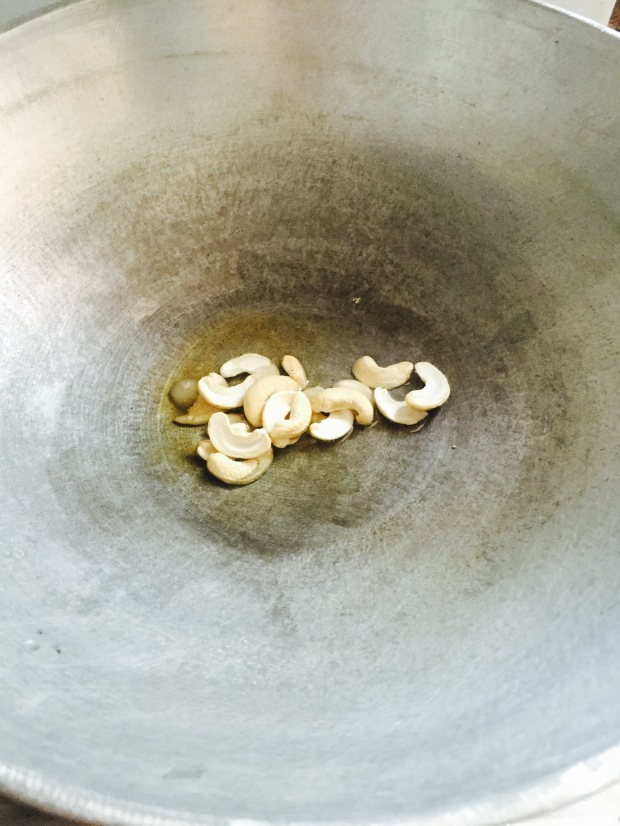
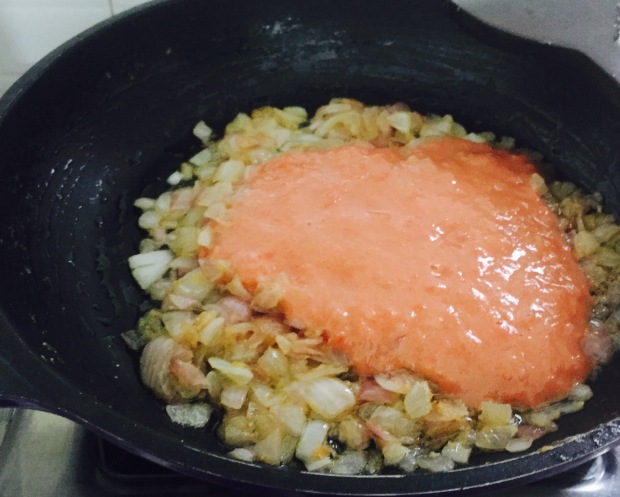
9. Roast them for two minutes or till they change into light brown colour. Transfer the roasted cashews onto a plate without oil. Add the chopped onions into it and fry them till they are caramelized. Keep few caramelized onions for garnishing.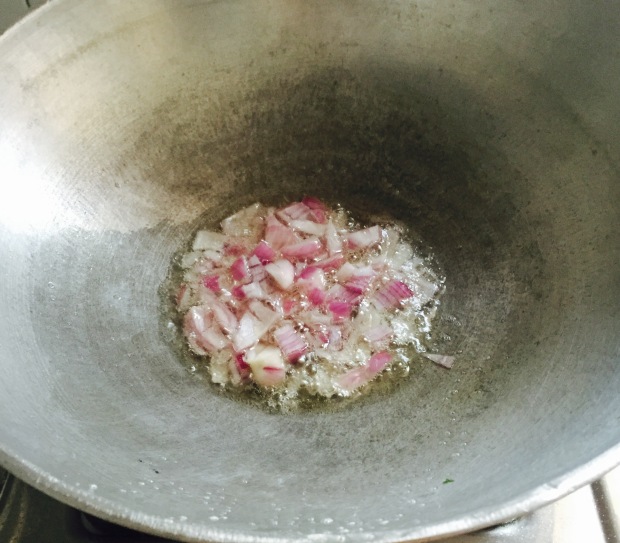
10. Open the lid of the pressure cooker. Keep the steamed rice outside.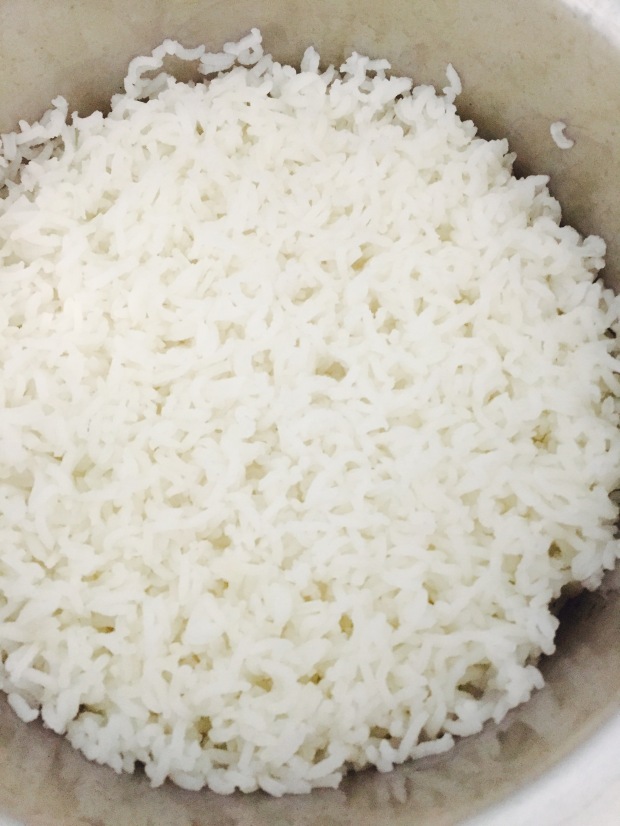
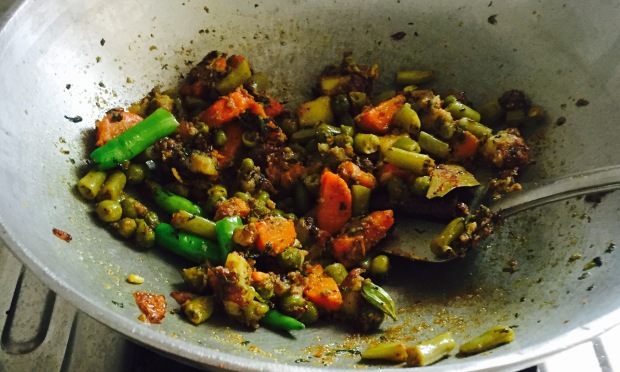
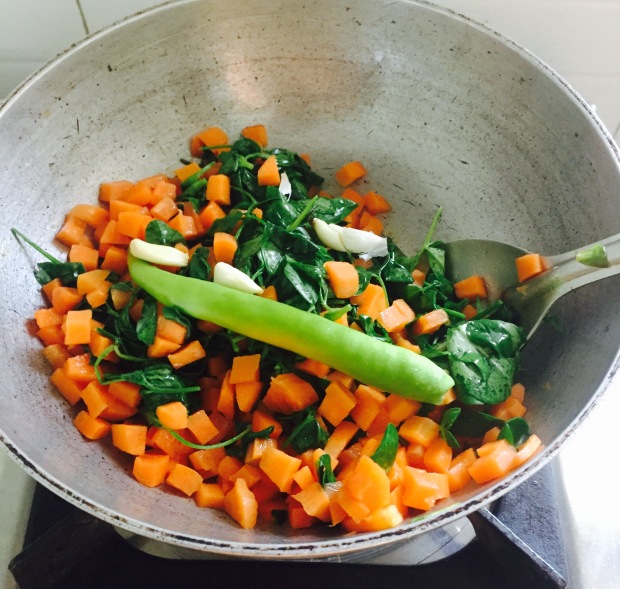
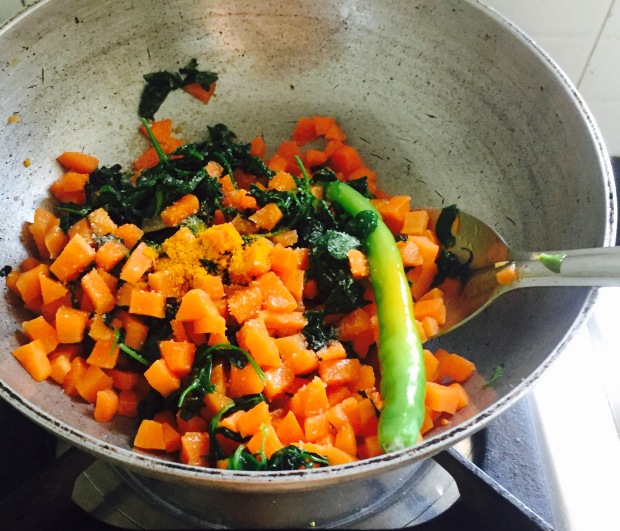
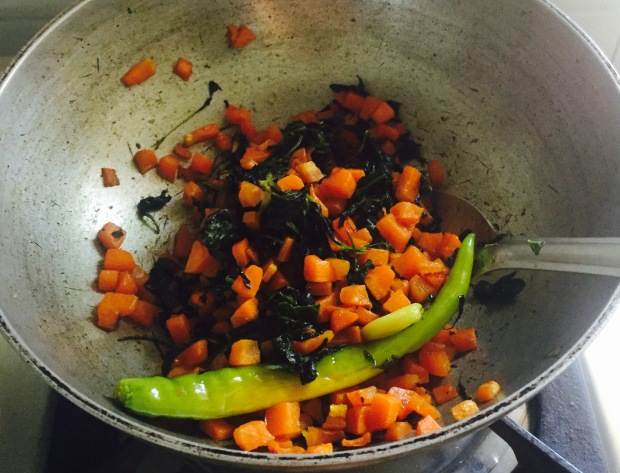
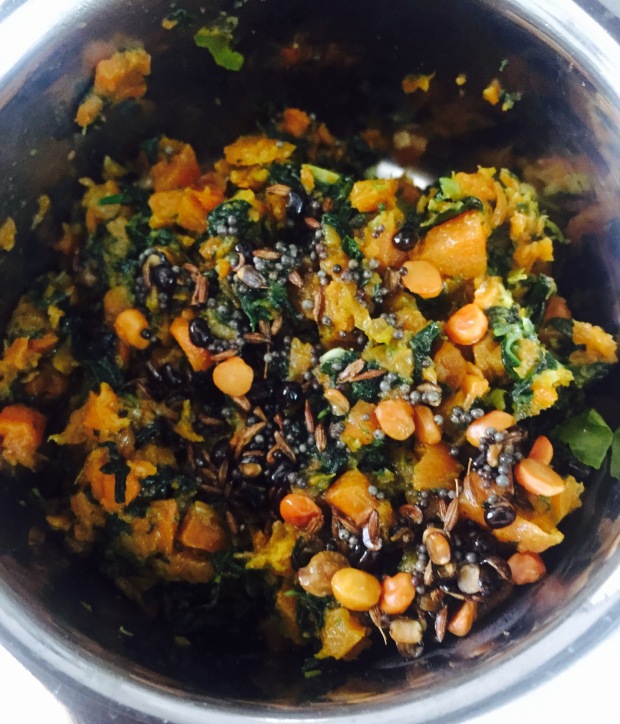
11. Now in the same kadai add crushed masala paste and sauté for a minute. Also add whole garam masala bay leaf, cardamom pods, cloves and cinnamon stick. Now add steamed veggies, red chilli powder, green chillies and mix thoroughly. Sauté the mixture till any extra moisture present in it evaporates.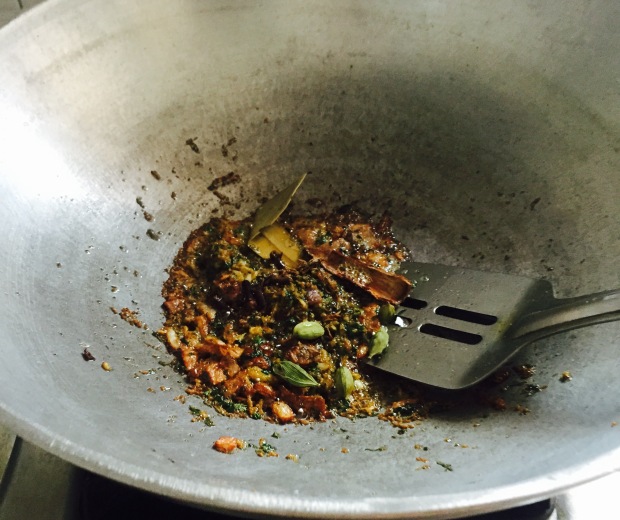
12. Now add steamed rice and mix thoroughly. Add required amount of salt too.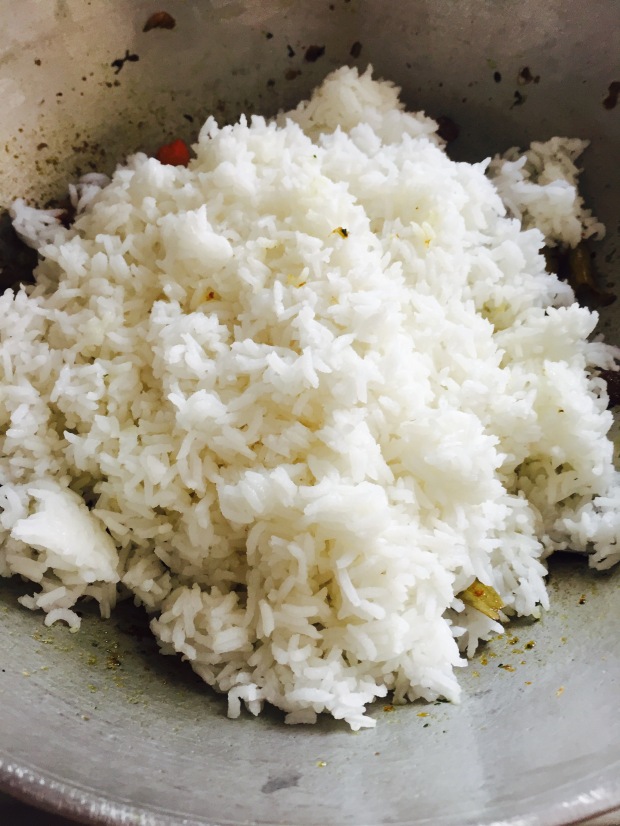
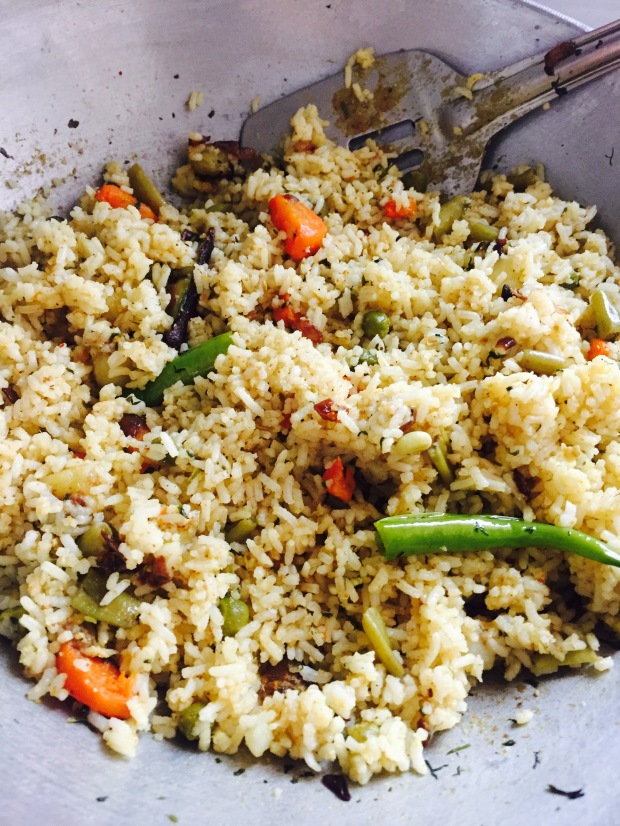
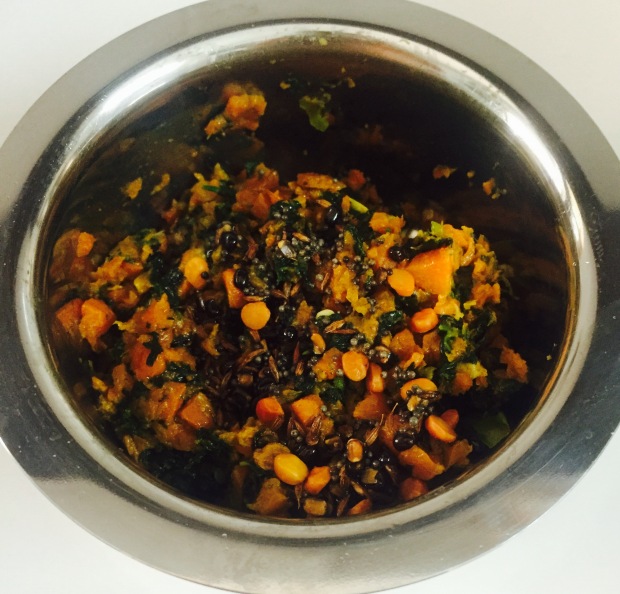
13. Add finely chopped coriander leaves and garnish with roasted cashews, caramelized onions. Now the Tawa pulao is ready to serve.
14. Transfer the Tawa pulao onto a serving plate and serve hot with onion raita. Drizzle few chopped coriander leaves and enjoy.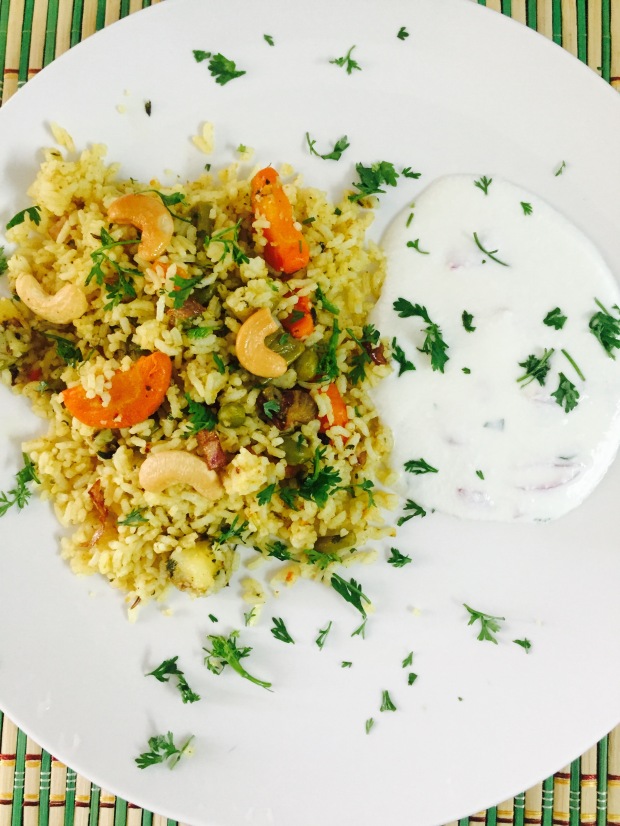
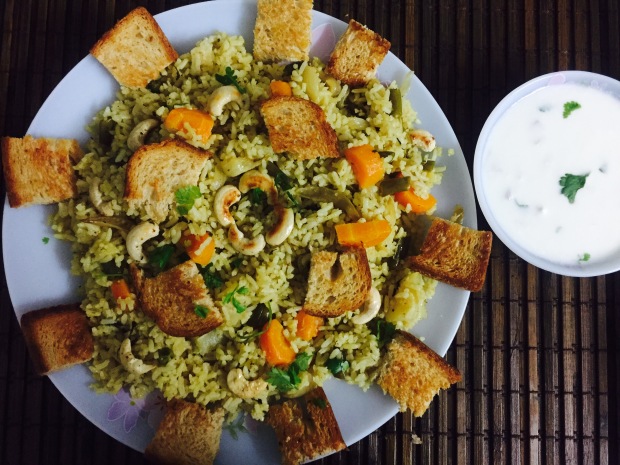
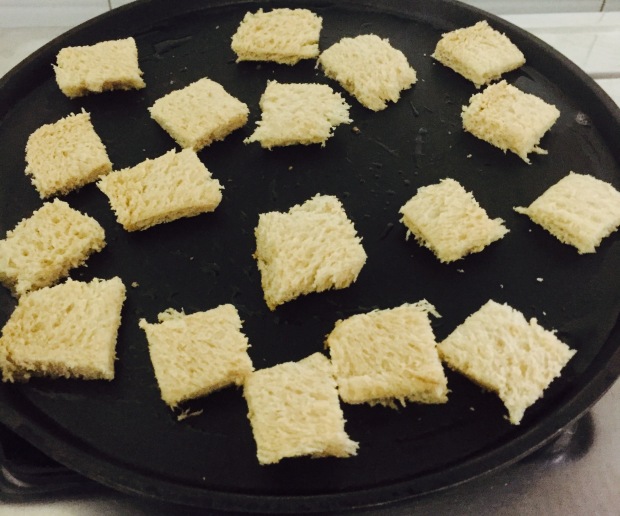
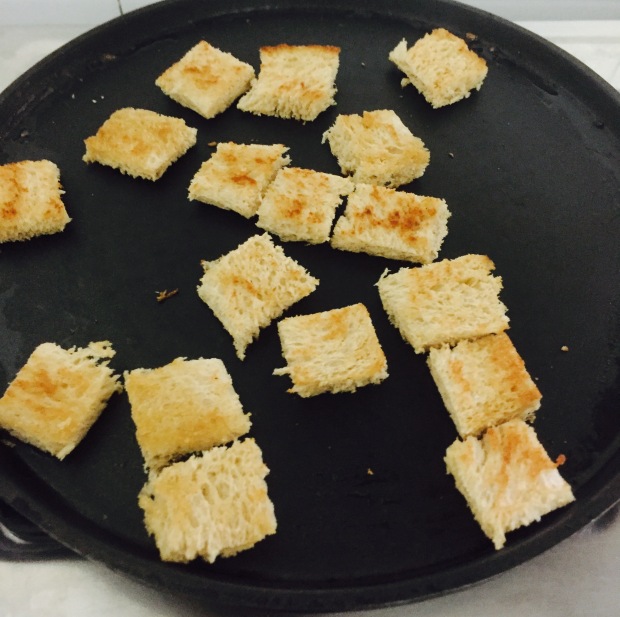
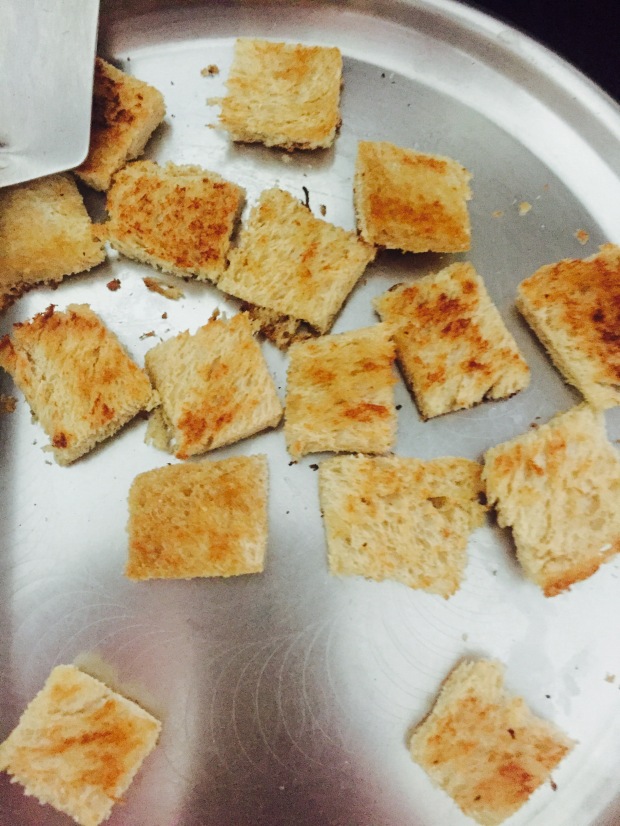
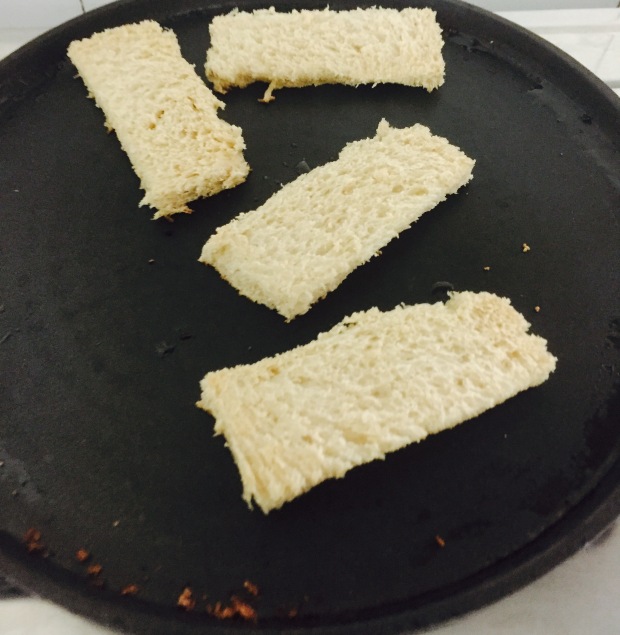
Another variation(Bread pulao):

After preparing Tawa pulao as mentioned above, just one simple step to make bread pulao. Roast the small bread pieces in little ghe and arrange them onto the Tawa pulao. If you want soft bread pieces, add them to the pulao thirty minutes before serving. Bread pulao can be served with onion/tomato raita.
Thank you for visiting akshayakumbham and leaving comments. Your comments are really appreciated.
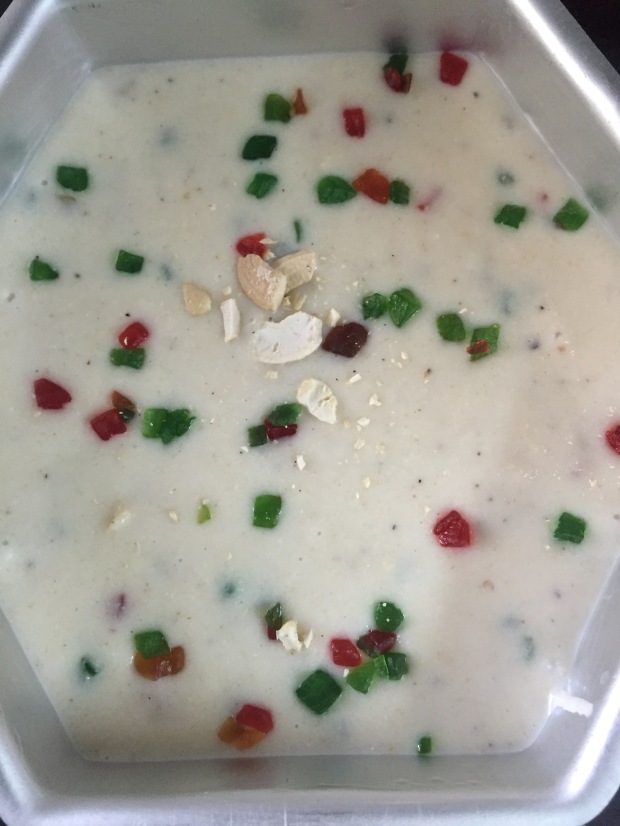
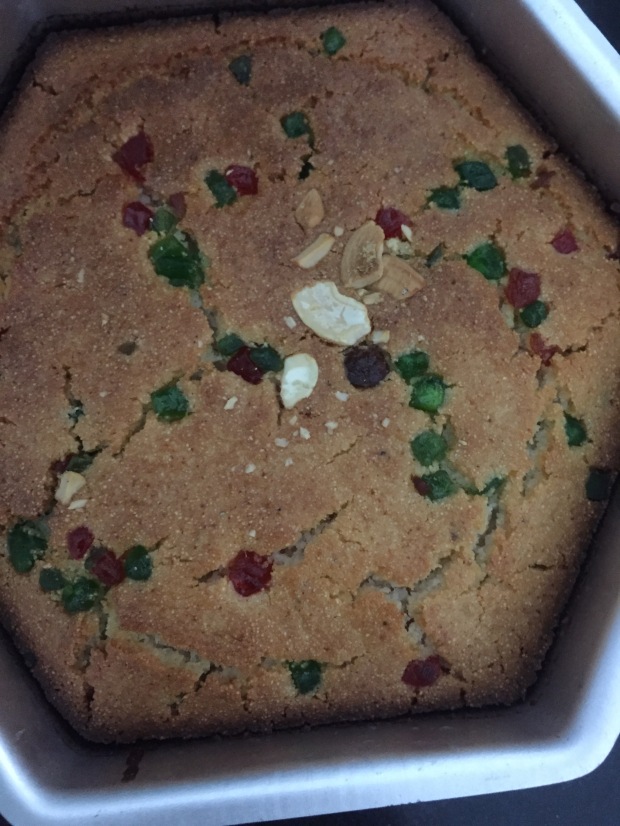
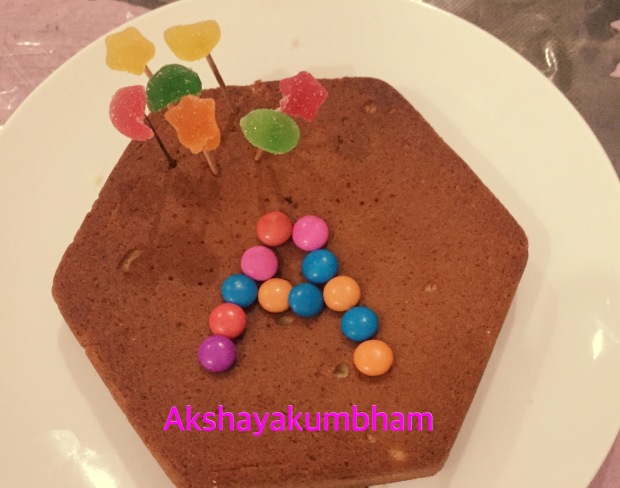
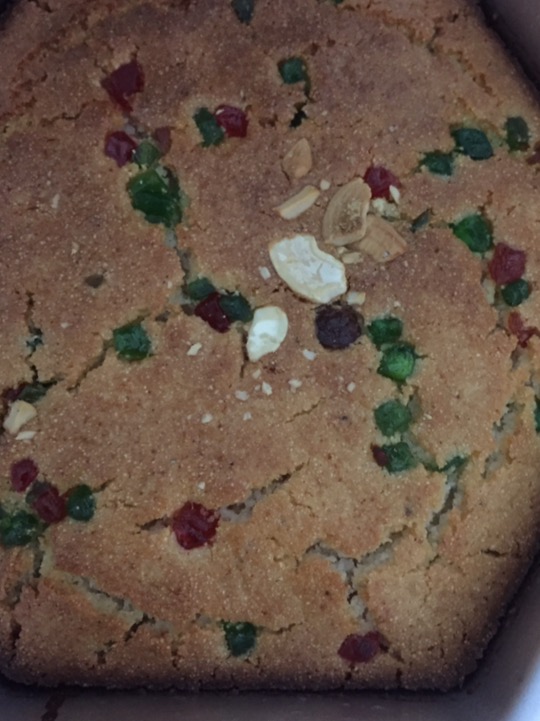 Tutti fruitti Semolina cake(Eggless)

 Basic vanilla cake(Eggless)
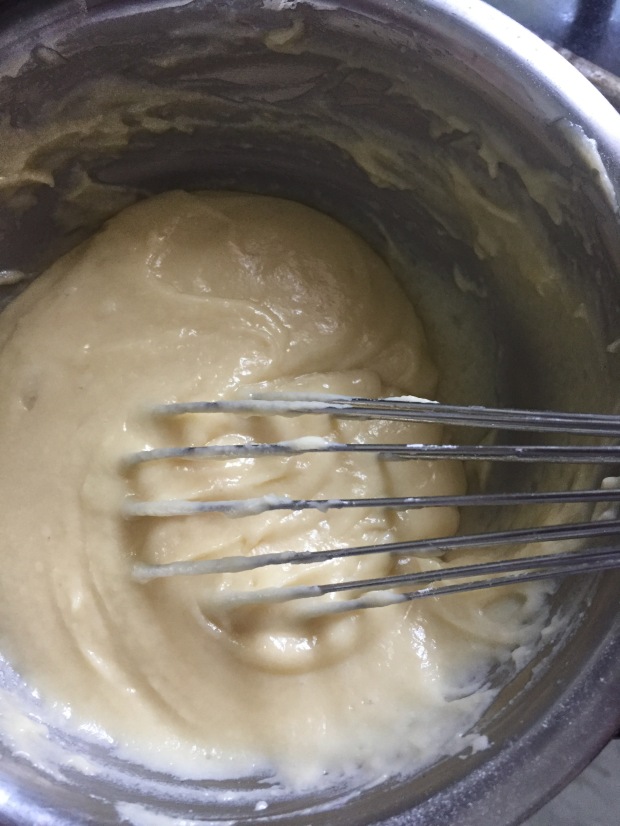
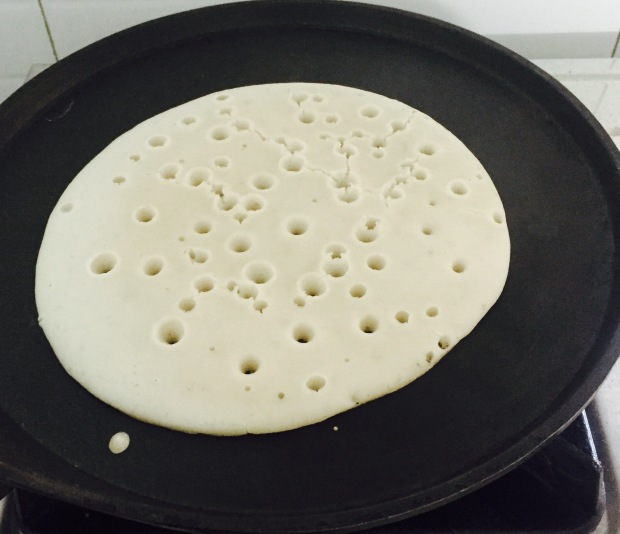
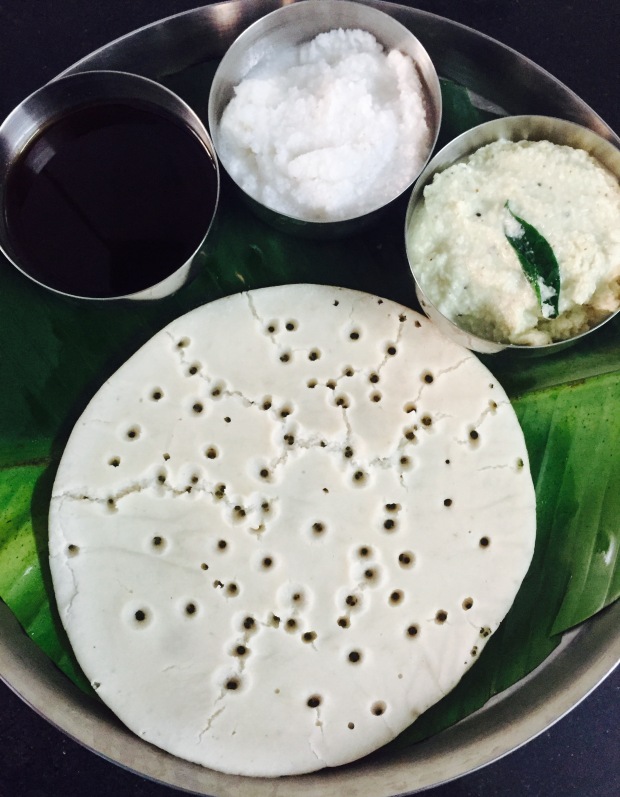
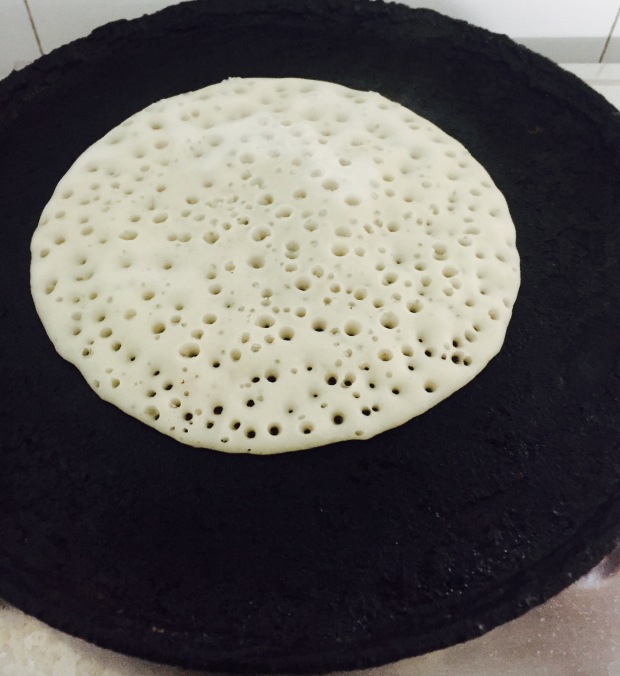
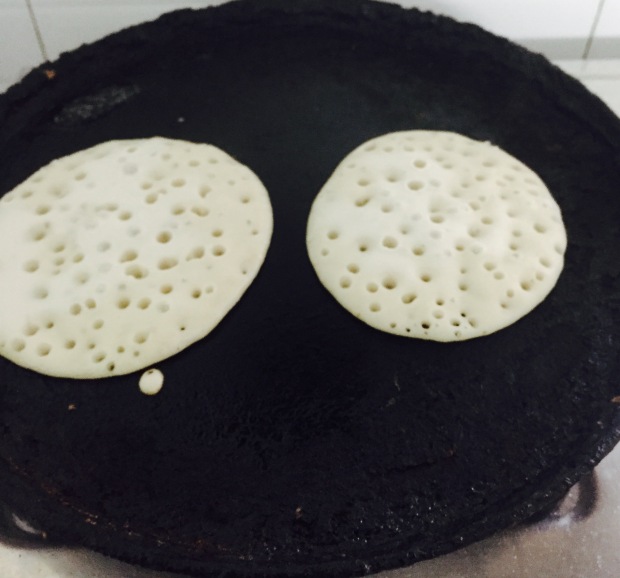
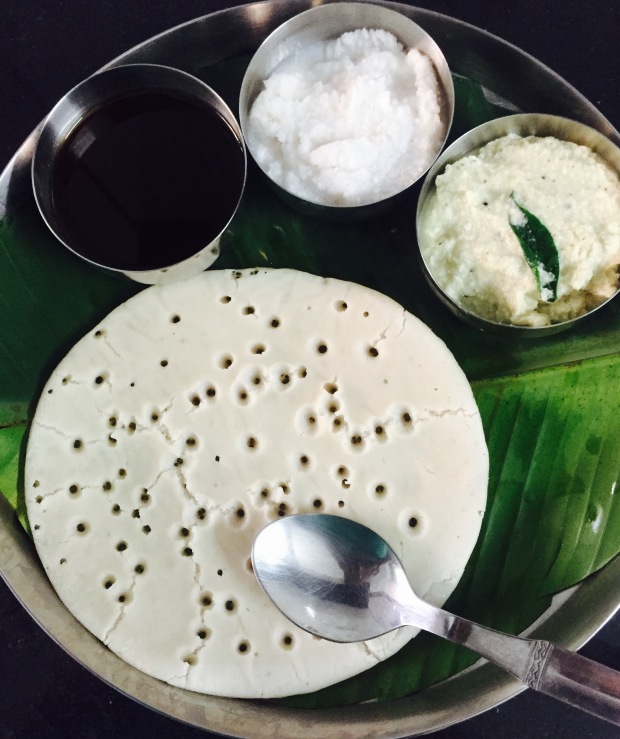 Steamed dosa
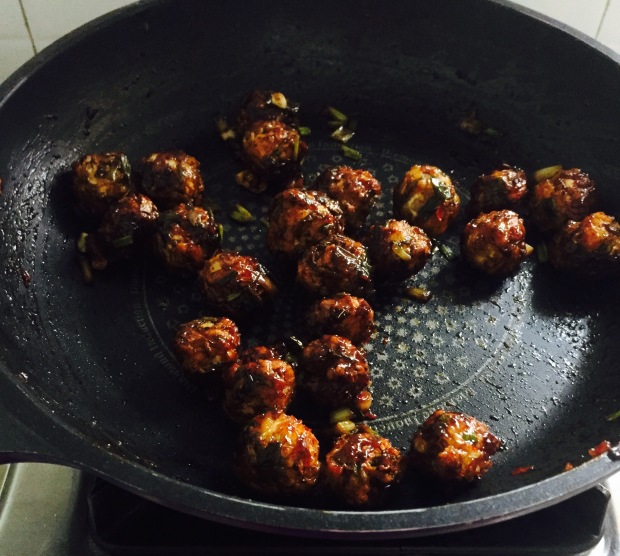
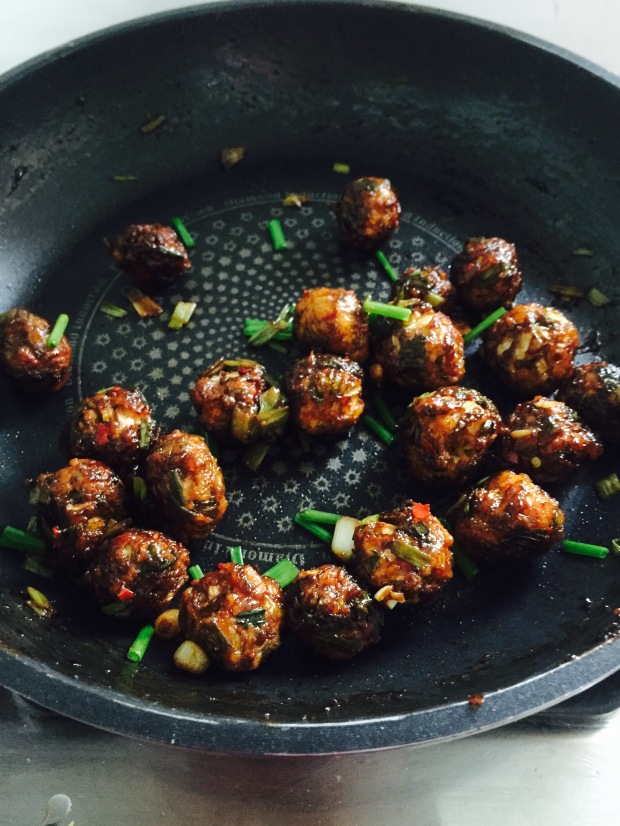
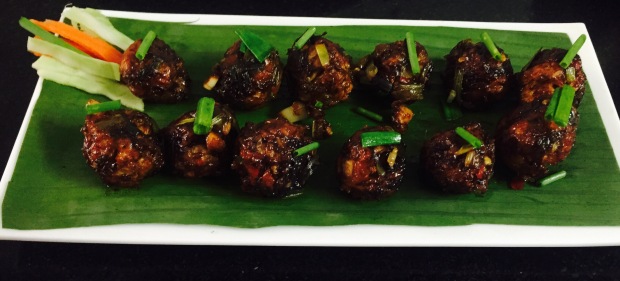
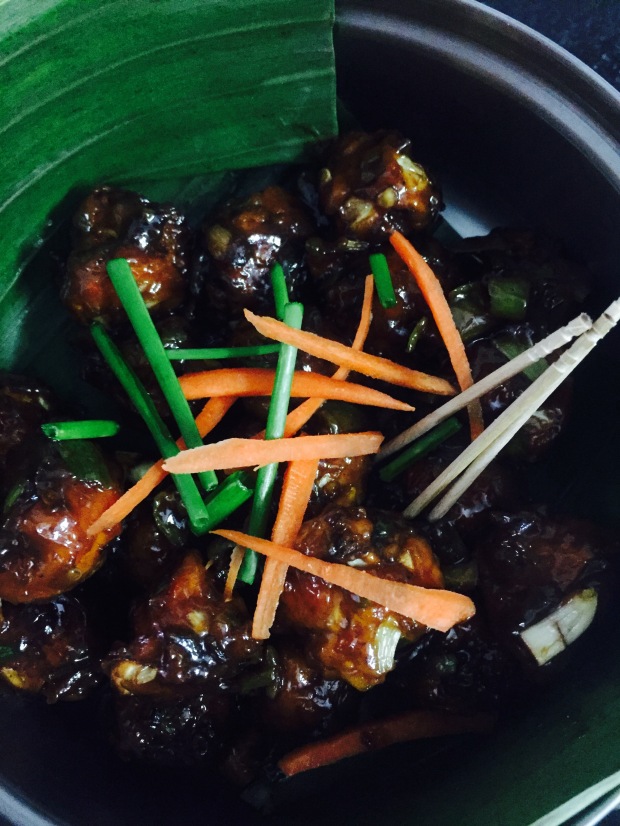
 Veg manchurian dry
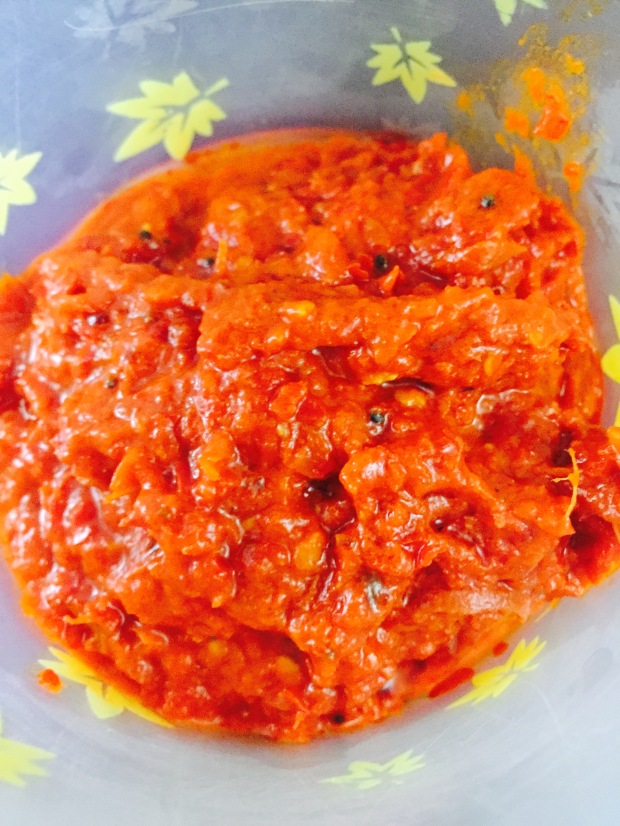
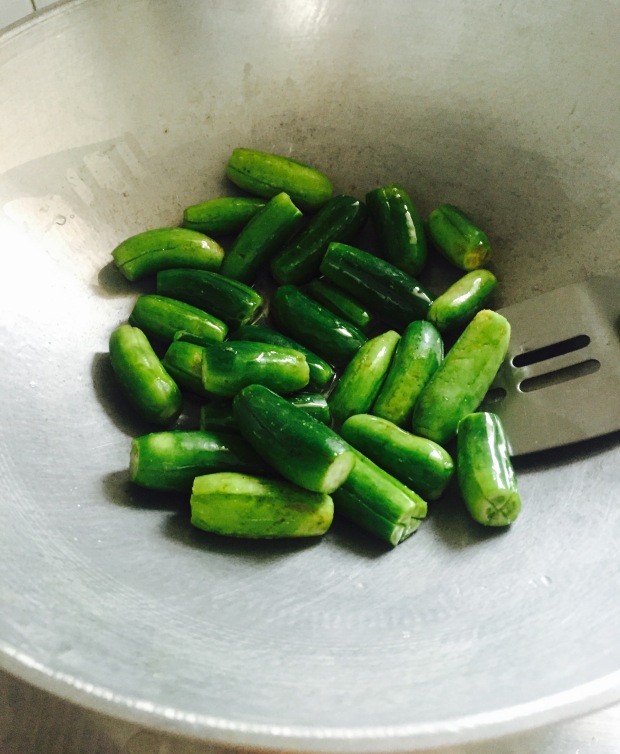
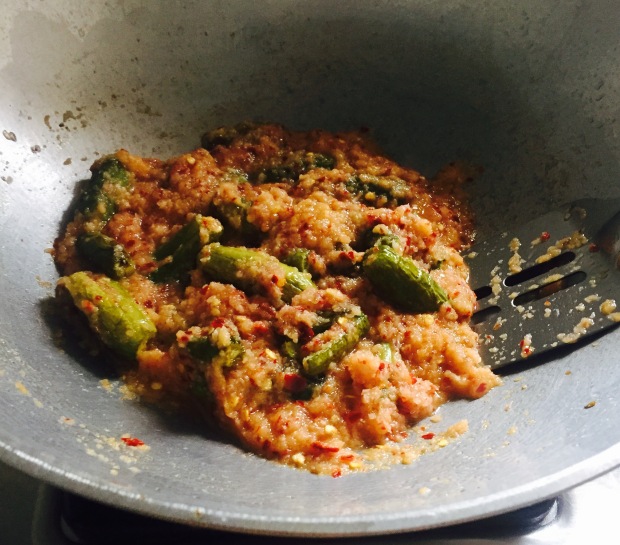
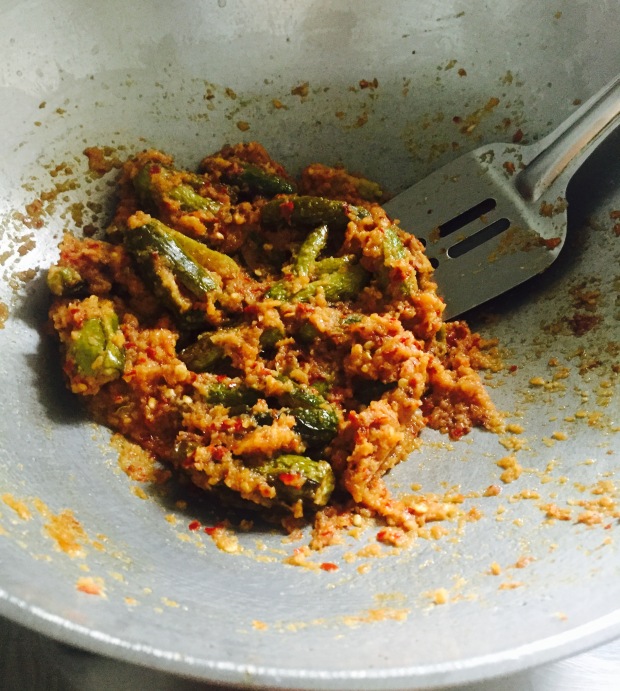
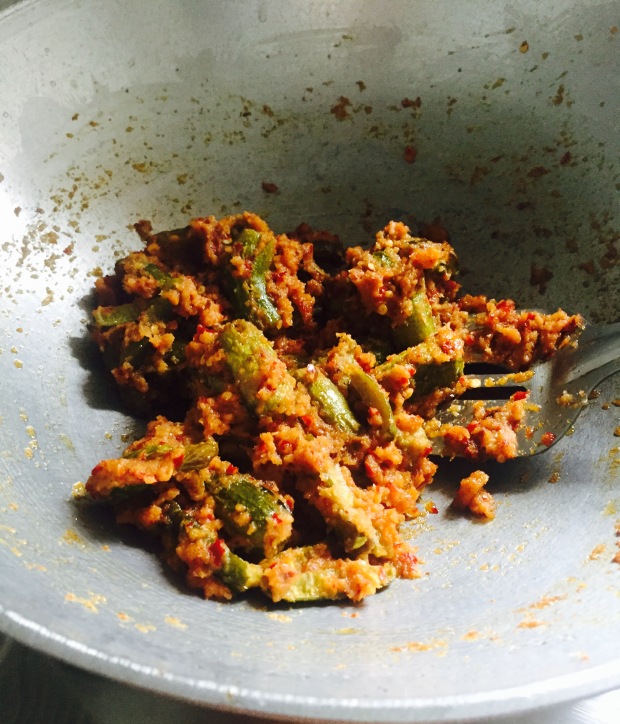
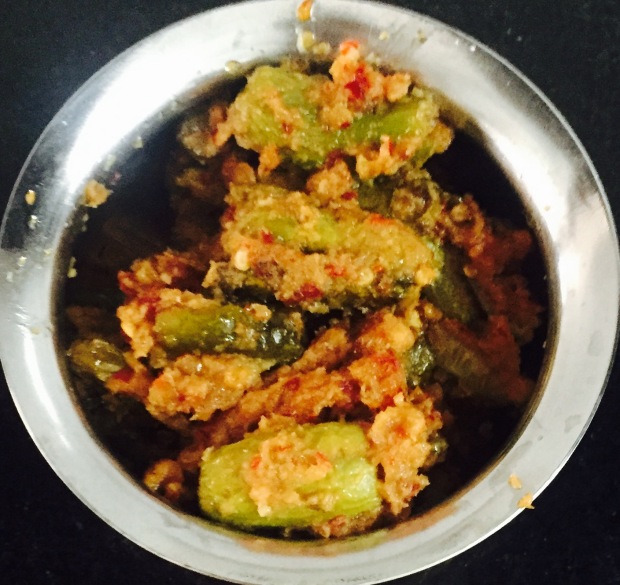
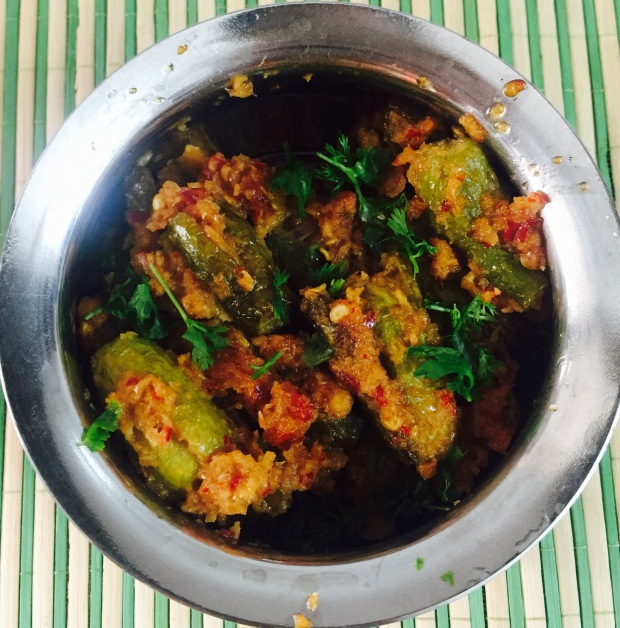 Dondakaya gutti kura


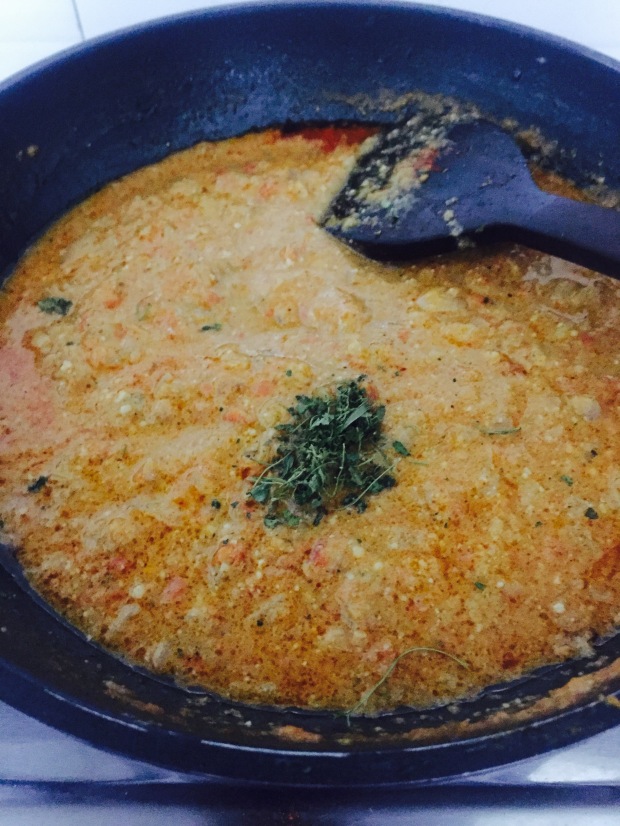
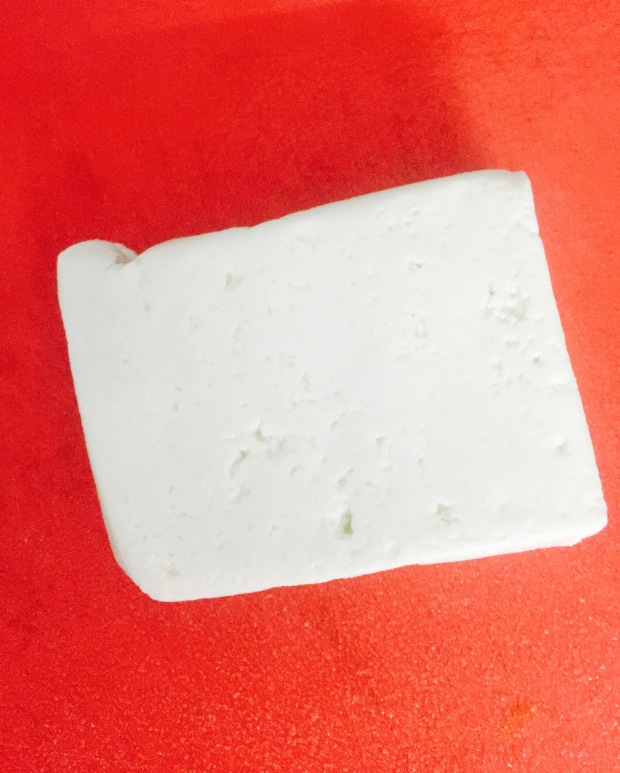
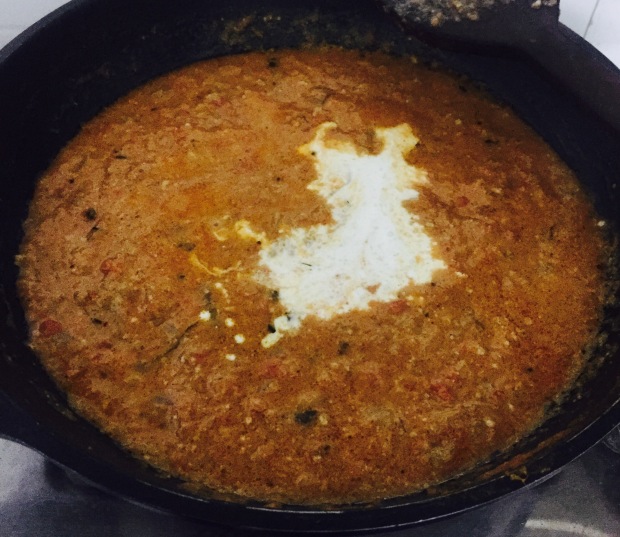
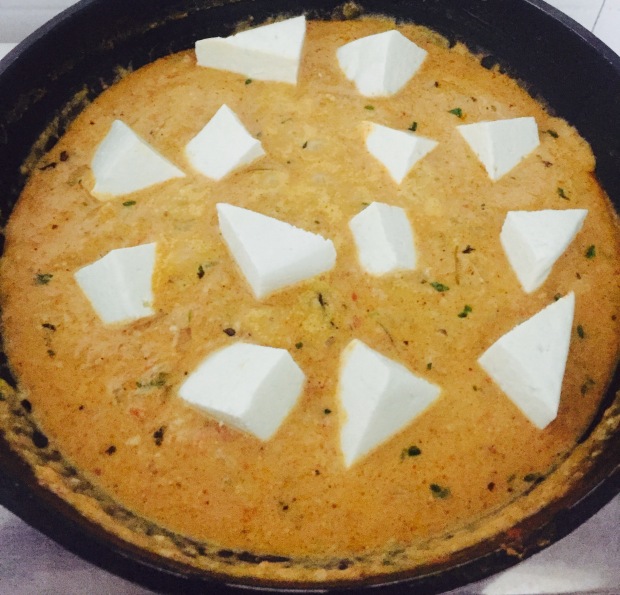
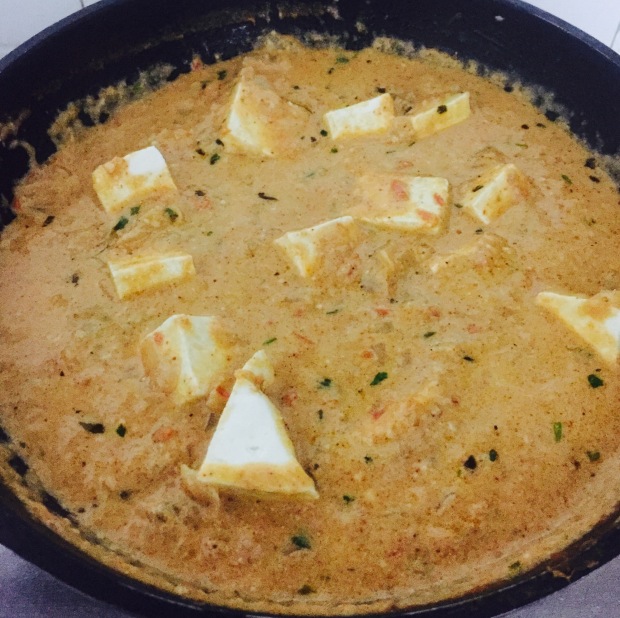
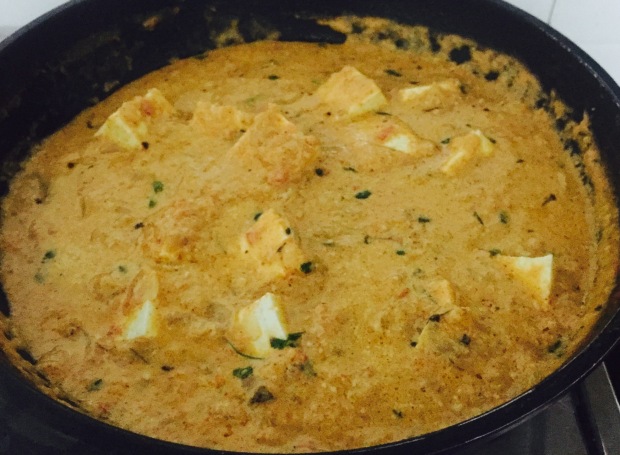
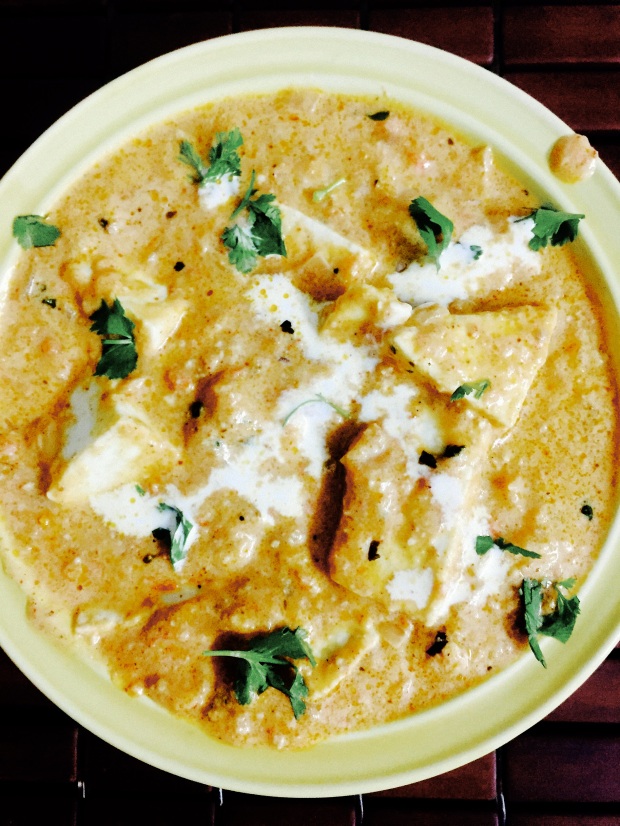
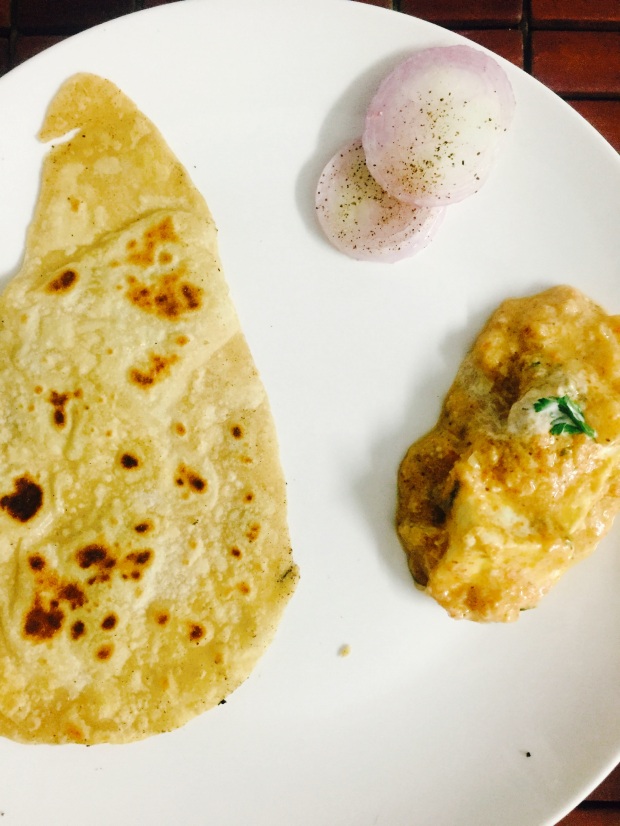
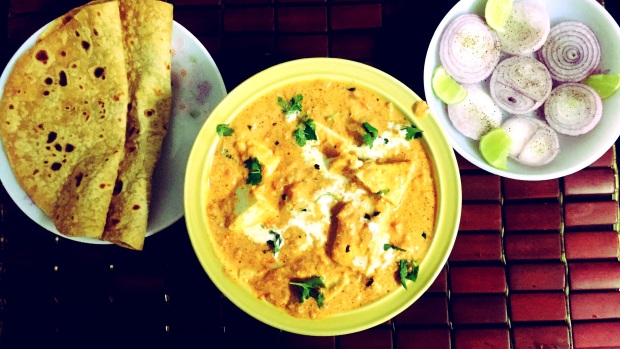 Paneer butter masala is commonly prepared side dish for roti, naan pulka from North Indian cuisine. Now it’s become famous all over India. Paneer butter masala is prepared with paneer(Cottage cheese) as main ingredient. Gravy is prepared with onions, tomatoes, cashews and spices. Paneer cubes are added to the prepared gravy and simmered for two minutes. The taste of this dish is absolutely phenomenal with the richness of fresh cream. Here I present delectable paneer butter masala which can be served as an accompaniment to chapathi, naan or pulka. Njoy Cooking, Serving n Savoring!
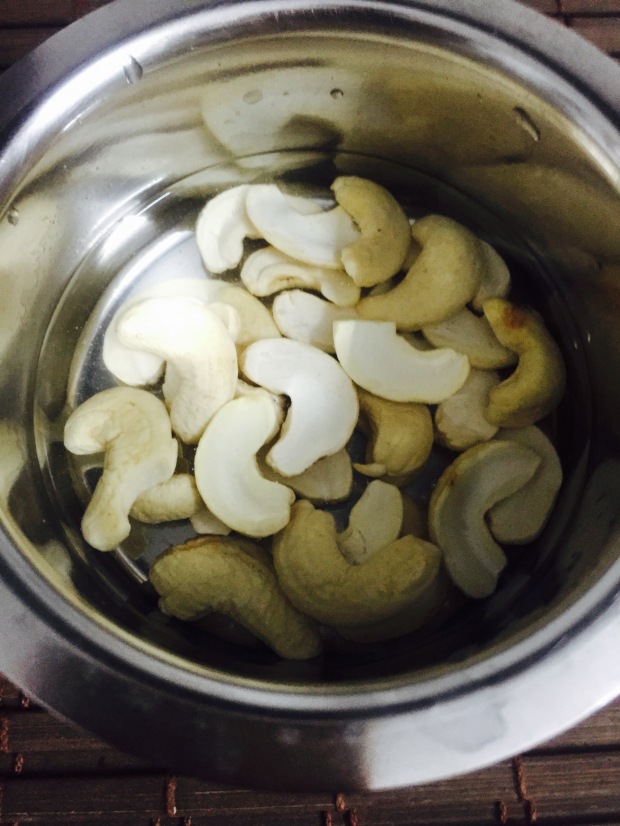

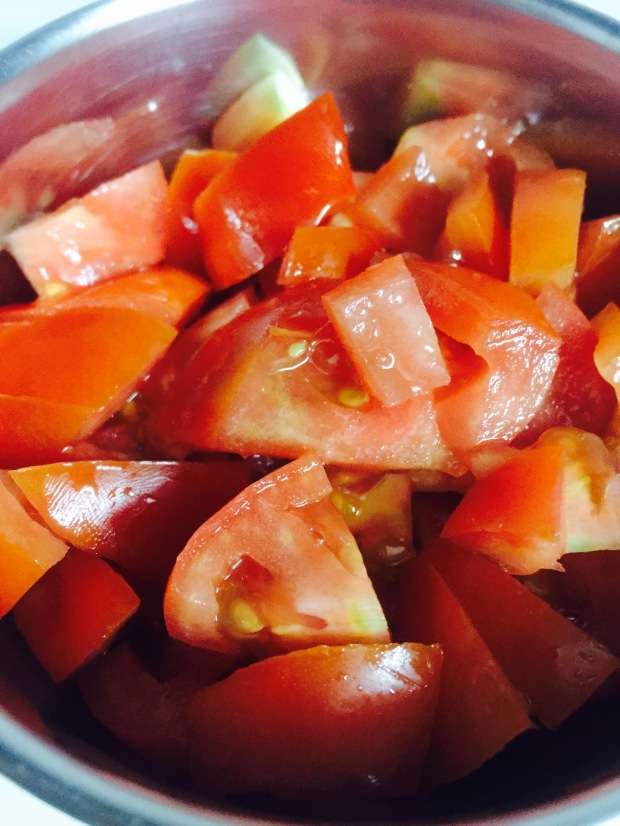


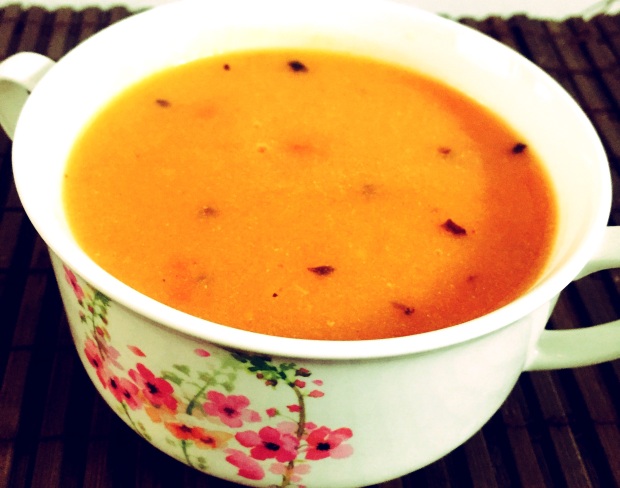
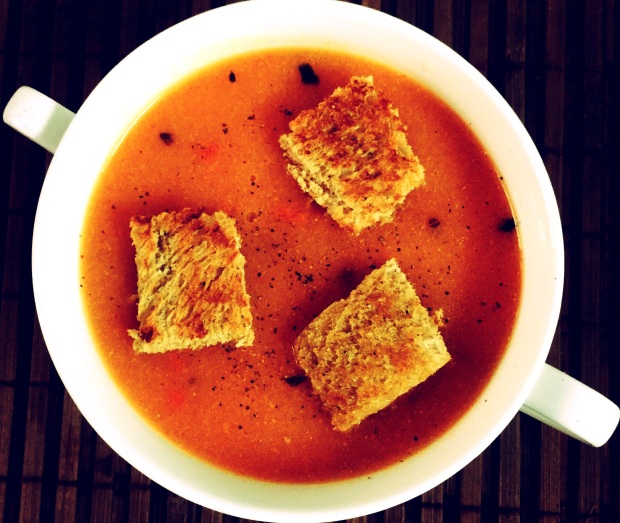
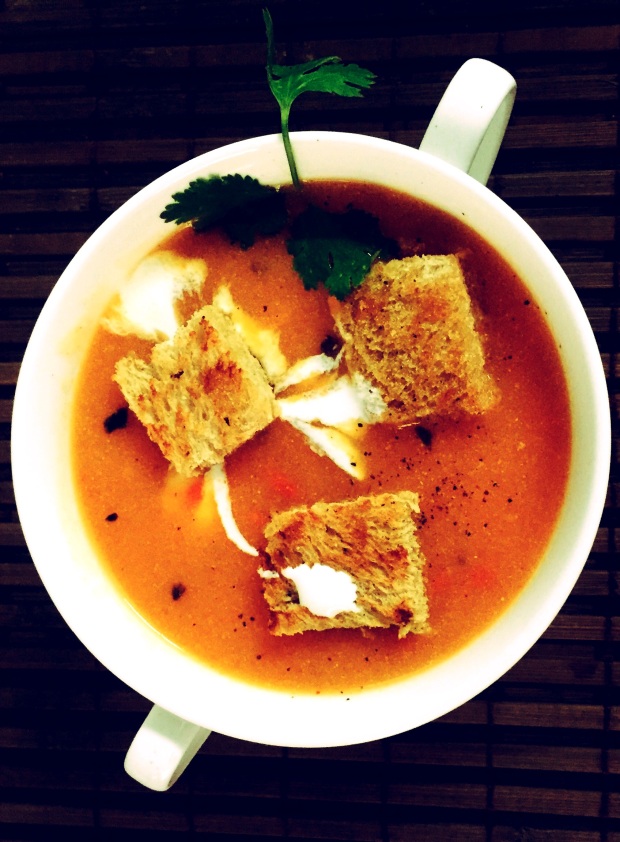
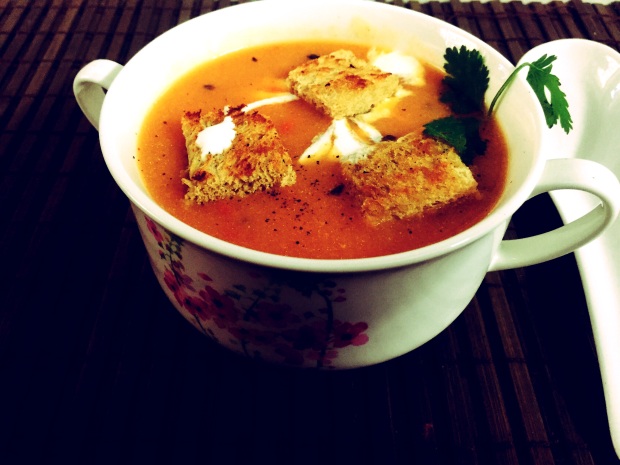
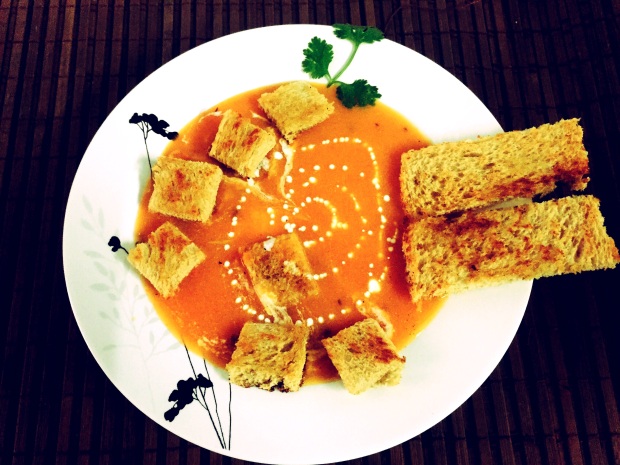 Cream of tomato soup
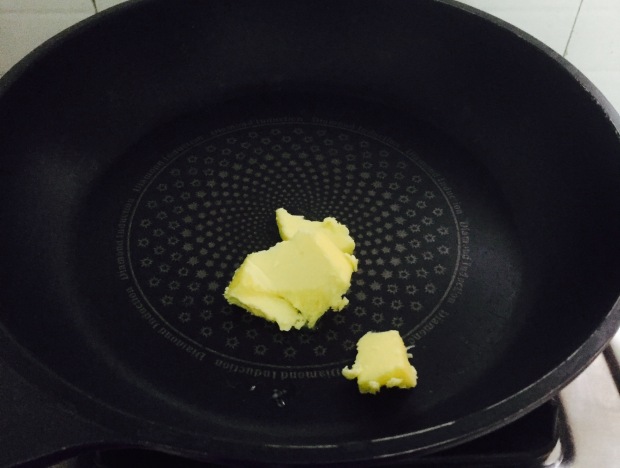
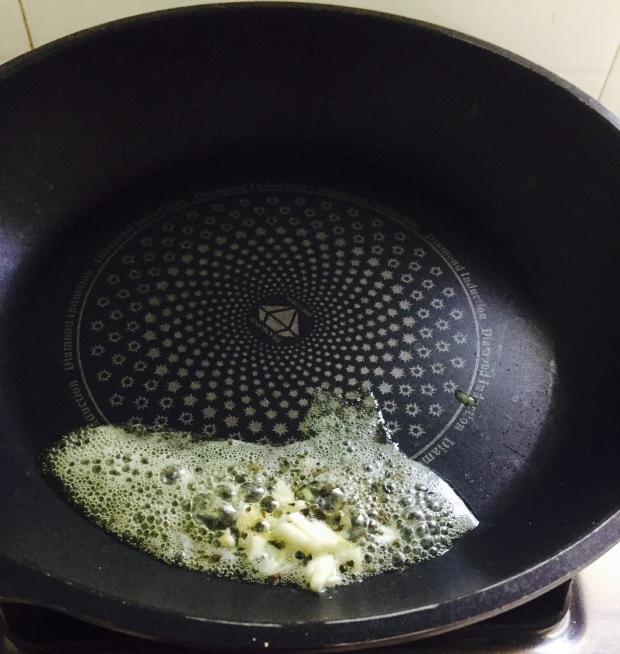
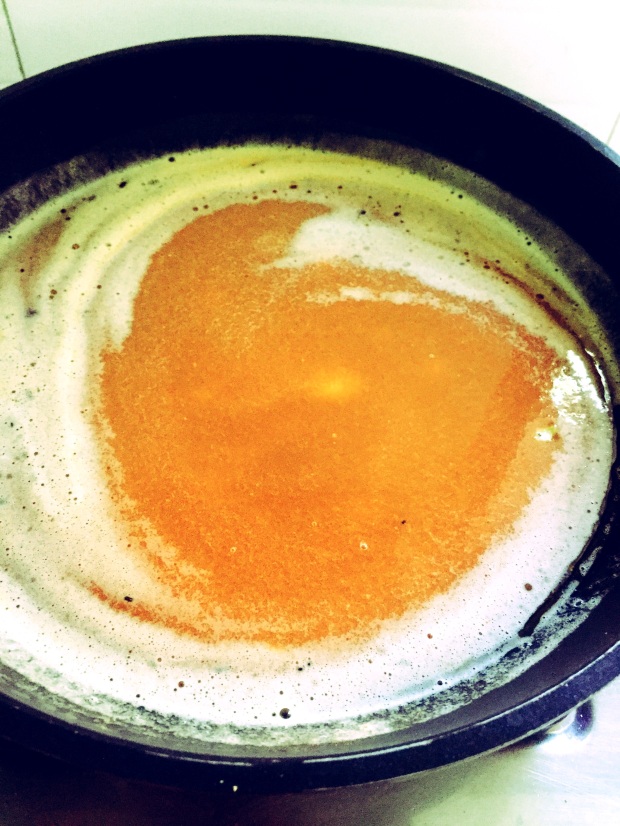
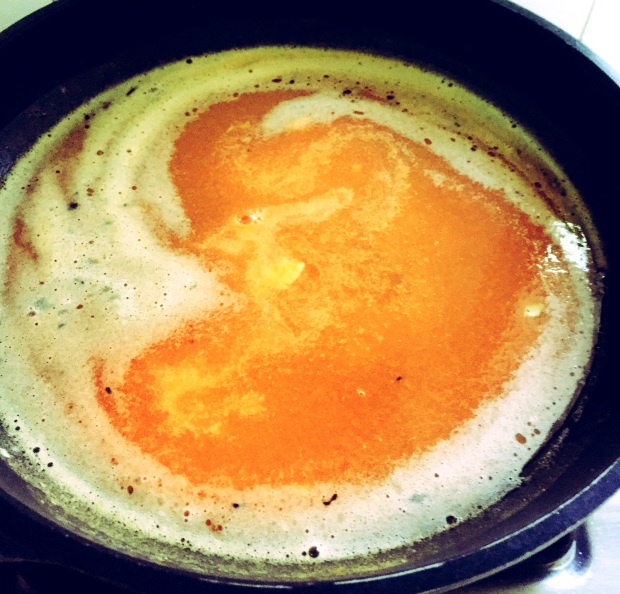
 6. Heat pan and put butter into it. Add finely chopped garlic flakes and dry basil. Fry them for a minute.


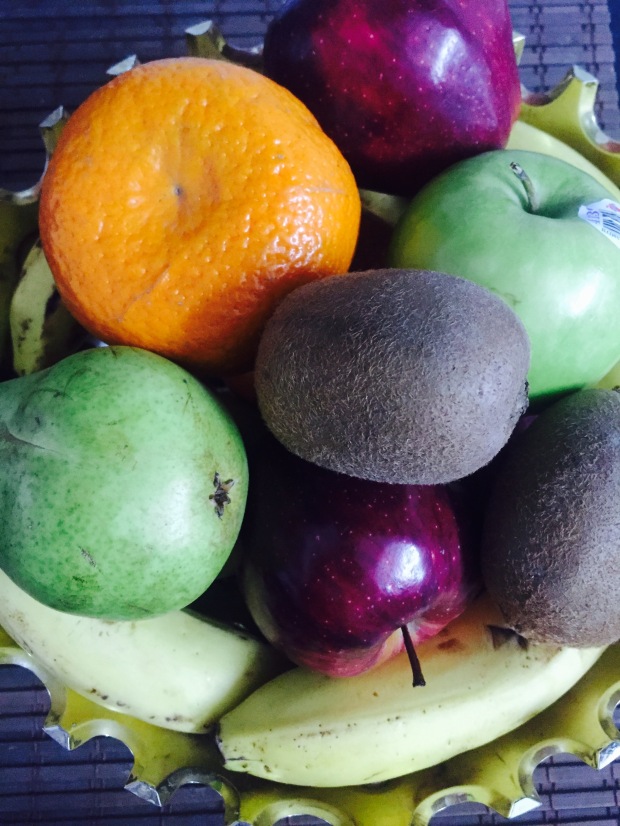
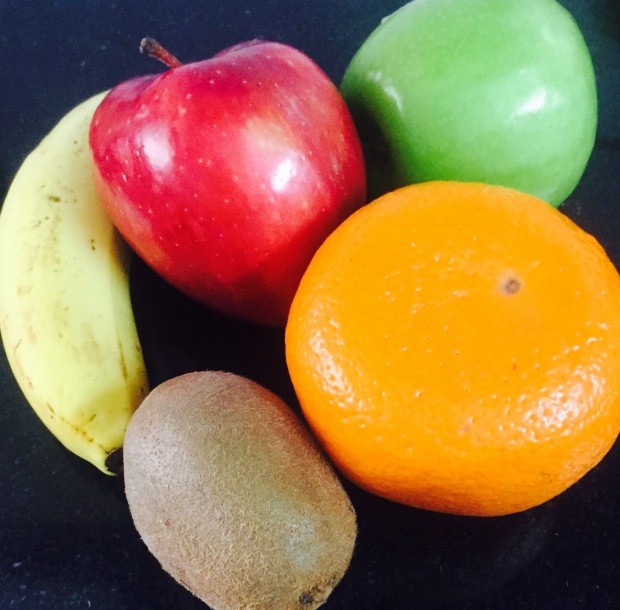
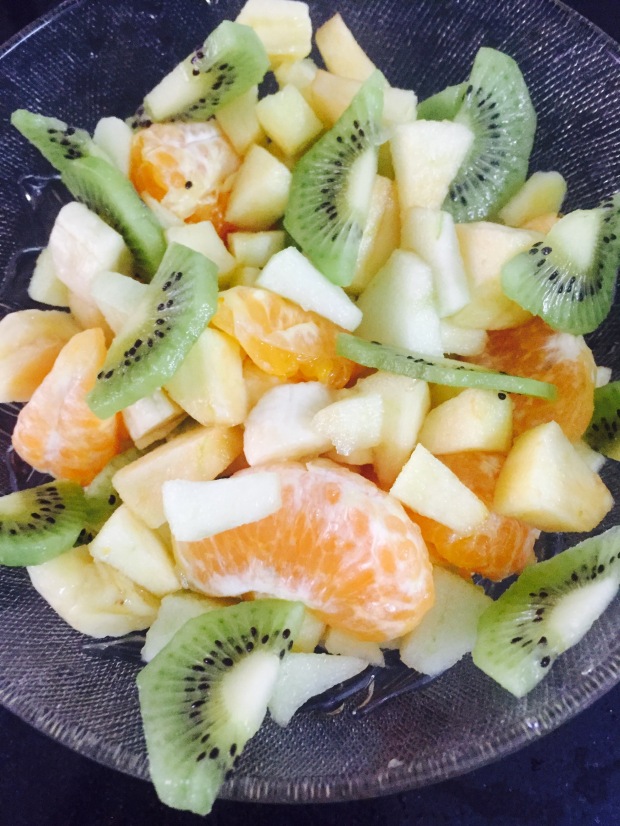
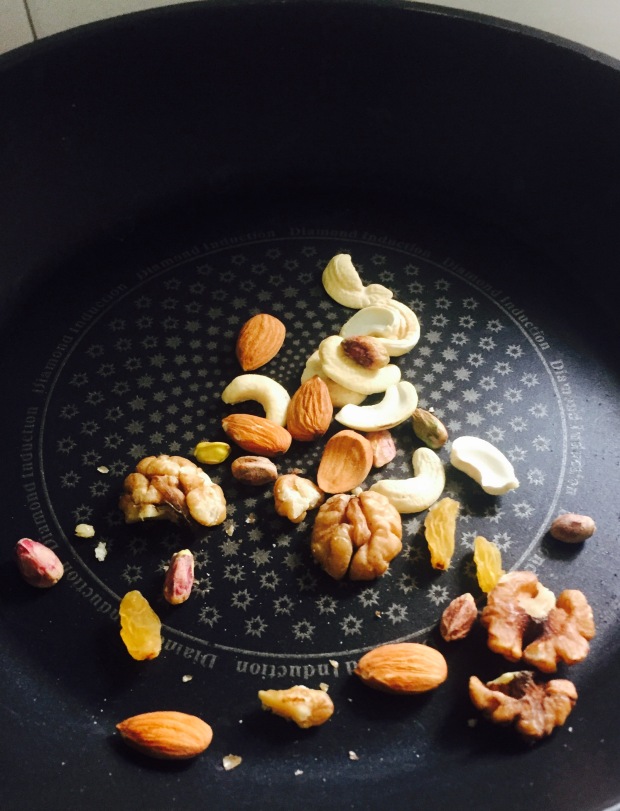
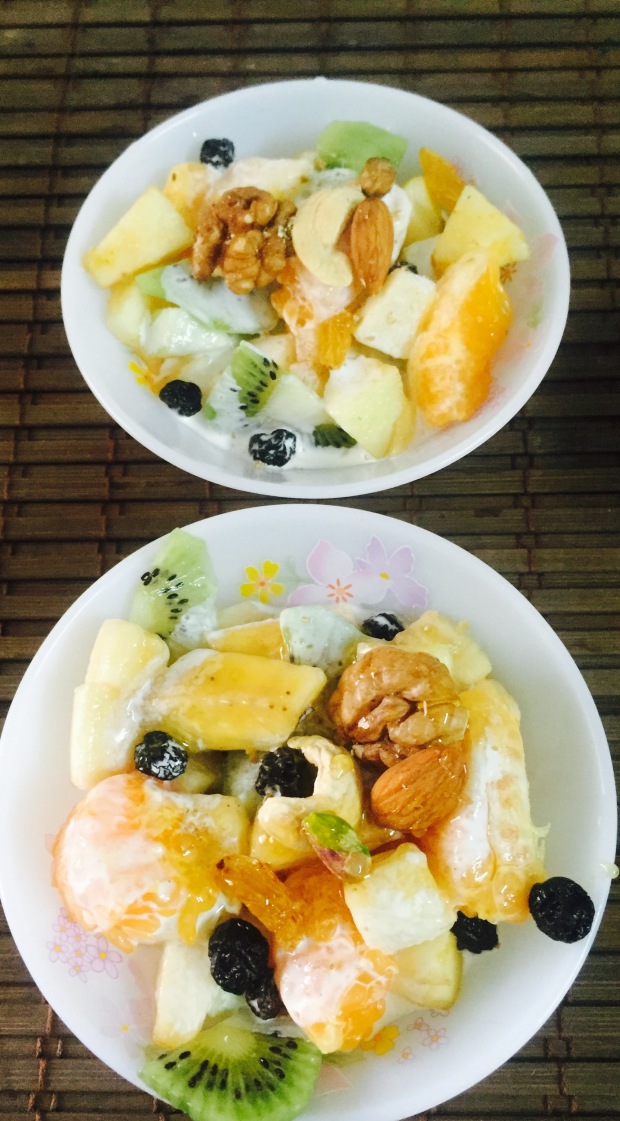
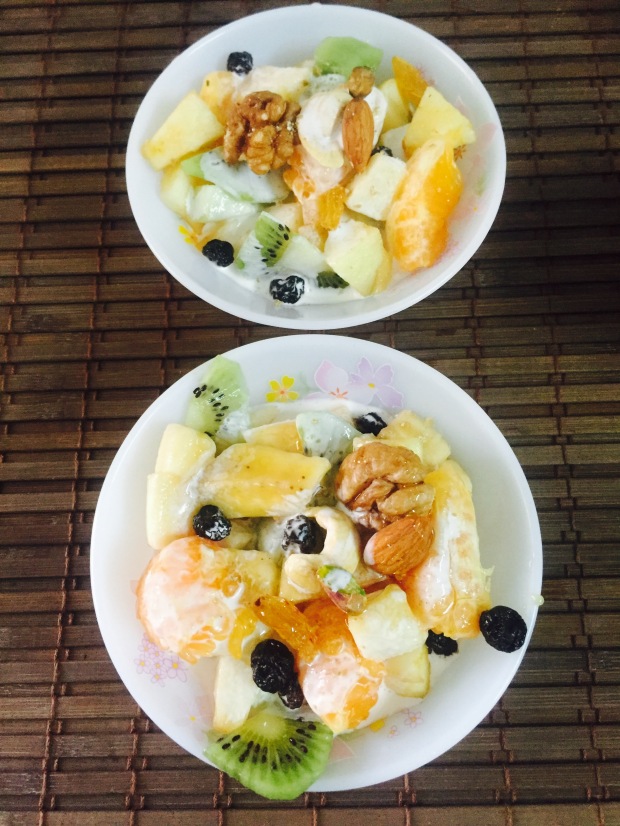
 Fruit salad with Honey n cream dressing